¶ The Interface
¶ Basics
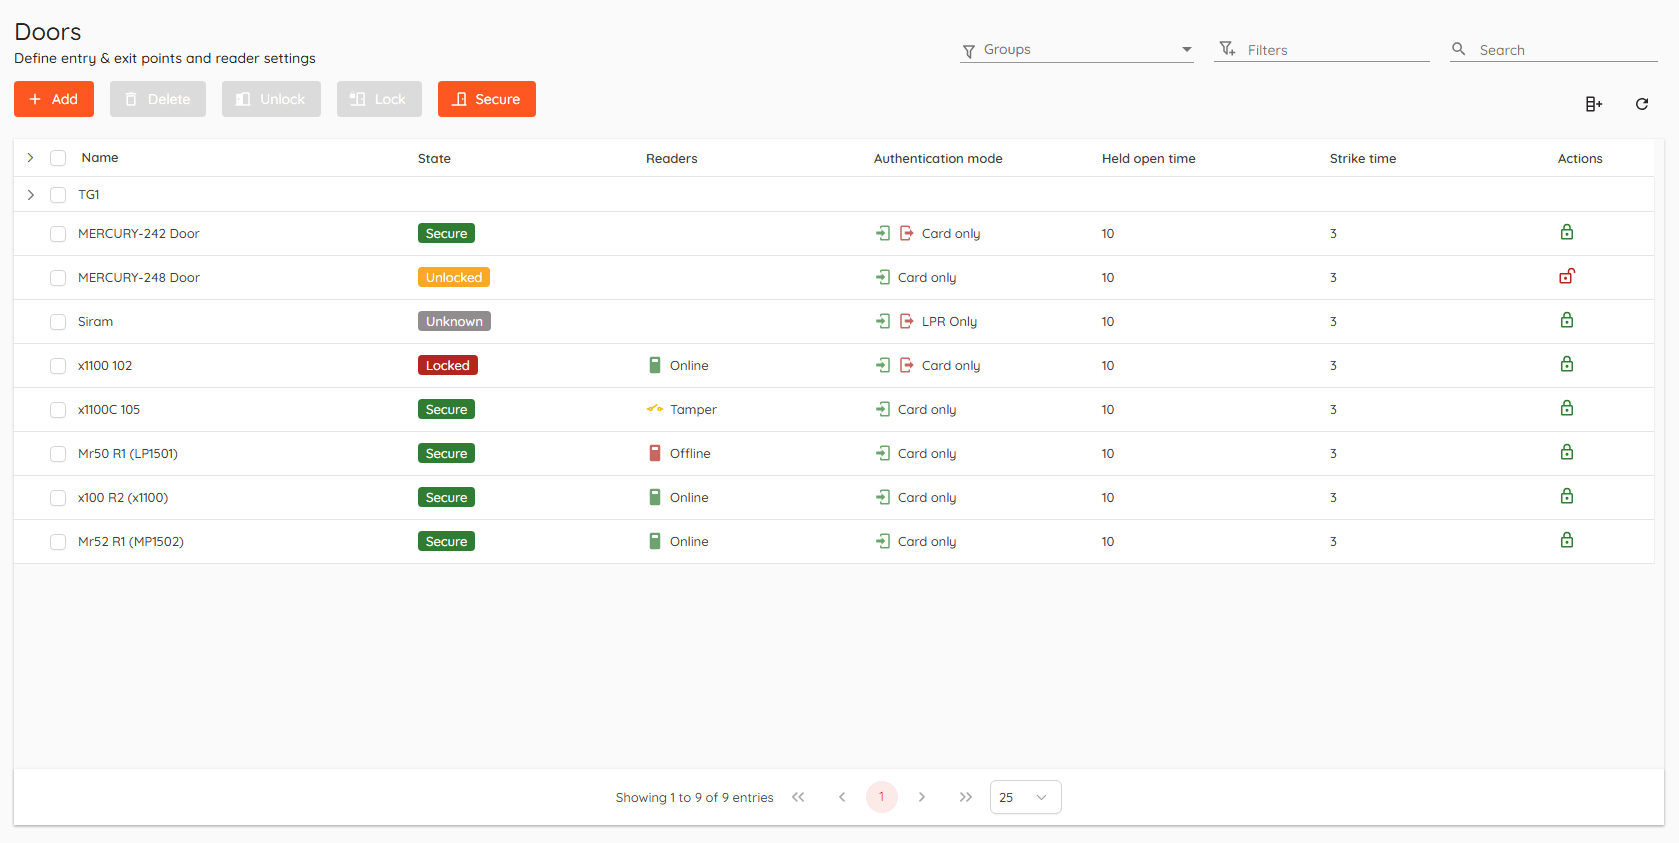
This sections covers door creation process. Door is one of the main entities in access control.
Here you can define entry & exit points, create single reader or multiple reader door, configure door modes, inputs and outputs (relays).
Doors in different locations are shown in separate lists. You can switch to another location in the upper right corner of the page.

- Lock - Sets the door state to
Locked, no one can pass through even with valid credentials until the door state is changed. - Unlock - Sets the door state to
Unlocked, everyone can pass through without any credentials. - Secure -
Defaultdoor state, only people with valid credentials and access levels can pass through.  - Indicates that the lock of the door is secure. Clicking on it momentarily unlocks the door.
 - Indicates that the lock of the door is currently unlocked.
Momentarily unlocking TANlock 3 device requires confirmation by clicking "OK" button on the device itself.
Only OSDP readers report their online and tamper states.
¶ Filters and search
Top right corner contains two fields called Filters and Search.

Filters allow you to create your own custom view where you can select what you want to see exactly.
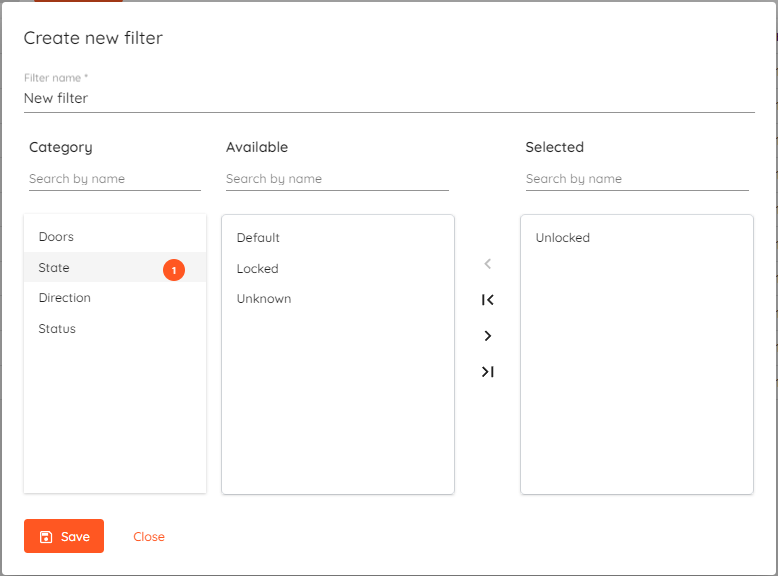
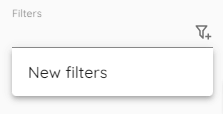
You can create as many filters as you like and then apply them by clicking on the Filters field and selecting the one you need.
In the Search field you can quickly filter events by typing string and it will show everything that contains it.
¶ Creating a new door
Doors can be added by clicking the Add button. To add entry or exit point, the device (controller) must be already present in the system.
¶ Door settings
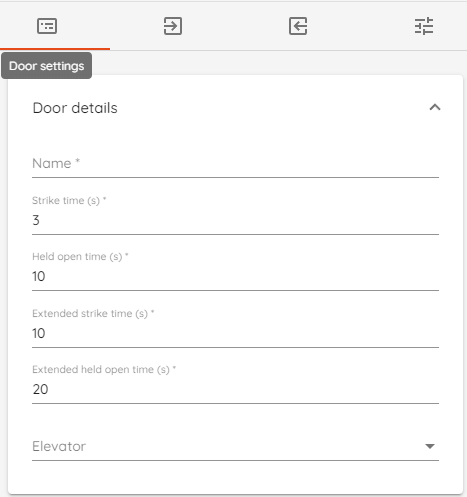
- Name - Enter door name.
- Strike time - Period (in seconds) for the strike relay to be active.
- Held open time - Time period after
door monitorgenerates "Door held open" event. - Extended strike time - Period (in seconds) for strike relay to be active for users with "Extended access time".
- Extended held open time - Period after
door monitorgenerates "Door held open" event for users with "Extended access time". - Elevator - Set doors as elevator entry. Available when you have elevators configured. Only the entry reader can be configured.
If the door strike relay immediately closes and the door status is incorrect (e.g., showing "Forced/Held Open" state when closed) - change the "Door Monitor" input in contact type settings
¶ Entry reader

- Door device type - Can be set as "None" or as "Reader".
- Device - Select controller device.
- Module - Select which module will be used. For the controller, it will be Internal panel otherwise select the corresponding module i.e. x100 or v100.
- Reader address - Select which port "Reader" is connected to. This depends on the controller type and is usually marked on the device itself.
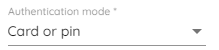
- Authentication mode - Select default authentication mode. Card, PIN only, Card and/or PIN, Facility code.
- Time and attendance - Designate reader as "Clock in" or "Clock out" device.
PIN-only mode requires the user to have a card. You can use the "Generate unique card" function to add a "virtual" card.
¶ Exit reader
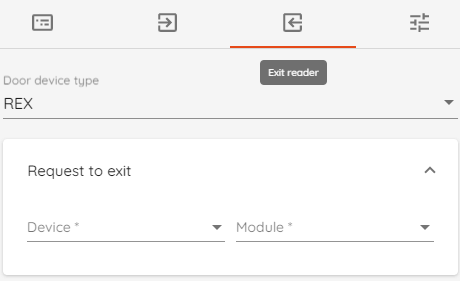
- Door device type - "None", "Reader" or "REX". If set as "Reader" then the settings are the same as for "Entry reader".
- Device - Select controller device.
- Module - Select which module will be used for REX input. For the controller, it will be Internal panel otherwise select the corresponding module i.e. x100 or v100.
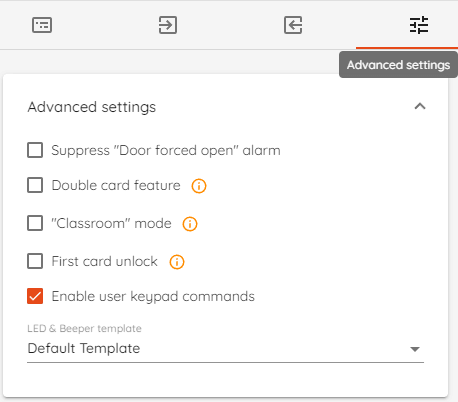
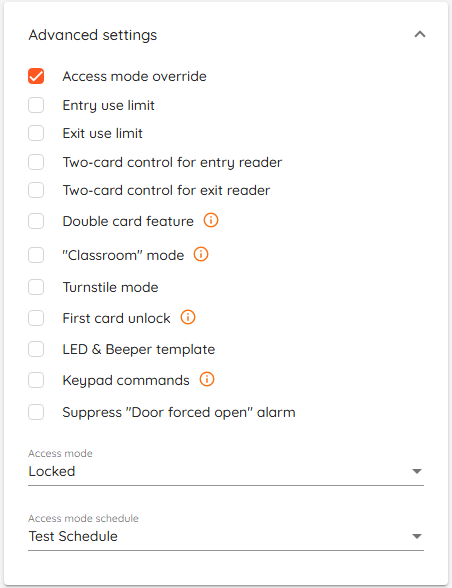
¶ Advanced settings
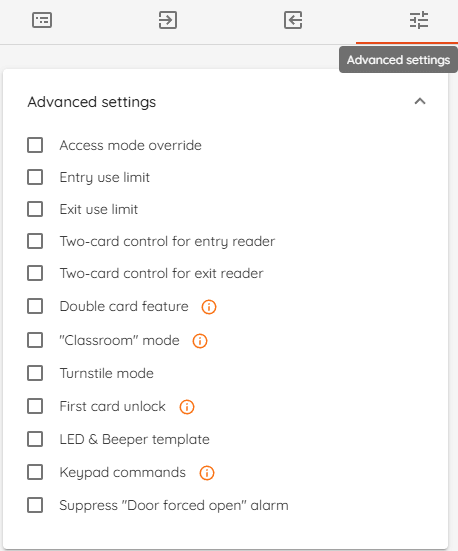
- Access mode override - Set scheduled door access mode. More information here.
- Entry/Exit use limit - Enables card use limit. The amount of times user can use a card can be set in identification sets. Use limit can be set to reset each hour/day/week etc. using cron expression in settings.
- Two-card control for entry/exit reader - Requires to swipe two unique cards to grant access.
- Double card feature - enables ACR(Access Control Reader) mode which generates 2nd event with reason "Double card presented". Swiping the card on the reader once will generate a normal "Access granted" event. A second swipe within 5 seconds will generate an additional "Access granted" event with the reason "Double card presented". This further can be used in triggers, i.e. activating output or arming/disarming intrusion area.
- Classroom mode - The access control reader is normally secure and the inside lever/REX (Request to Exit) always allows free egress. Valid toggle credentials on the exterior may be used to change to a passage (unlocked) or secured status. Enabling this mode will require you to select "Classroom" mode type (Restricted or Open to all). Supported only with HID Aero and Mercury controllers. "Classroom" mode will allow you to use double card functionality.
Toggle credentials - For modes that use toggle credentials (Classroom) this is enabled using the double card functionality. When a double card is used as a toggle in the extended feature the separate double card transactions are not generated.- Open to all - allows everyone with appropriate access level to toggle classroom mode.
- Restricted - only selected users with appropriate access level can toggle classroom mode.
- Turnstile mode - Instead of requiring continuous activation, the system uses momentary pulses to unlock the turnstile for a brief period, ensuring security and efficiency.
- First card unlock - The term "first card unlock" is used to describe a use case where the first access grant within a defined schedule will unlock the door for the same schedule. Enabling this mode will require you to select a schedule template.
I.e. we have created a schedule called "Working hours" with set intervals from 08:00 to 17:00. Using "Access mode override" will automatically unlock the door at a given schedule no matter what. First card unlock allows us to engage door unlock only after the first access grant. - LED & Beeper template - Select template for OSDP readers. Supported only with HID Aero and Mercury controllers. Templates can be configured in settings.
- Keypad commands - Enables keypad commands which are used to control outputs via keypad reader.
- Suppress “Door forced open” alarm - Will not generate “Door forced open” events.
- Use “Quiet REX” - Generates REX events without activating strike relay.
Enabling keypad commands disables assignable I/O, therefore it will not work as usual doors.
¶ Keypad commands
Keypad commands are used to control outputs by authenticating with a card first, then entering a particular output code via a keypad reader.
A common use-case scenario is a "locker" setup - controlling more than 2 distinctive locks from a single reader and controller device by adding a corresponding number of outputs. The setup supports up to 8 access levels.
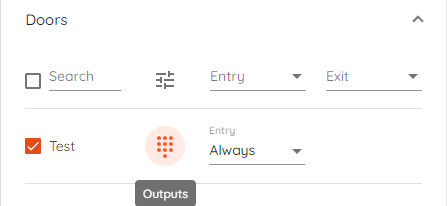
To use this functionality with your keypad reader - navigate to "Access Points -> Doors", select your doors, and go to "Advanced settings".
User keypad commands work only with door authentication mode configured in "Card or PIN" mode.
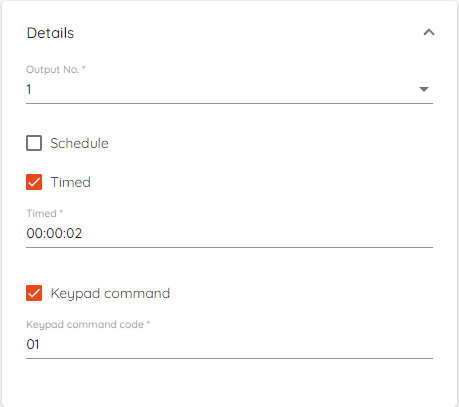
Each output has to be configured separately. Navigate to "Hardware -> Outputs" and add "Outputs" from the device.
"Keypad command" has to be enabled and code set. The maximum length of code can be up to 8 digits.
In "Access levels" outputs can be grouped by different keypad command codes or access levels.
Outputs can have the same keypad codes but can be added to different access levels.
Outputs can be in the same access level, but each of them can have different keypad codes.
To check if your setup is correct:
- Get access granted either by swiping the card or entering the PIN code.
- Enter the keypad command within 10 seconds of the "Access granted" event. Keypad command starts with an asterisk (*) followed by set keypad code and hashtag (#).
- All outputs with the same code within the user's access level will be activated upon entering the assigned keypad code.
¶ Contact type
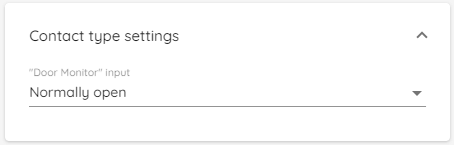
You can change how door monitor input behaves depending on your wiring.
- Normally open
- Normally closed
- Supervised 2K1K normally closed
- Supervised 2K1K normally open
¶ Assignable I/O
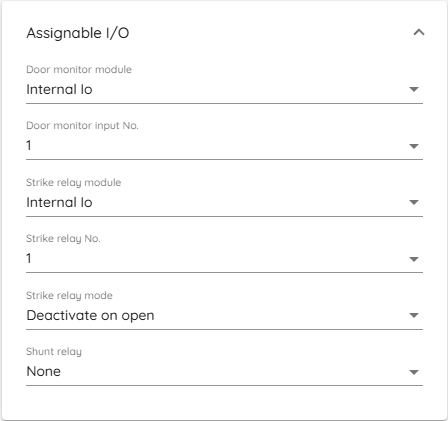
You can re-assign inputs and relays in this section.
- Door monitor module - Select which module door monitor input is connected to.
- Door monitor - Input which will act as door monitor input.
- Door Strike Relay module - Select which module door strike relay output is connected to.
- "Strike" relay - Output which will act as strike relay output.
- Strike relay mode - deactivate strike relay on open or close. If you select "Do not use" then the strike relay will close after set "Strike time".
- Shunt relay - Output which will act as shunt relay. In addition to strike relay will also trigger selected shunt relay. Shunt relay is activated 5 ms before the strike relay. The shunt relay is deactivated 1 second after the door is closed or the held open timer expires.
Shunt relay and Strike relay mode is only available for HID Aero and Mercury devices.
On HID VertX EVO series devices dedicated inputs cannot be modified.
¶ Access mode override
In this section, you can set a schedule to override door access mode. I.e. scheduled door mode allows keeping the lobby door unlocked and open during work hours, automatically switching to secure mode at night.
Available "Access modes":
- Unlocked - doors are unlocked and users can gain access without credentials.
- Locked - doors are locked and users with valid credentials cannot gain access.
- Card only - only card is accepted.
- PIN only - only PIN code is accepted.
- Card and PIN - two factor authentication. Card and PIN must be present in such order.
- Card or PIN - Card or PIN must be presented to gain access.
- Facility code - Card with enabled facility code in settings required to gain access.
Older devices such as HID VertX or EVO series only support Unlocked mode.
Door mode schedule
Create a schedule and apply it to door mode. Always and never are built-in schedules.
Offline access mode allows to define door access mode when modules lose connection with the master controller. It applies for doors that are connected to modules such as HID Aero x100.
- Unlocked - doors are unlocked and users can gain access without credentials.
- Locked - doors are locked and users with valid credentials cannot gain access.
- Facility code - Card with enabled facility code in settings required to gain access.
- Disabled - do not use offline mode.