¶ General
General settings for e-mail, devices and credentials.
¶ Card Formats
Various supported card formats can be enabled/disabled for CredoID system. Disabled card format will be not accepted by CredoID.
Only single same bit lenght format can be enable at a time.
Maximum of 8 card formats are supported by the controllers.
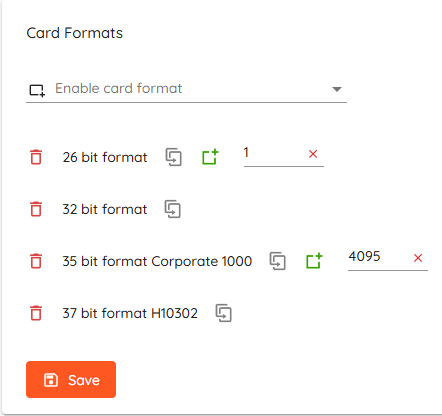
- Enable card format - Select format from the list to enable it.
 - Click to create a card format.
 - Click to remove one of enabled formats.
 - Click to add a facility code (only for supported formats).
 - Click to make a duplicate copy of selected card format.
Press Save to save enabled formats. Synchronization of devices will be required.
HID Aero support up to 8 facility codes per controller.
Mercury support up to 16 facility codes per controller.
If the format supports facility codes but none are specified - facility code will be ignored when the card is read.
¶ Custom card formats
"Create card format" window will open once "Create card format" or "Duplicate" is clicked.
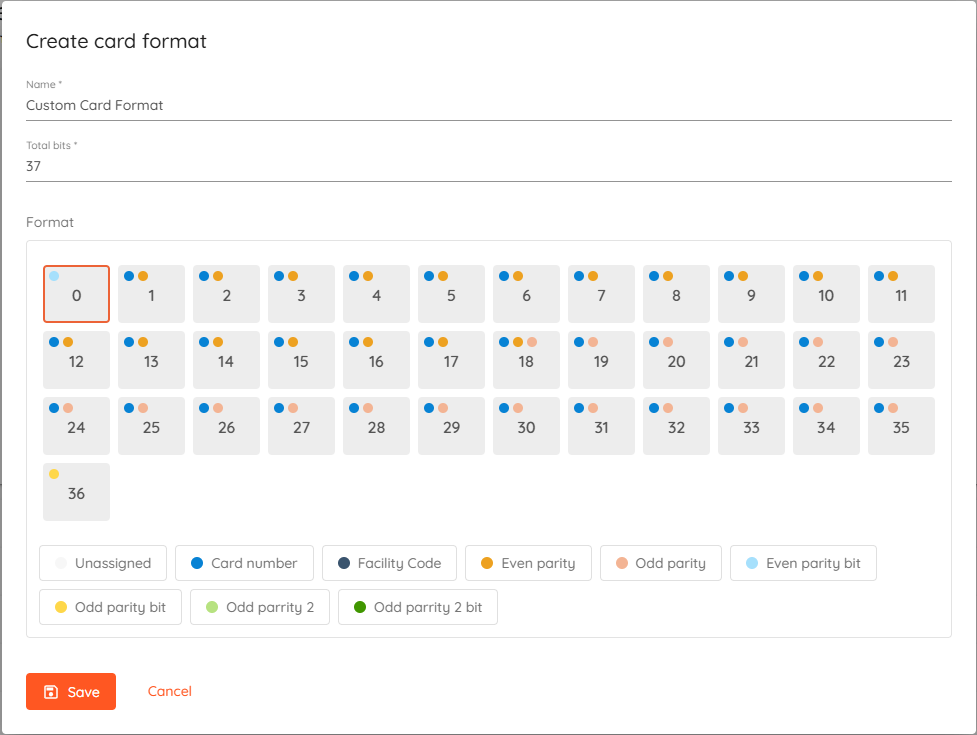
- Provide a Name for Your Card Format
- Define the Total Bits
- Configure the Card Format:
- Bits are displayed as numbered blocks (e.g., 1, 2, 3 etc.).
- Click on each bit to define its role.
- Click on a role to assign it to selected bits. The selected role will appear as a color dot on the bit.
- Review and Save the Configuration
Multiple bits can be selected while holding "Ctrl" button.
Range of bits can be selected while holding "Shift" button.
¶ Excluded events
Events can be filtered and excluded either completely or just from archive only.
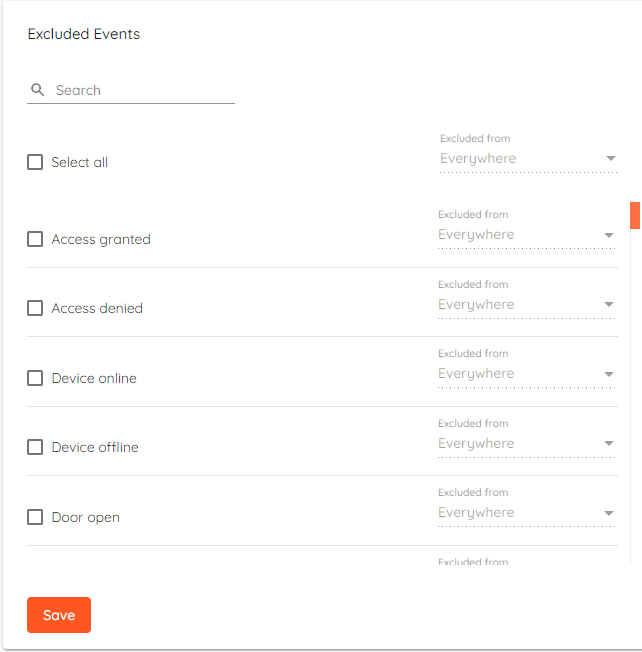
Excluded events won't be saved to database therefore some disk space will be saved.
Past events will not be affected by this setting.
¶ Notifications
To enable sending notifications by e-mail - e-mail provider has to be added.
This will be used to send out notifications, QR codes and "Origo Wallet" invitations.
Click "Add e-mail provider" and configuration menu will open.
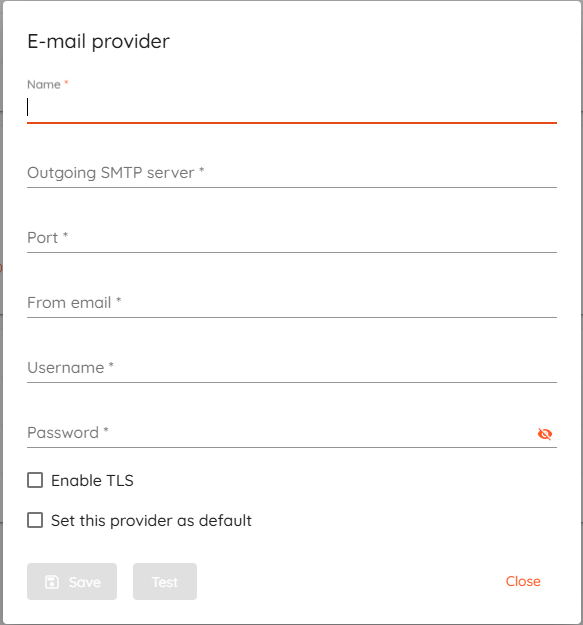
- Outgoing SMTP server - Your e-mail providers SMTP server address.
- Port - Port for outgoing mail server.
- From email - E-mail address which will be displayed for recipient.
- Username - Username for SMTP server.
- Password - Password for SMTP server.
- Enable TLS - Enable Transport Layer Security (encryption).
- Set this provider as default - Use this provider as default for sending notifications & QR Codes.
Google requires to use app password for gmail.
QR Codes can be sent out only via default provider.
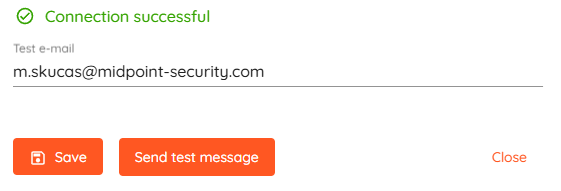
Once details are correctly filled - click "Test".
If the connection is successful - you can enter your e-mail in "Test e-mail" field and click "Send test message" to verify that it is working correctly.
¶ User Import & Reset
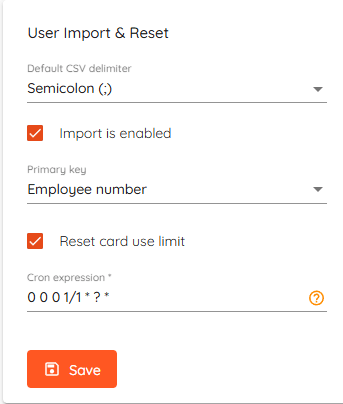
- Default CSV delimiter - Default delimiter selection for .csv files when using import or export.
- Enable user import - Global settings for selecting primary key for user import, it's either "First and last name" or "Employee number". All users are required to have unique primary key in the import source.
- Reset card use limit - set how often card use limit is reset using pre-made options or using custom expression.
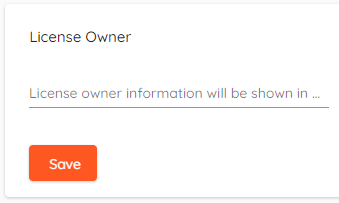
¶ License Owner
Enter license owners name and it will be shown in main menu instead of "License".
¶ Mobile ID
Mobile ID providers can be added in this section. Also, you can check the current connection status, edit provider or remove it.
Please follow further instructions on how to setup and issue Mobile ID
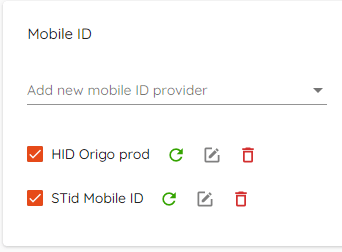
- Add new mobile ID provider - Select Mobile ID provider you want to set up.
 - Check status of Mobile ID provider.
 - Edit details of Mobile ID provider.
 - Remove mobile ID provider.
¶ Password policy
Starting from version 4.16.140 release, we are introducing a password policy settings along with password security improvements.
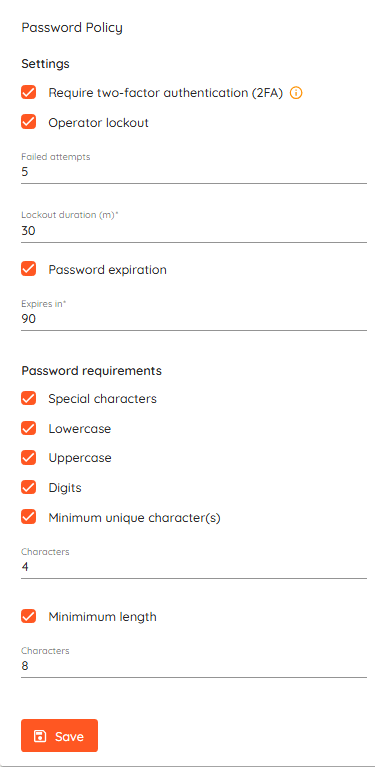
- Require two-factor authentication - This will enforce every operator in CredoID to use two-factor authentication.
- Operator lockout - Set amount of failed attempts after which the user will be locked out for set duration of time.
- Password expiration - Set default value of time duration (days) that will be set when creating a new operator with "Password expiration" check mark.
- Special Character - Requires a non-alphanumeric character in the password.
- Lowercase - Requires a lowercase character in the password.
- Uppercase - Requires an uppercase character in the password.
- Digits - Requires a number between 0-9 in the password.
- Minimum unique characters - Requires the number of distinct characters in the password.
- Minimum lenght - The minimum length of the password.
¶ Parking
Parking occupancy limiter is a control feature made to regulate the flow of vehicles. It evaluates vehicle flow over a rolling time window and prevents sudden surges by temporarily restricting access when approaching thresholds.
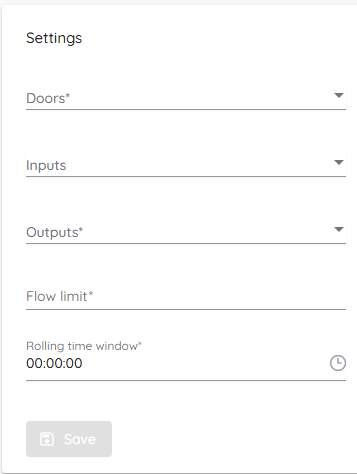
- Doors - "Access Granted" events will be counted towards the flow limit for selected doors. If flow limit is not reached - selected output will be triggered.
- Inputs (optional) - Select an input that will trigger selected output. When input is triggered it will be counted towards the flow limit count. If flow limit is not reached - selected output will be triggered.
- Outputs - Select an output that will be triggered by previously selected doors or input events.
- Flow limit - Amount of vehicles that can pass through the gates during rolling time window.
- Rolling time window - Only events within this time period counts toward limit.
¶ Backup & Restore
Create and restore backup and set automatic backups. Backup will consist of current database snapshot, configuration files and media such as profile images, map backgrounds etc.
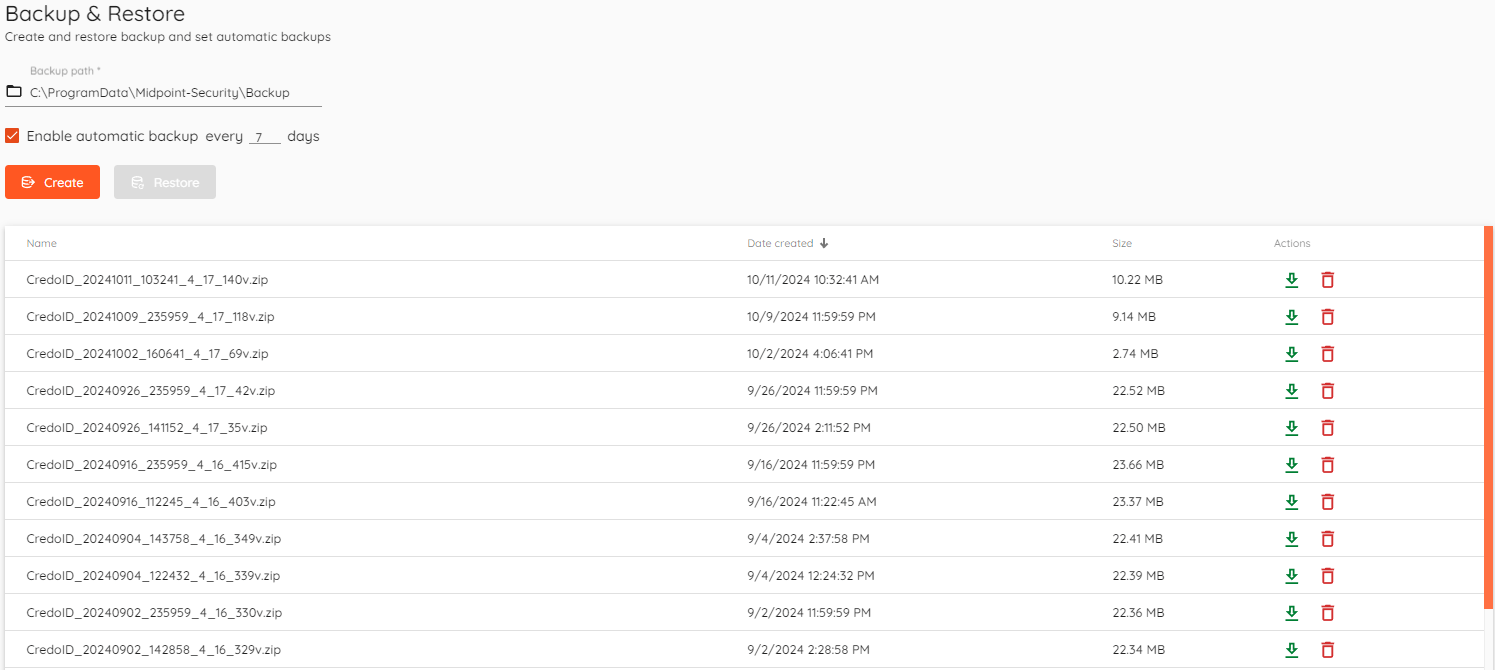
Create button will instantly create a backup.
Restore button restores data from a selected backup.
You can also enable automatic backups and select how often they will be created.
Default backup storage directory is C:\ProgramData\Midpoint-Security\Backup.
It can be changed by editing backup path field.

Backup should be restored only for the same version. Restoring previous backup on top of newer CredoID might break functionality.
Backups can be downloaded by clicking  in the actions column.
To delete backup click on in the actions column.
¶ Clean-up
Set automatic clean-up for events, users and backups.
CredoID will run automatic clean-up check each hour. Clean now allows to start check right away.
Any of the modified settings be saved by clicking Save before clicking Clean now.
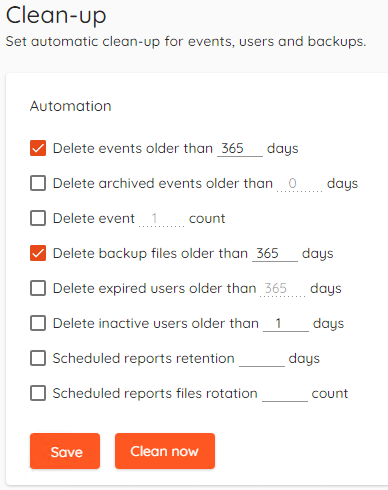
- Delete events older than ___ days - Automatically delete events that are older than set amount of days.
- Delete archived events older than ___ days - Automatically delete archived events that are older than set amount of days.
- Delete event ___ count - Only keeps set amount of events in the database.
- Delete backup files older than ___ days - Automatically delete backup files that are older than set amount of days.
- Delete expired users older than ___ days - Automatically delets expired users that are older than set amount of days. Expired user is defined by "Expiration date" in "Users" menu.
- Delete inactive users older than ___ days - Automatically delete users if they haven't received any of "Access granted" events in set ammount of days.
- Scheduled reports retention ___ days - Automatically delete scheduled reports older than set amount of days.
- Scheduled reports rotation ___ count - Only keep set amount of scheduled reports in the system.
¶ Devices
Global device related settings such as PIN code length, OSDP reader LED & Beeper templates & Automatic device synchronization.
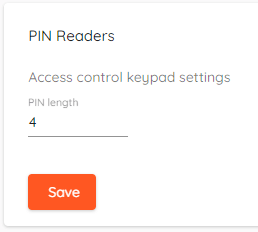
¶ PIN Readers
Set PIN code length accepted by CredoID and readers with keypad (if supported).
¶ LED & Beeper
Using OSDP readers in the system allows you to configure LED & Beeper behaviour. You can have up to 3 templates that can be configured and applied to each door.
"Default template" is configured to match controller manufacturer default configuration and is used as default when creating new door.
This feature is supported only with HID Aero and Mercury controllers.
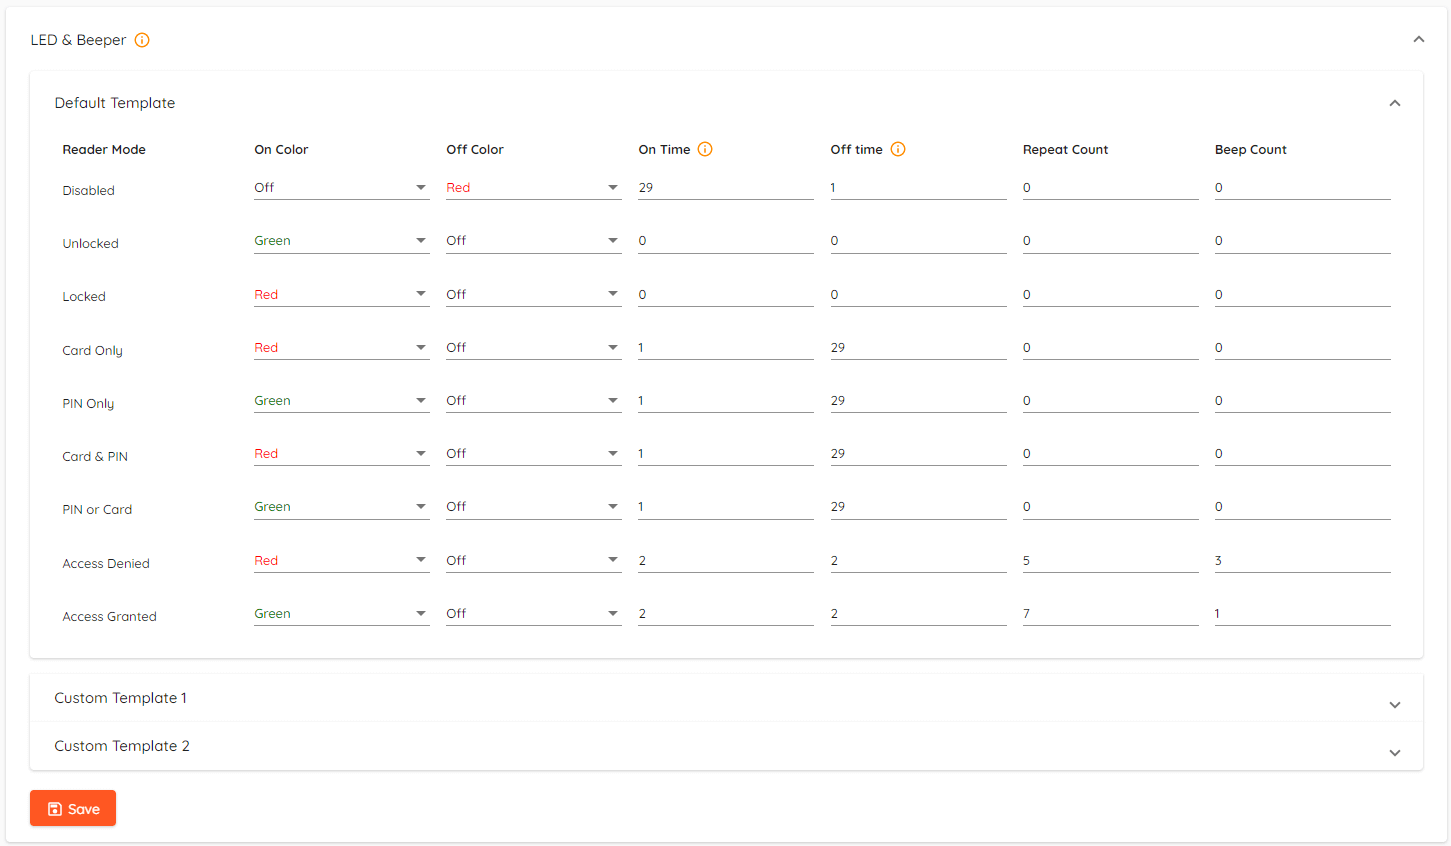
- Reader Mode - Reader modes, i.e. what happens with LED & Beeper when user gets "Access Granted".
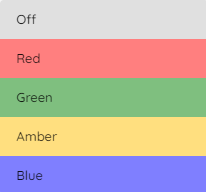
- On/Off color - Set readers color during certain modes on/off state.
- On/Off Time - Set how many ticks(0.1 s/tick) each state will last.
- Repeat count - Set how many times on/off cycle will be repeated.
- Beep count - Set how many times reader will beep on credential read.
When using "Card & PIN" reader mode - reader goes into "PIN only" mode after swiping card first or into "Card only" mode after entering PIN first. LED changes accordingly.
Available colors:
¶ Auto synchronization
Automatic synchronization can be configured here.
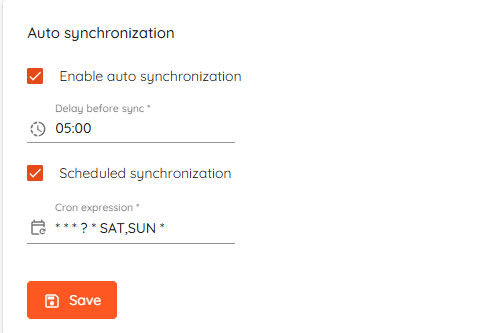
- If Auto Synchronization is enabled, all devices with the configuration state "Pending changes" will be synchronized automatically after the specified delay period.
- If Scheduled Synchronization is enabled, all devices with the configuration state "Pending changes" will be synchronized according to the defined cron schedule.
¶ Memory allocation
Supported only with Mercury controllers. Will require each device to be fully synchronized.
Mercury controllers allow administrators to adjust the number of access levels assigned to each cardholder. Memory allocation is shared between cardholder capacity and access level storage, creating a trade-off between these two resources.
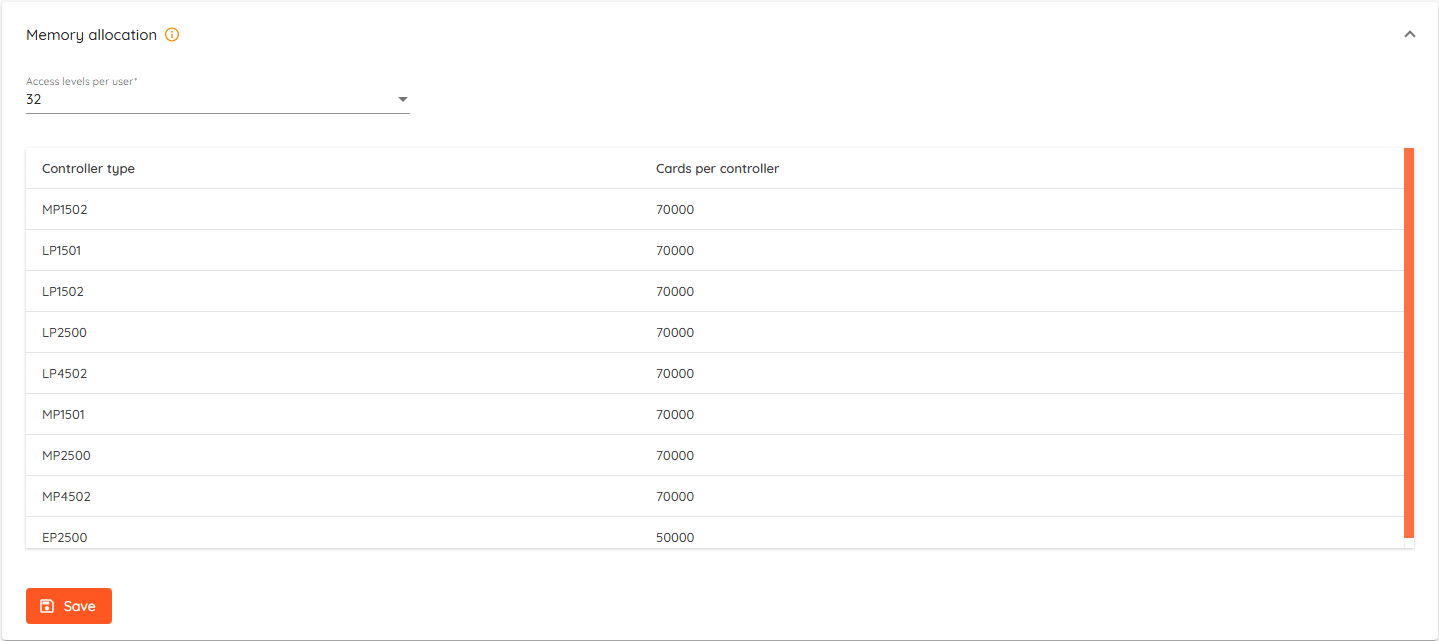
Only devices that have been added to the system are displayed here.
- Increasing the number of access levels per user reduces the maximum number of cardholders that can be stored on the controller.
- Decreasing the number of access levels per user increases the maximum cardholder capacity of the controller.
This flexible memory allocation enables system optimization based on site requirements and user access complexity.
¶ MQTT Server
CredoID runs an embedded MQTT broker inside the backend. External devices (e.g. Axis cameras) connect to CredoID.
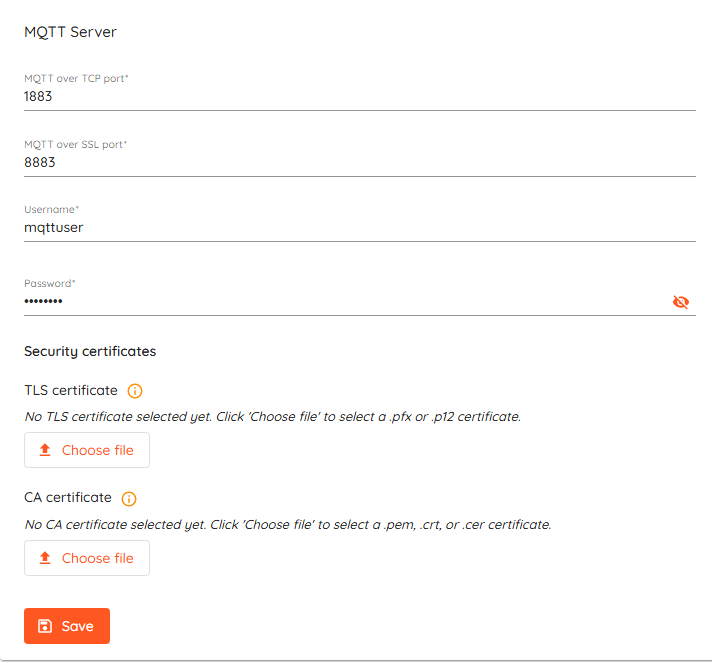
- MQTT over TCP port - Plain MQTT (default 1883).
- MQTT over SSL port - Encrypted MQTT (often 8883). Only works after TLS cert is uploaded. Devices must use this exact port.
- Username - Auth for external devices. Must match on every device.
- Password - Auth for external devices. Must match on every device.
- TLS certificate (.pfx/.p12) - Server cert for the SSL port. Cert must include the IP/hostname devices use to reach CredoID.
- CA certificate (.pem/.crt/.cer) - Trust anchor for client certs (mTLS). Only enforced if client certificates are required.
¶ Logs
Change logging level and download logs.
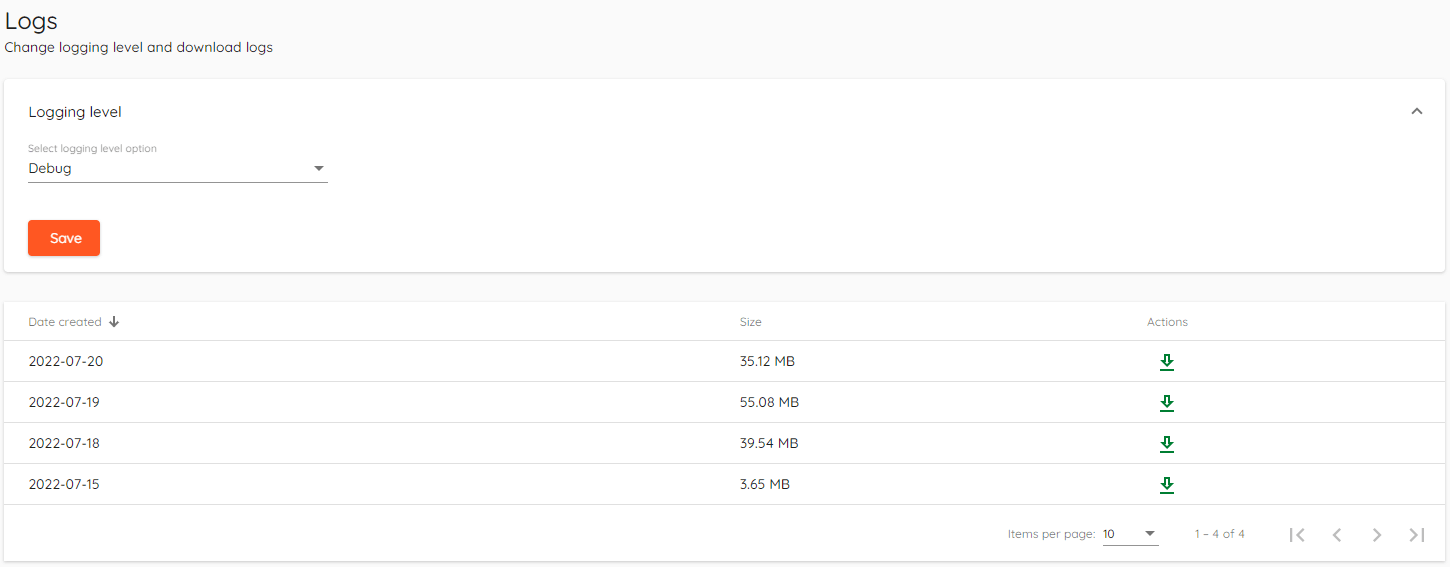
Sorting from highest to lowest, logging level can be set to:
- Trace
- Debug
- Information - Default
- Warning
- Error
- Critical
- None
Logs can be downloaded by clicking in the actions column.
Stored logs can be found at C:\ProgramData\Midpoint-Security\CredoID Service\Logs
This information is necessary to provide when requesting CredoID support. Please enable "Debug" if you have a repeating issue and submit the logs to our support desk.