Siram OCR
This page contains information how to configure Siram OCR to use with CredoID
Siram Configuration
This section covers Siram configuration in CredoID.
Adding the device
- Navigate to "Hardware" -> "Devices" tab.

- Click "Add" button.
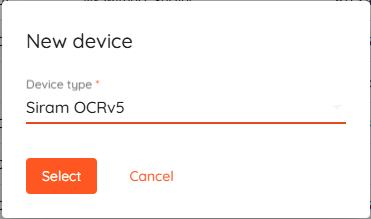
- Select "Siram OCRv5"from the list and click "Select".
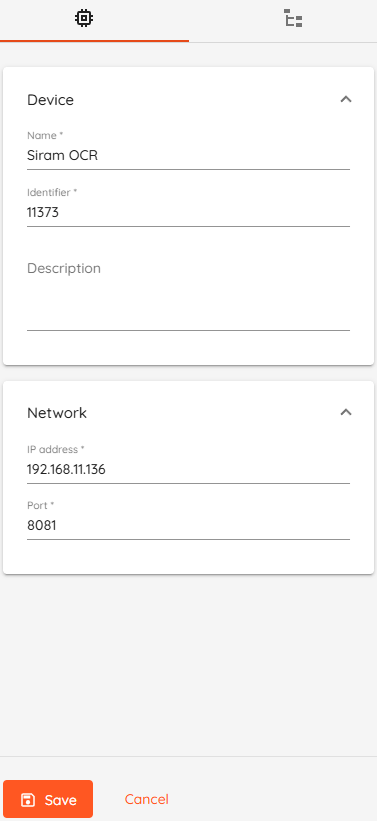
- Device Name: type unique name for device.
- Identifier: must be same as Lane ID in Siram settings.
- Description: type device description, field is optional.
- IP address: type server address.
- Port: default value 8081.
- Click "Save" button.
Device status should change to "Online" few moments after saving.
Cameras detection
- Navigate to "Hardware" -> "Devices" tab and click on configured siram server.
- Click on "Devices Modules" tab.
- Click "Discover" button to detect cameras.
- Click "Save" button.
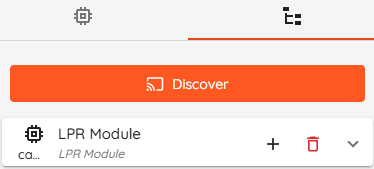
Click "+" to add cameras to list.
Confirmation dialog will pop-up, click "Yes" to add selected camera to the list of cameras.
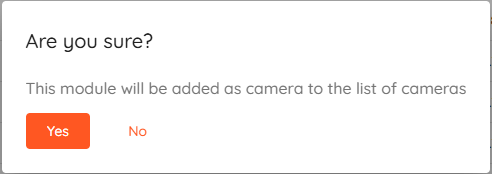
Once added - you can use this LPR module to attach images via automation rules.
LPR Setup
- Navigate to "Hardware" -> "Doors" and click "Add".
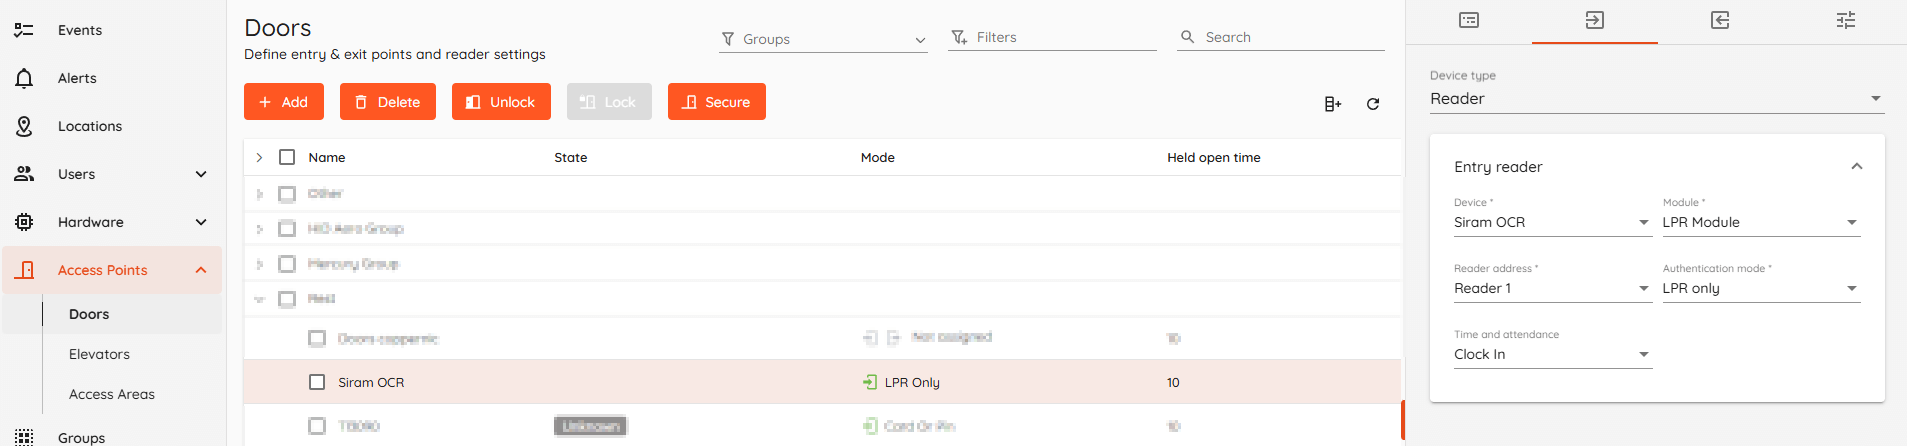
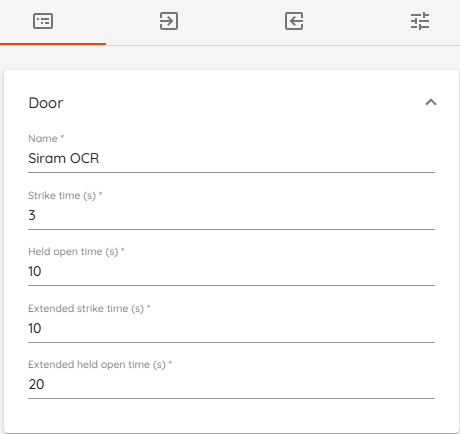
- "Door details" menu should open, enter desired name, change strike and held open times if needed.
- Navigate to "Entry reader" settings.
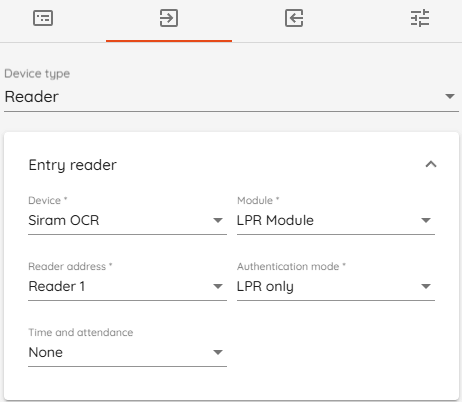
- Select "Reader" as door device type.
- Select "Siram OCR*" as Device.
- Select "LPR Module" as module.
- Select "Reader 1" as reader address.
- Select "LPR only" as authentication mode.
- Click "Save".
- Navigate to "Automation" -> "Triggers" and click "Add".
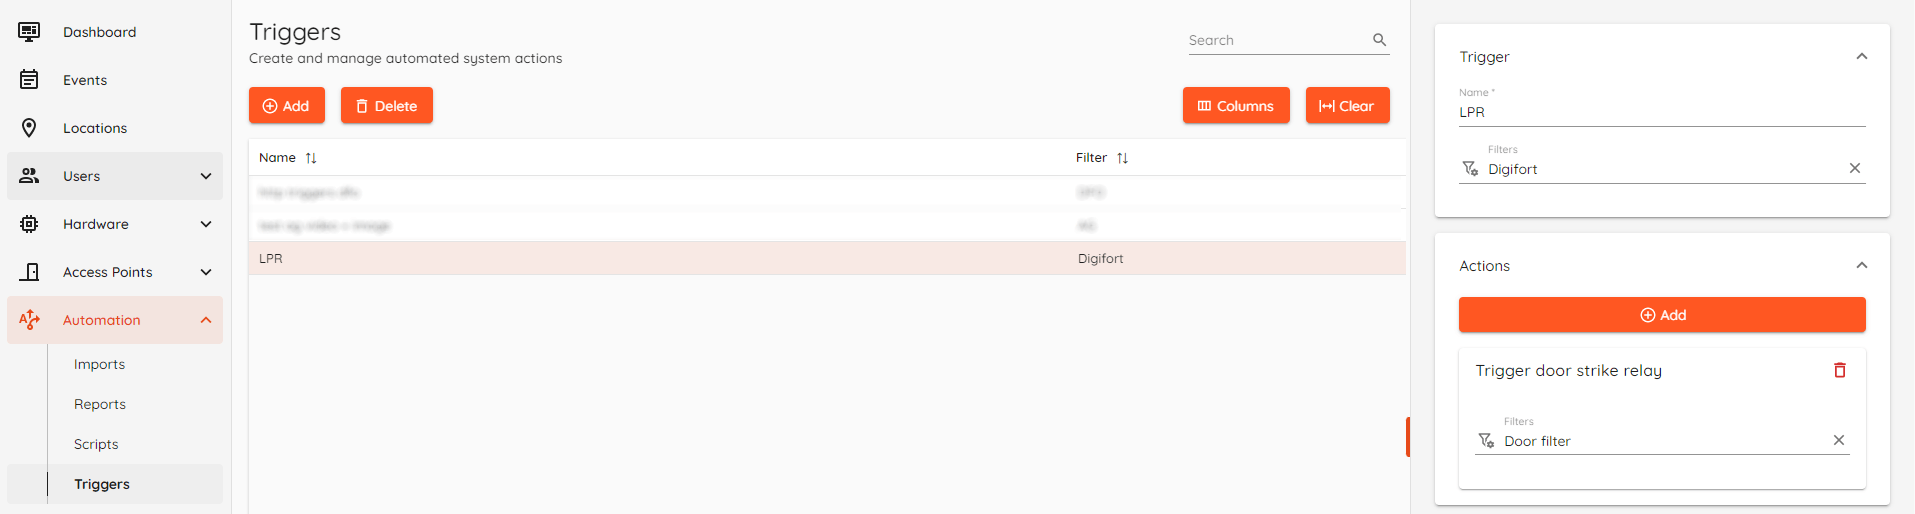
- Create a filter - select previously created "Siram" doors from "Doors" category and "Access granted" from "Event types" category.
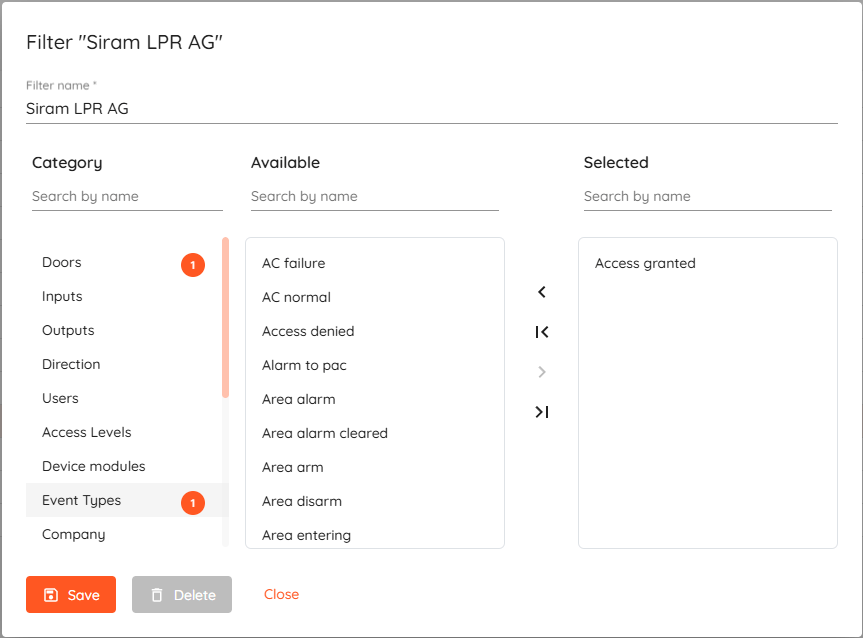
- Add triger action - select "Devices", then "Trigger door strike relay" and click "Select".
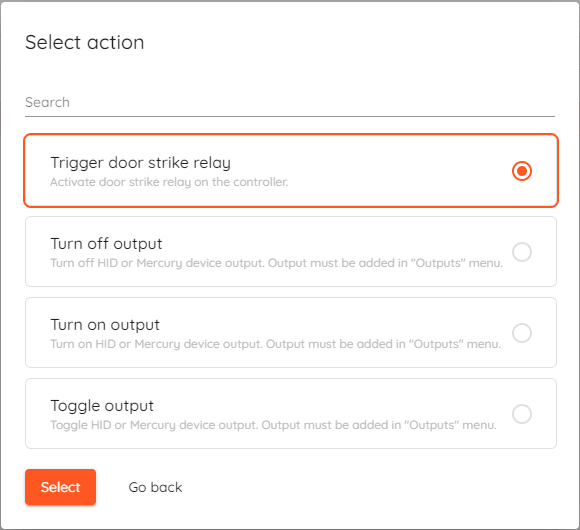
- Click "Create filter" in "Actions" section and select which "Doors" will grant access after successfull license plate recognition and click "Save".
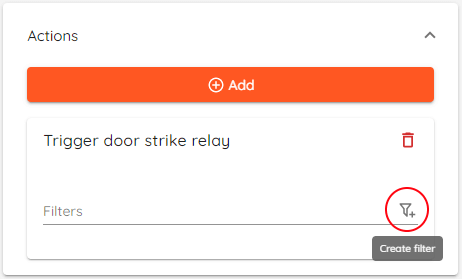
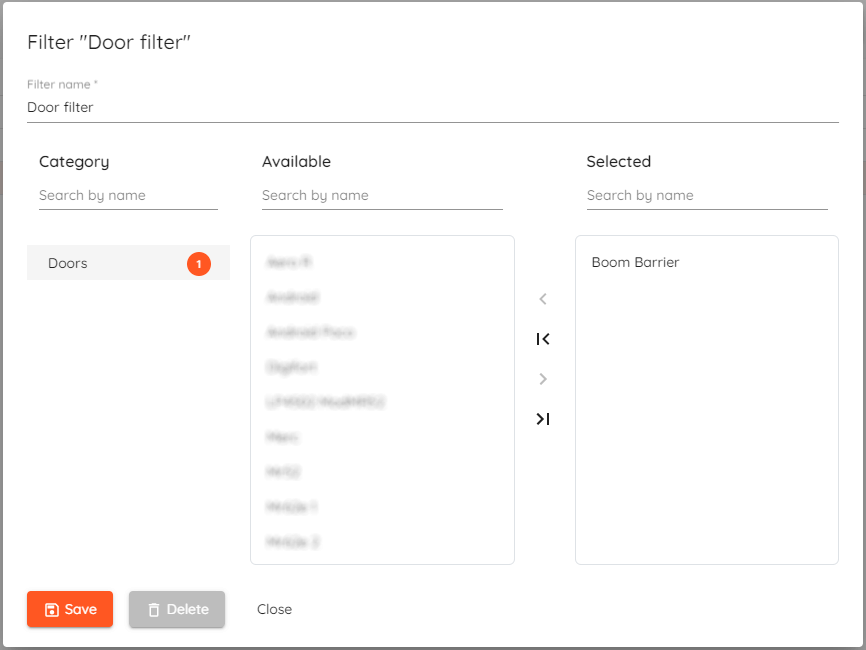
- Click "Save".
Now you can test the system, just don't forget to add license plate number to users identification set.
Siram settings
Navigate to "PROTOCOLS -> ESC3WEB".
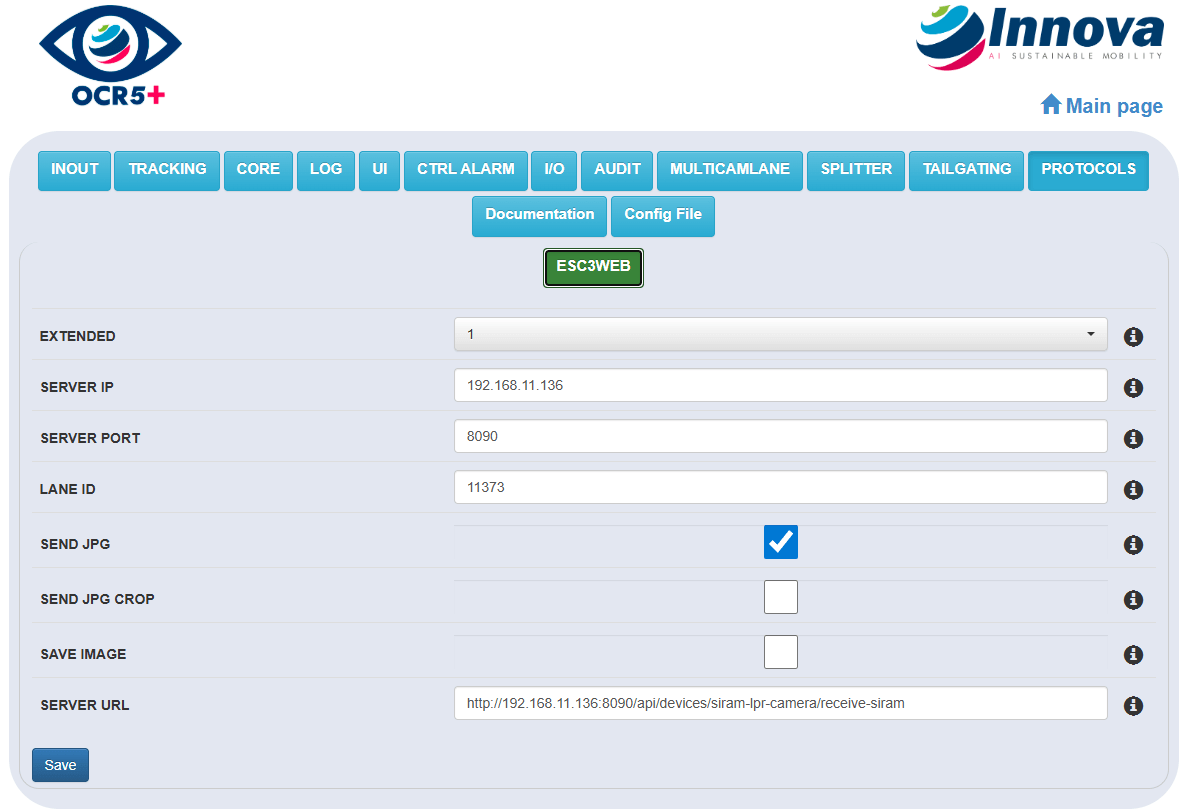
- Extended - Enable extended mode to send more information to esc3 server.
- Server IP - IP of the server.
- Server Port - Server listening port.
- Lane ID - Lane identifier.
- Send JPG - Enable sending the image to the server.
- Send JPG crop - Enable sending the license plate crop instead of the complete image. (Send JPG must be enabled)
- Save image - Enable saving the image. (Saved to Siram app folder 'records_yyyy_mm_dd')
- Server URL - URL for the API. (http://<server-ip>:<port>/api/devices/siram-lpr-camera/receive-siram)