¶ The Interface
¶ Basics
In this section we can create rules which will trigger certain actions, e.g. activate an alarm output when someone force opens door or send an e-mail to manager when one of the devices goes offline.
This feature is licensed and requires purchase of additional module.
¶ Creating a new rule
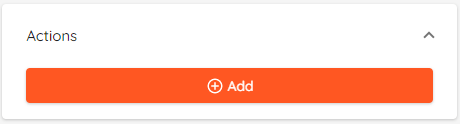
Click Add button to start creating a new rule.
¶ Trigger filters
Basically filters are the events or entities in CredoID that will act as a triggers.
A few examples of filters:
- If user X from company Y department Z on schedule W gets access granted on door D then...
- If input X is triggered on schedule Z then...
- If doors are forcefully open or held open then...
¶ Creating a filter for the trigger
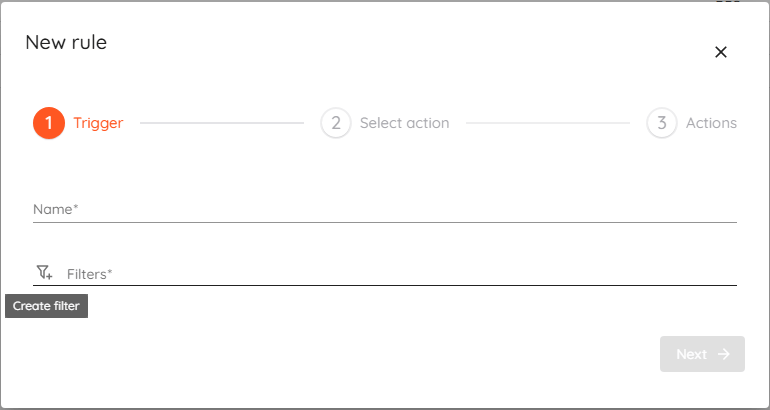
Open "New rule" creation dialog by clicking "Add".
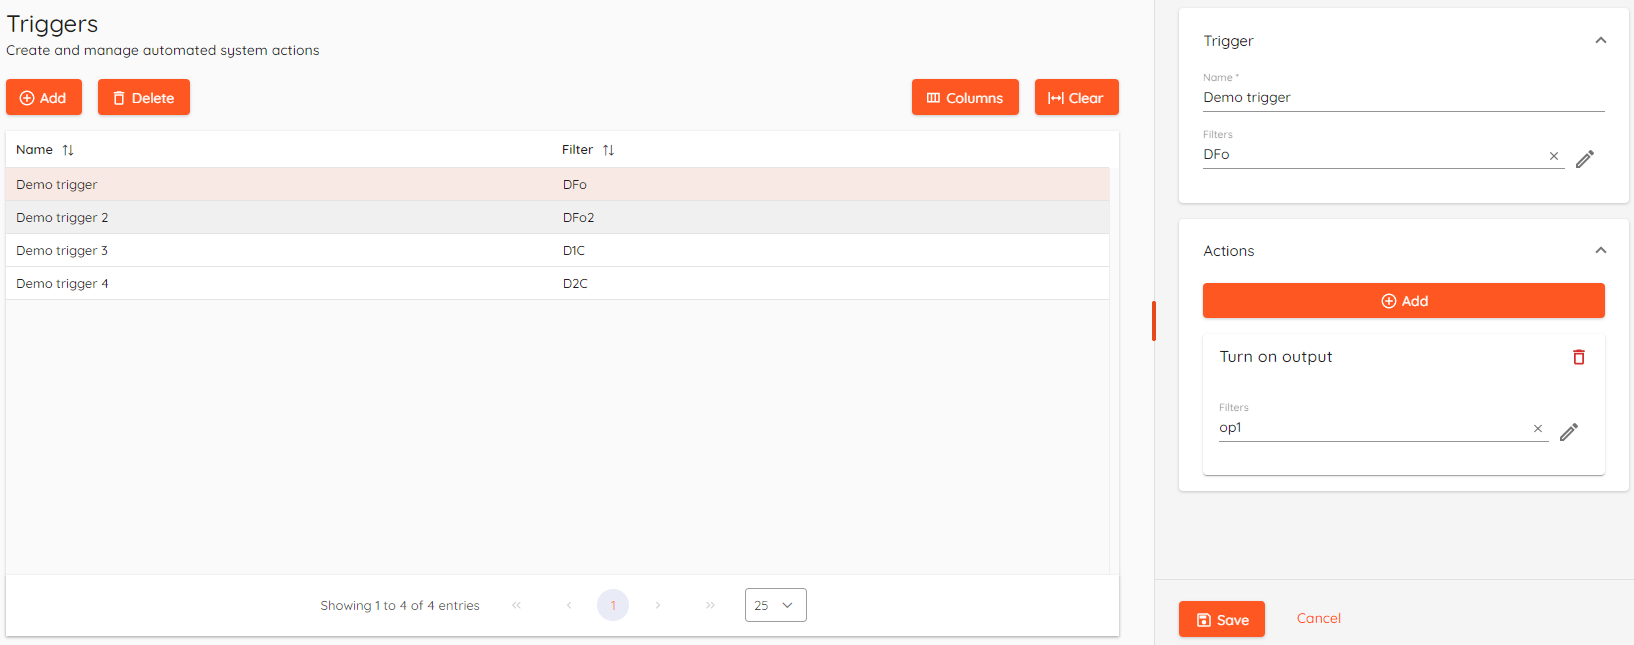
Trigger configuration menu can also be opened by selecting one of already created rules.
To create a new trigger filter click Create filter button.
If any filter is selected there will be Edit filter button available instead.
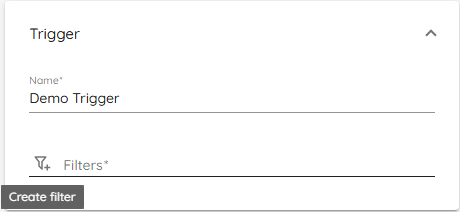
Enter filter name and then select events or entitites to act as a trigger.
Select any object from "Available" list and click ‘>’ to move it to Selected field (or double-click any selected object) and click Save.
In this example it's Door forced open event from Event types.
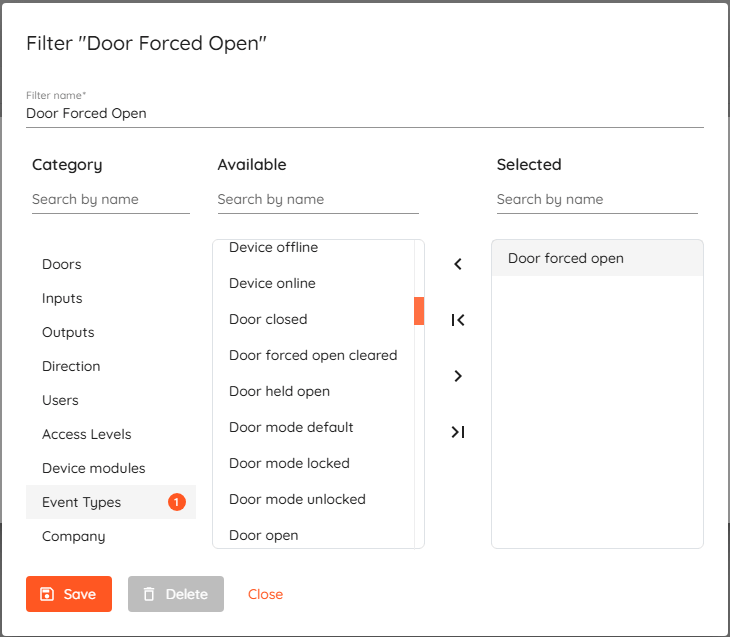
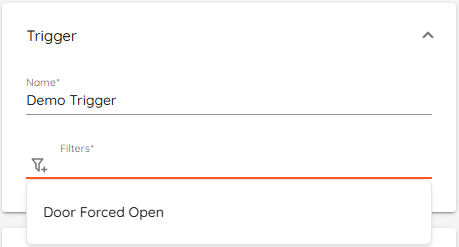
Filter is created and can be selected from the list.
¶ Selecting an action
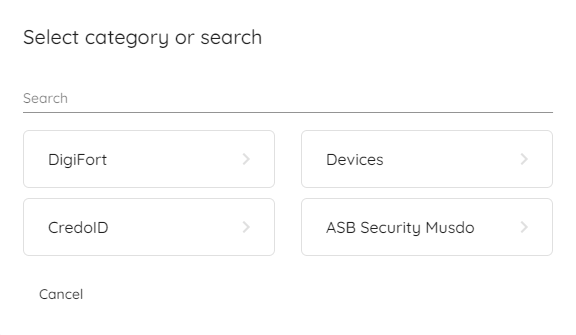
Action selection menu is shown at 2nd step of "New rule" creation or after selecting an existing rule and clicking Add button in “Actions” section.
Actions can be selected by using Search function or by navigating through menu.
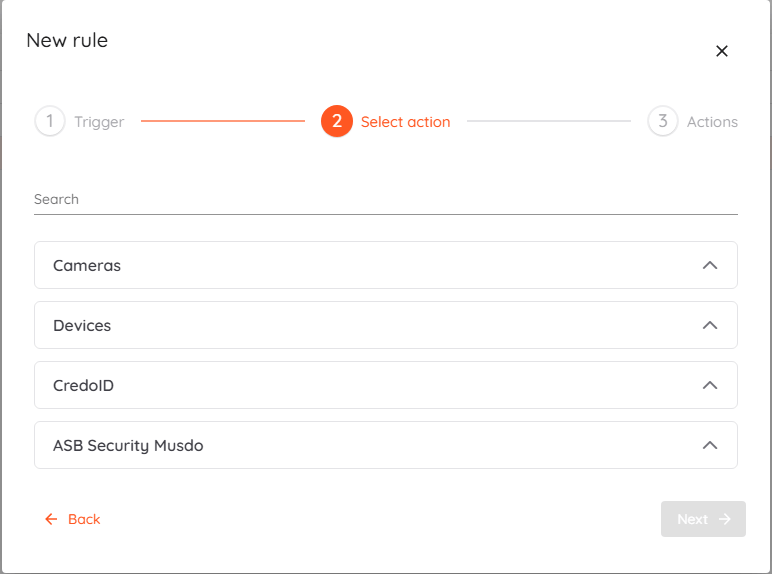
Select desired action(s).
¶ Cameras
- Attach camera image - Attach a camera image to any event.
- Attach camera video - Attach a camera video clip to any event.
¶ Devices
- Change door mode - Change door mode to locked, unlocked or secure.
- Trigger door strike relay - Activate door strike relay on the controller.
- Turn off output - Turn off HID or Mercury device output. Output must be added in "Outputs" menu.
- Turn on output - Turn on HID or Mercury device output. Output must be added in "Outputs" menu.
- Toggle output - Toggle HID or Mercury device output. Output must be added in "Outputs" menu.
¶ CredoID
- Send e-mail - Send an e-mail with event details when some event occurs.
- Send report - Send the report via email using a report template.
- Trigger script - Execute script when an event takes place.
- HTTP Request - Send custom http request when specific event is triggered.
- NX Witness generic event - Create a generic event in Nx Witness VMS.
¶ ASB Security Musdo
- Arm group (area) - Arm group (area) on ASB Musdo security panel.
- Disarm group (area) - Disarm group (area) on ASB Musdo security panel.
- Toggle group (area) - Toggle between arm and disarm group (area) on ASB Musdo security panel.
¶ Adding an action filter
Action filter can be created at 3rd step of new rule creation.
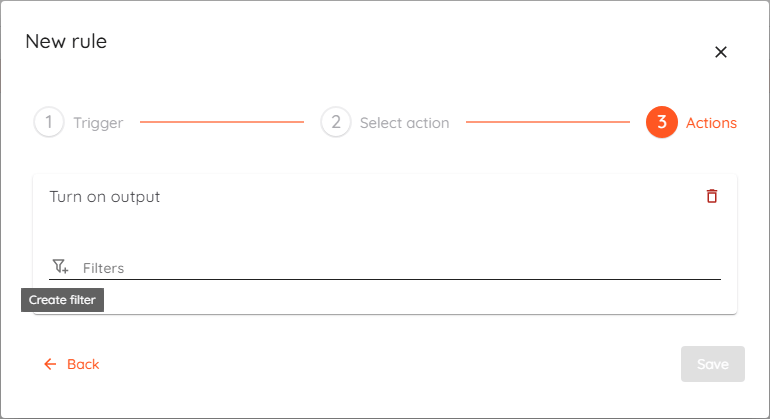
In this example we will use Turn on output action.
To filter which output or outputs are used in the action, click Create filter button.

Enter filter name i.e., "Output 1" and then select output from "Available" list and click ‘>’ to move it to Selected field (or double-click any selected object) and click Save.
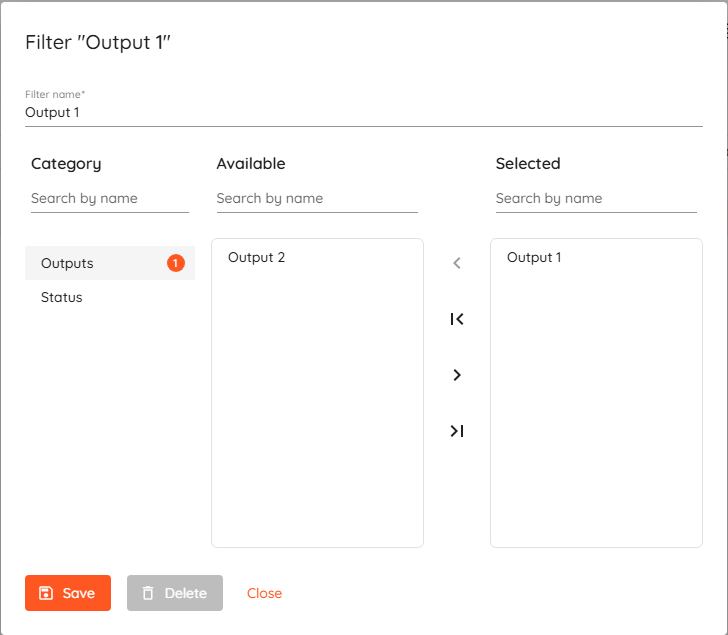
Filter for the action is created and can be selected from the list.
Apply your created filter and click Save.
¶ Creating a rule to send e-mail
To create a new rule, click Add.
Create a new trigger filter or select existing one.
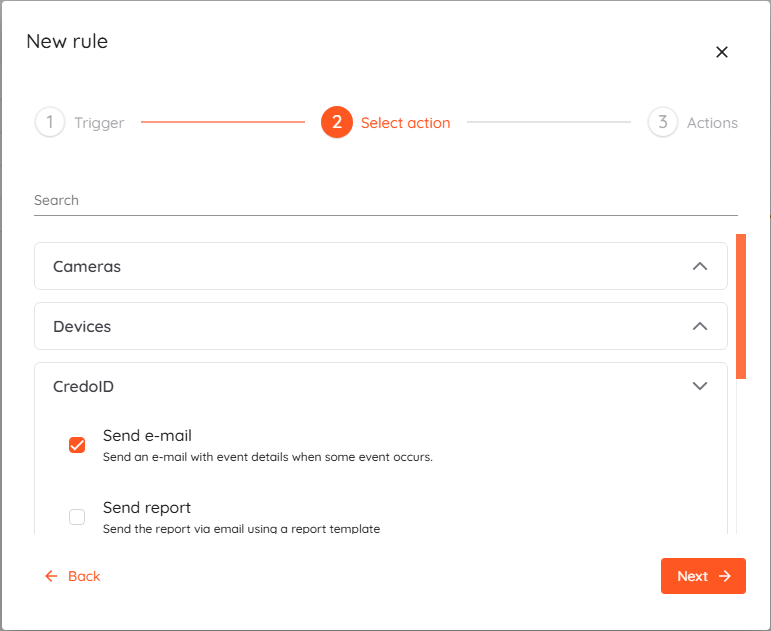
Add action "Send e-mail" - In the “Select actions” section select CredoID → Send e-mail.
E-mail provider should be added in "Settings → General → Notifications". Otherwise, you won't be able to use this feature.
Fill in required fields.
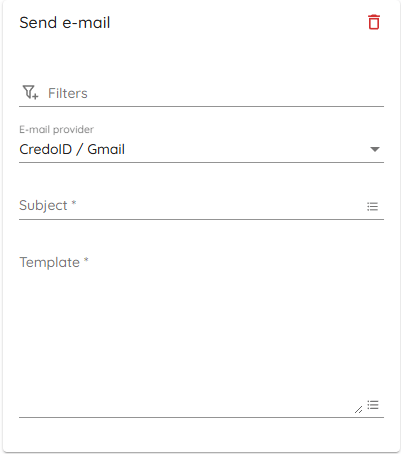
- Filters - Create or select existing filter. This filter can contain users, departments, companies and access levels, e.g. You can make a filter so that everyone with certain access level will get e-mails during events selected in trigger filter (selected users must have valid e-mail address in their user details).
- E-mail provider - Select your e-mail provider.
- Subject - Subject line for e-mail. CredoID variables can be used.
- Template - Message, that will be sent to filtered users. CredoID variables can be used.
¶ Creating a rule to send a report via e-mail
To create a new rule, click Add.
Create a new trigger filter or select existing one.
Add action "Send report" - In the “Select actions” section select CredoID → Send report.

E-mail provider should be added in "Settings → General → Notifications". Otherwise, you won't be able to use this feature.
Fill in required fields.
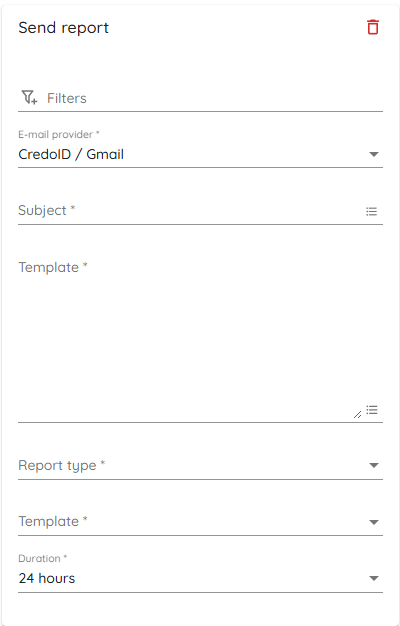
- Filters - Create or select existing filter. This filter can contain users, departments, companies and access levels, e.g. You can make a filter so that everyone with certain access level will get e-mails during events selected in trigger filter (selected users must have valid e-mail address in their user details).
- E-mail provider - Select your e-mail provider.
- Subject - Subject line for e-mail. CredoID variables can be used.
- Template - Message, that will be sent to filtered users. CredoID variables can be used.
- Report type - Report type selection.
- Template - Selected report type template selection.
- Duration - Reporting period selection.
¶ E-mail provider settings
E-mail provider configuration can be done in "Settings → General → Notifications"
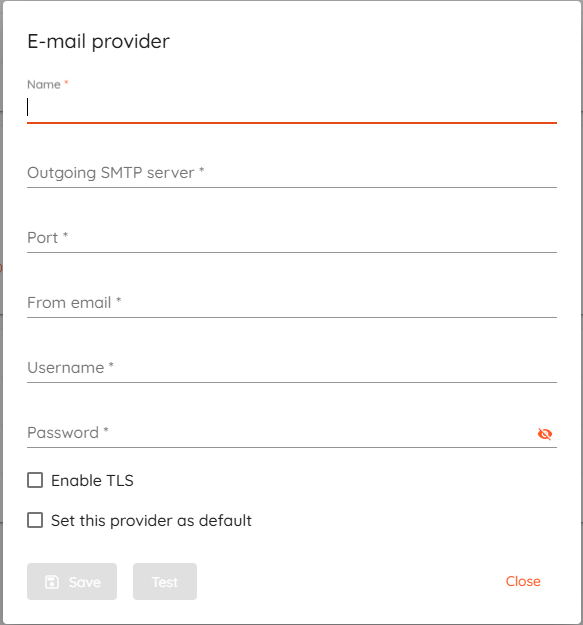
Outgoing e-mail configuration like SMTP and SSL/TLS is provided by your e-mail provider.
¶ Variables
You can add variables to e-mail template or to a subject line - click icon in bottom right corner of “Send e-mail” section.
Variables are also used in HTTP Triggers.
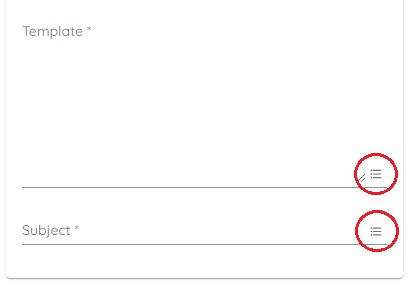
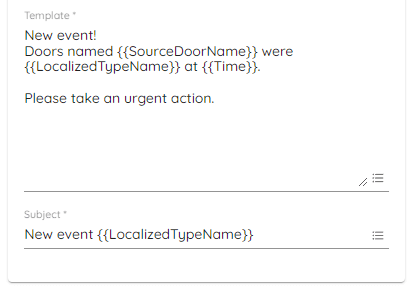
Variables can be used to pass various information such as device name, timestamp, first&last name, event type etc.
In example, rule where e-mail is sent when doors are forced open - in the e-mail template, using variables, you can specify which doors was it, exact time when it happened etc.
¶ Using rules to send HTTP request
To send a custom HTTP request when specific event is triggered firstly you need to create a trigger filter.
After creating filter you need to add HTTP Request as an action.
Select "CredoID" and then "HTTP request".
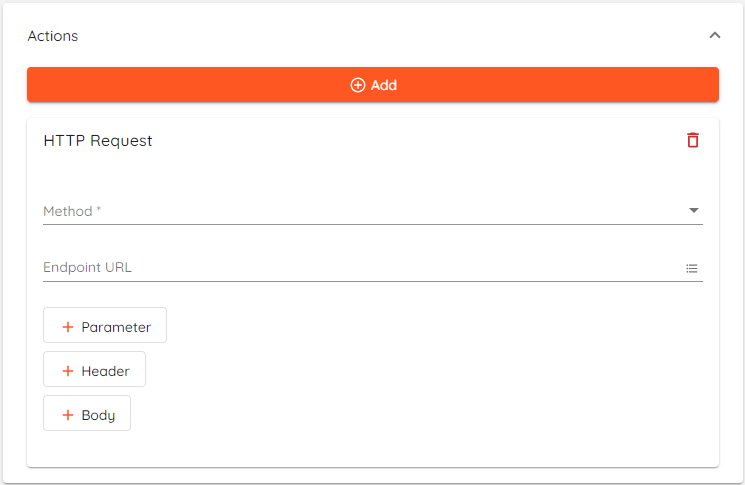
Now you need to configure HTTP request that will be sent when specific event is triggered.
Select Method, enter Endpoint URL and add needed Parameter/Header keys(arguments) and their values. Also, Body can be added as well.
Required details for HTTP Requests, if not publicly available, should be obtained through authorized sources.
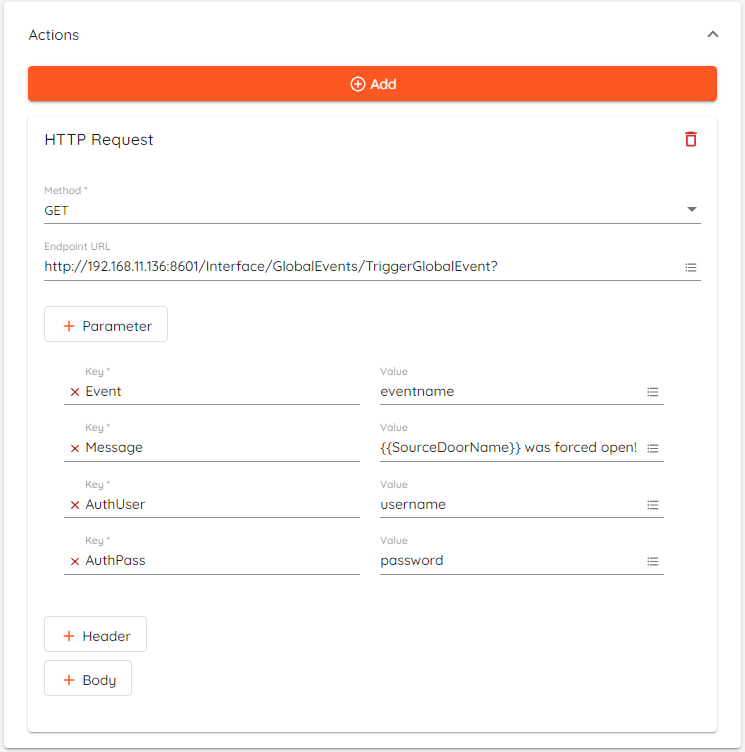
In this example I'm using GET method to trigger a global event with attached message in "Digifort surveillance client". This HTTP Request will be triggered everytime "Door forced open" event is generated in "CredoID". This request also requires authentication, so I've added "AuthUser" and "AuthPass" keys.
¶ Create a generic event in NX Witness VMS
To create a new rule, click Add.
Create a new trigger filter or select existing one.
Add action "NX Witness generic event" - In the “Select actions” section select CredoID → NX Witness generic event.
Select required options, fill in required fields and finalize configuration.
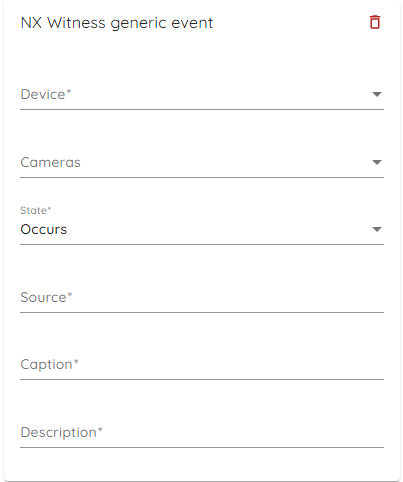
- Device - Select NX Witness Server.
- Cameras - Select cameras. (e.g. if there's a generic event in NXW VMS that triggers recording - it will trigger that only for selected cameras).
- State - Select generic event state.
Starts - Use it to start a continuos action (e.g. recording).
Stops - Use it to stop a continuos action.
Occurs - Use it to trigger an action. - Source/Caption/Description - Event will trigger only if there are matches in the 'Source/Caption/Description' with any of the entered keywords. (Only 1 field is required, others are optional).
Camera rules must be created in NX Witness VMS so a Generic event can trigger them.