Cloud
A short guide for integrators on how to set up a Cloud instance for CredoID
NOTE: CredoID Cloud is still in development, some functions might not work properly.
Login
Go to https://cloud.credoid.com/ and login using your e-mail and password.
Click "Forgot password?" if you want to reset your password.
Deploy new instance
Once logged in you will be presented with list of instances.

To deploy an instance, click  button.
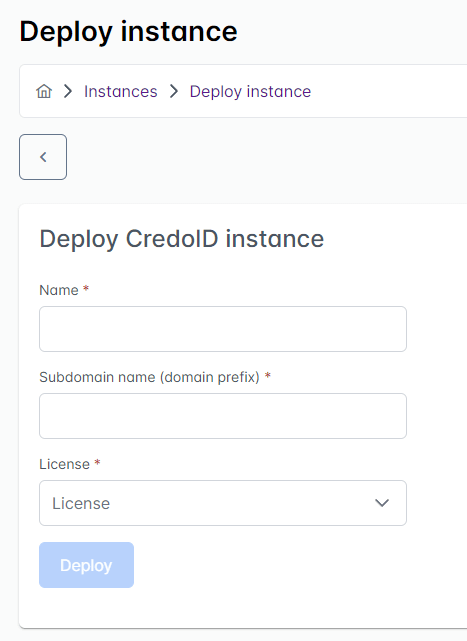
- Name - Name that will be shown in instance list.
- Subdomain name - Domain prefix that will be used to access your cloud instance. (example: prefix.cloud.credoid.com)
- License - Select one of the licenses that have been assigned to your account.
Once the details are filled - click "Deploy".
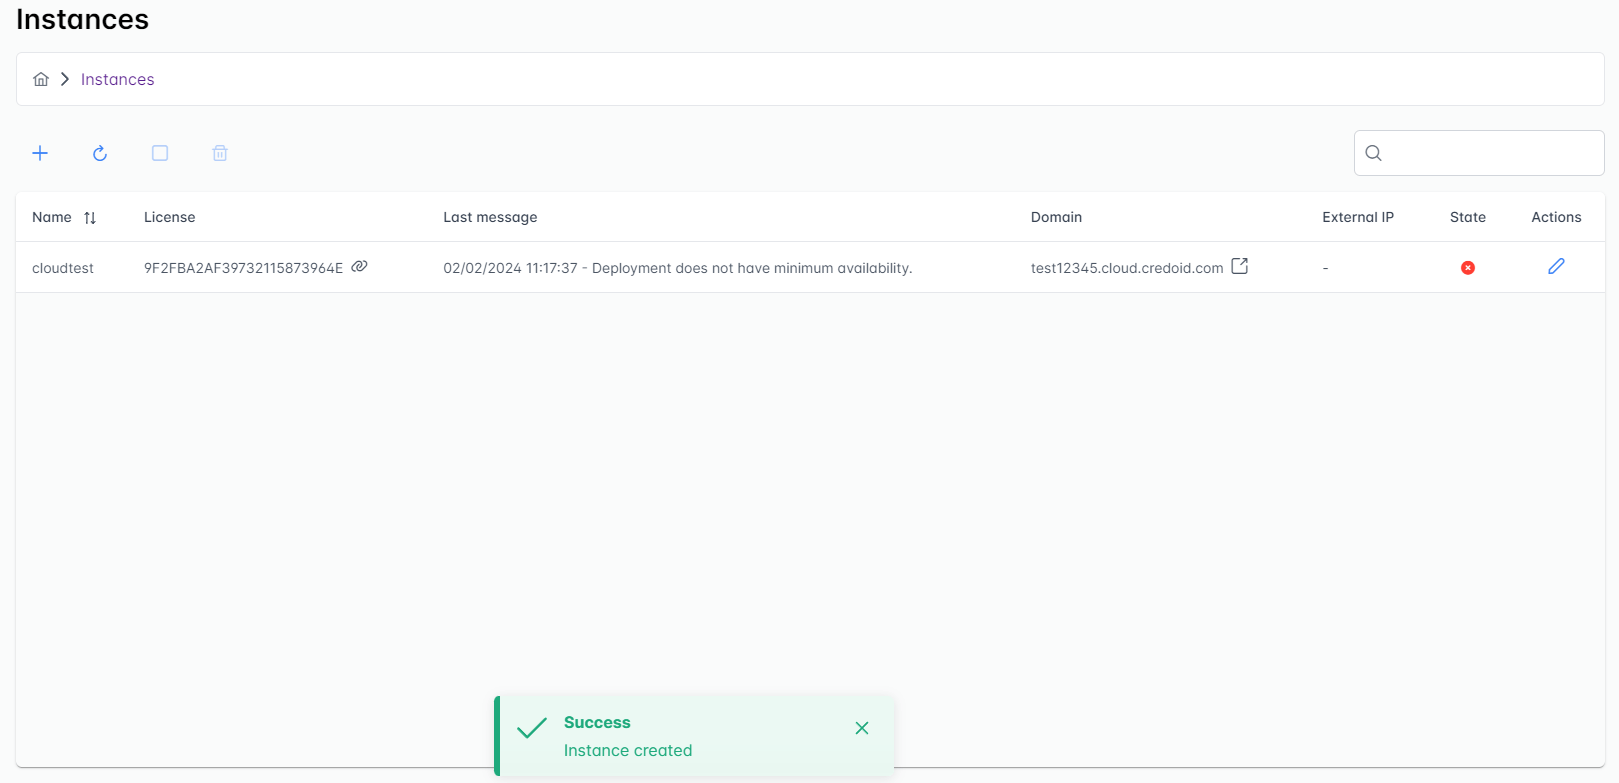
It might take up to 15 minutes until your instance is up and running.
In instance list you should see that the state is "Healthy" once your instance is ready.
You can access your instance via link that's shown in "Domain" column.
Instance login details will be sent to your e-mail address.
Instance list options

- - Deploy new instance.
 - Reload instance list.
 - Stop selected instance.
 - Delete selected instance.
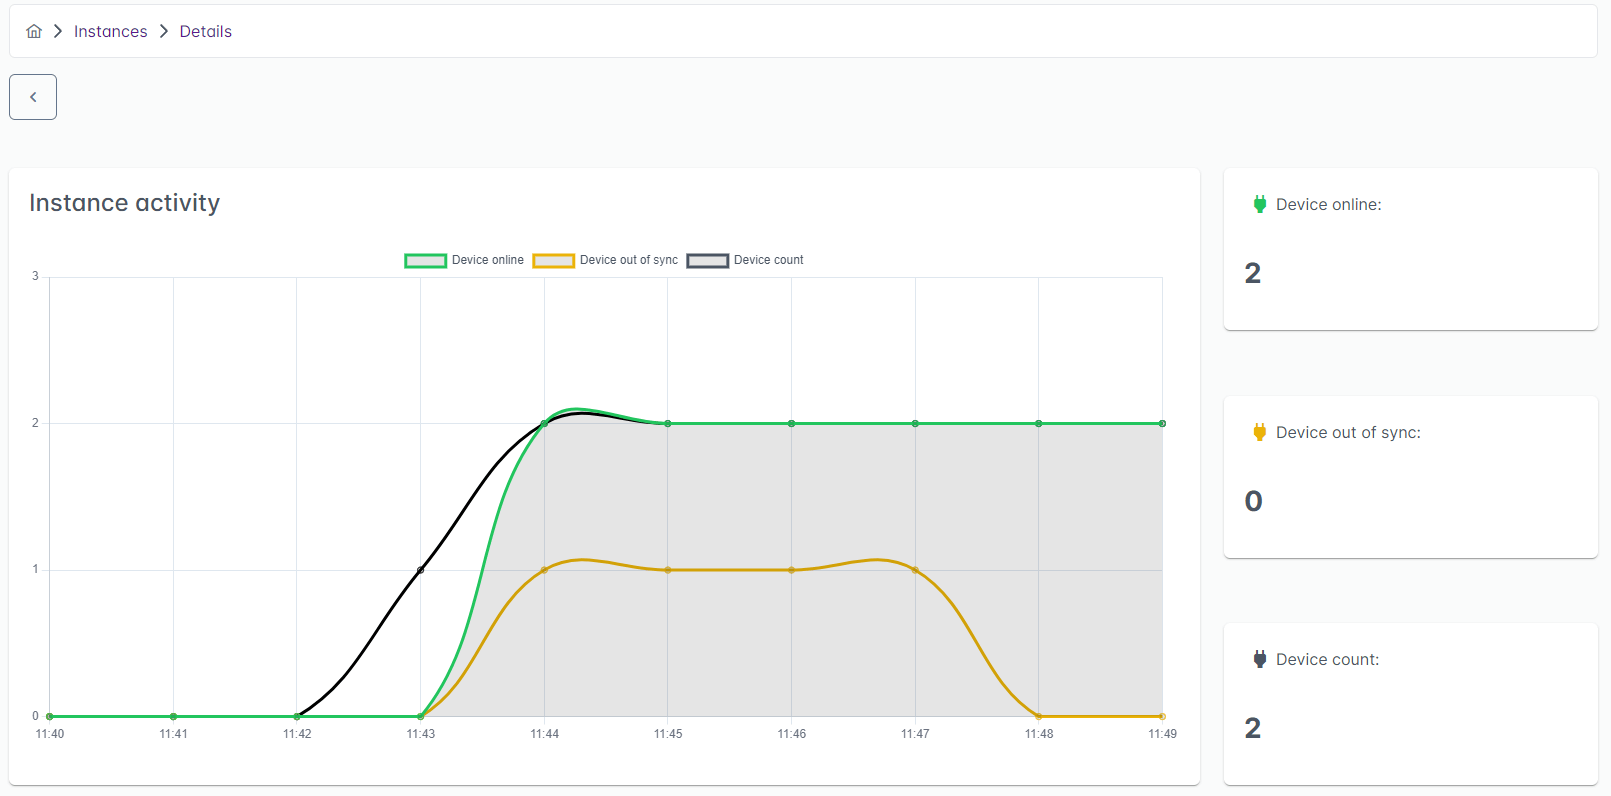
 - View instance details/activity.
Adding controllers
External IP will be assigned to your instance during deployment. It should be used as a host address for controllers.
Go to your device's Web UI and set host address to your assigned cloud instance External IP.
You can follow the same instructions as provided here.
Supported devices
- HID VertX EVO
- EDGE EVO
- Mercury
- Azure
- ASB Musdo
Upon your request HID Aero can be enabled instead of Mercury.