CredoID Visitor Management — Onboarding Guide
Complete setup guide for the CredoID Visitor Management System. Follow these steps to register your company, configure access control, and manage your first visit.
Prerequisites
Before you begin, make sure you have:
- A running instance of the Visitor Management application
- A CredoID server (if using access control integration)
- Admin credentials for your CredoID installation (URL, username, password)
Step 1: Register Your Company
Navigate to: /company-registration
This is the first thing you have to do when the system is freshly deployed. Fill in the registration form to create your company and administrator account.
Company Registration
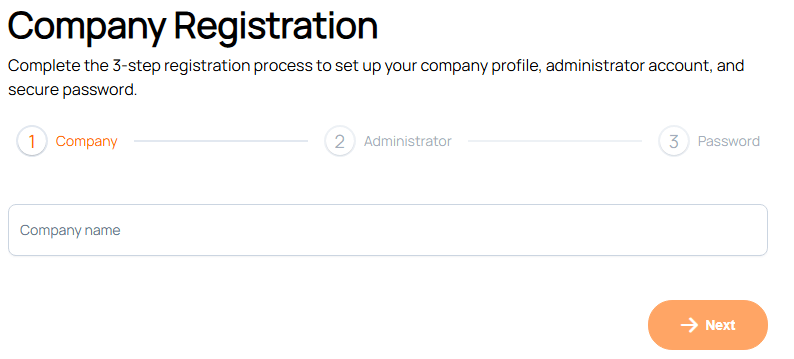
| Field | Description |
|---|---|
| Company name | Your organization's display name |
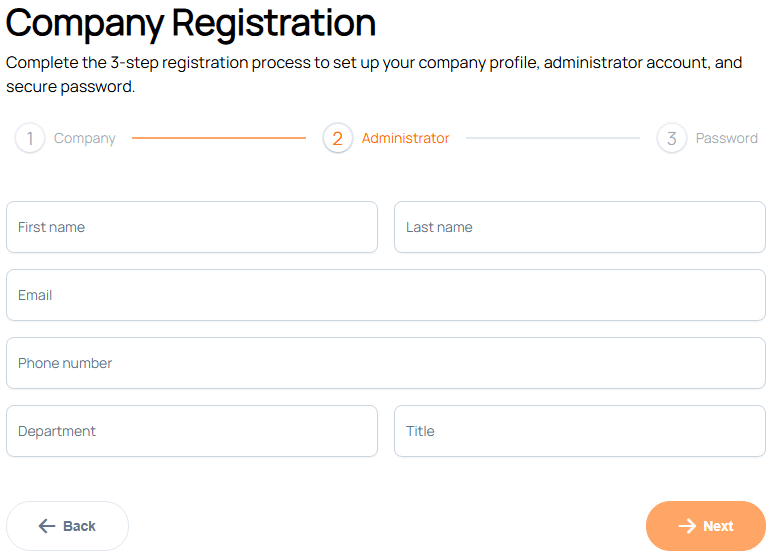
| Field | Description |
|---|---|
| First name | Administrator's first name |
| Last name | Administrator's last name |
| Login email for the admin account | |
| Phone number | Contact phone number |
| Department | e.g., IT, Security, Facilities |
| Title | e.g., System Administrator |
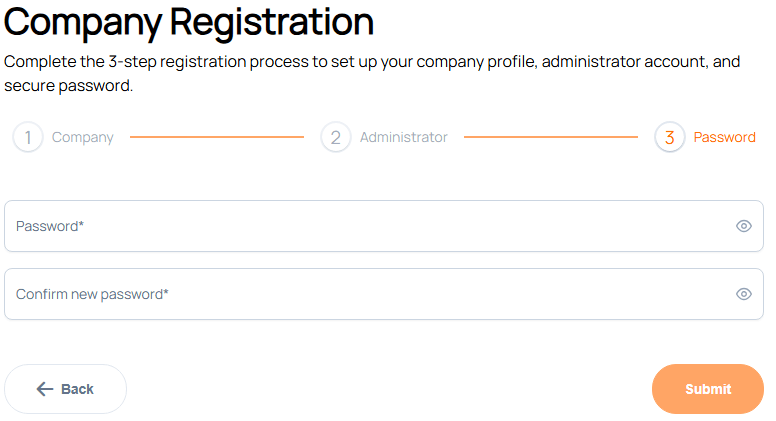
| Field | Description |
|---|---|
| Password | Min. 8 characters, mixed case + number |
| Confirm password | Must match the password above |
After registration, you can log in immediately with your email and password.
Step 2: Log In
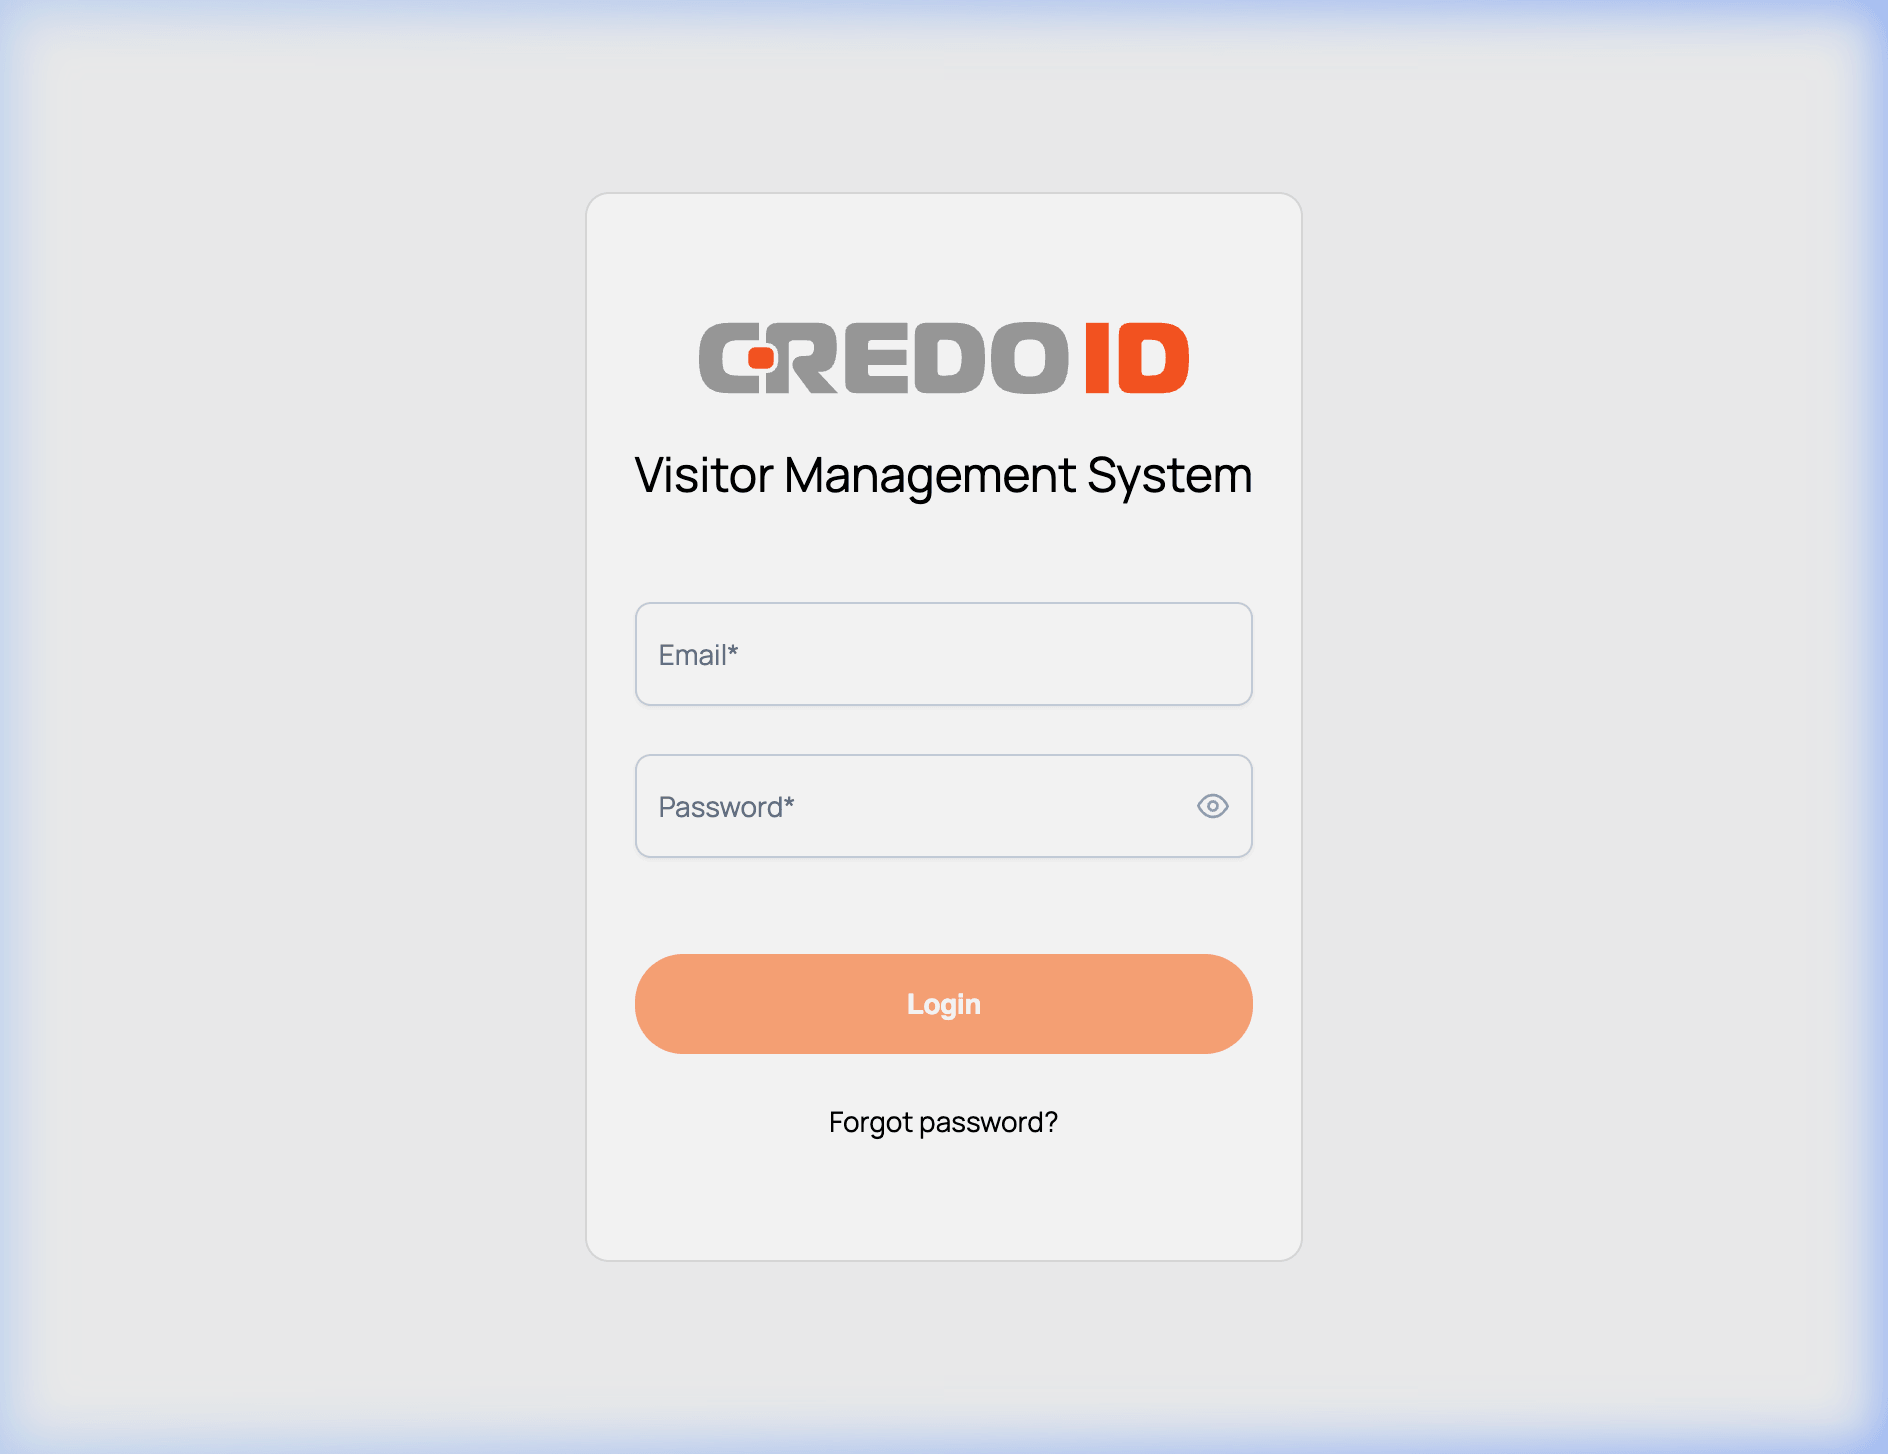
Navigate to: /login
Enter your email and password from Step 1. You will be taken to the Dashboard.
Step 3: Explore the Dashboard
After login, you land on the Dashboard — your real-time overview of visitor activity.
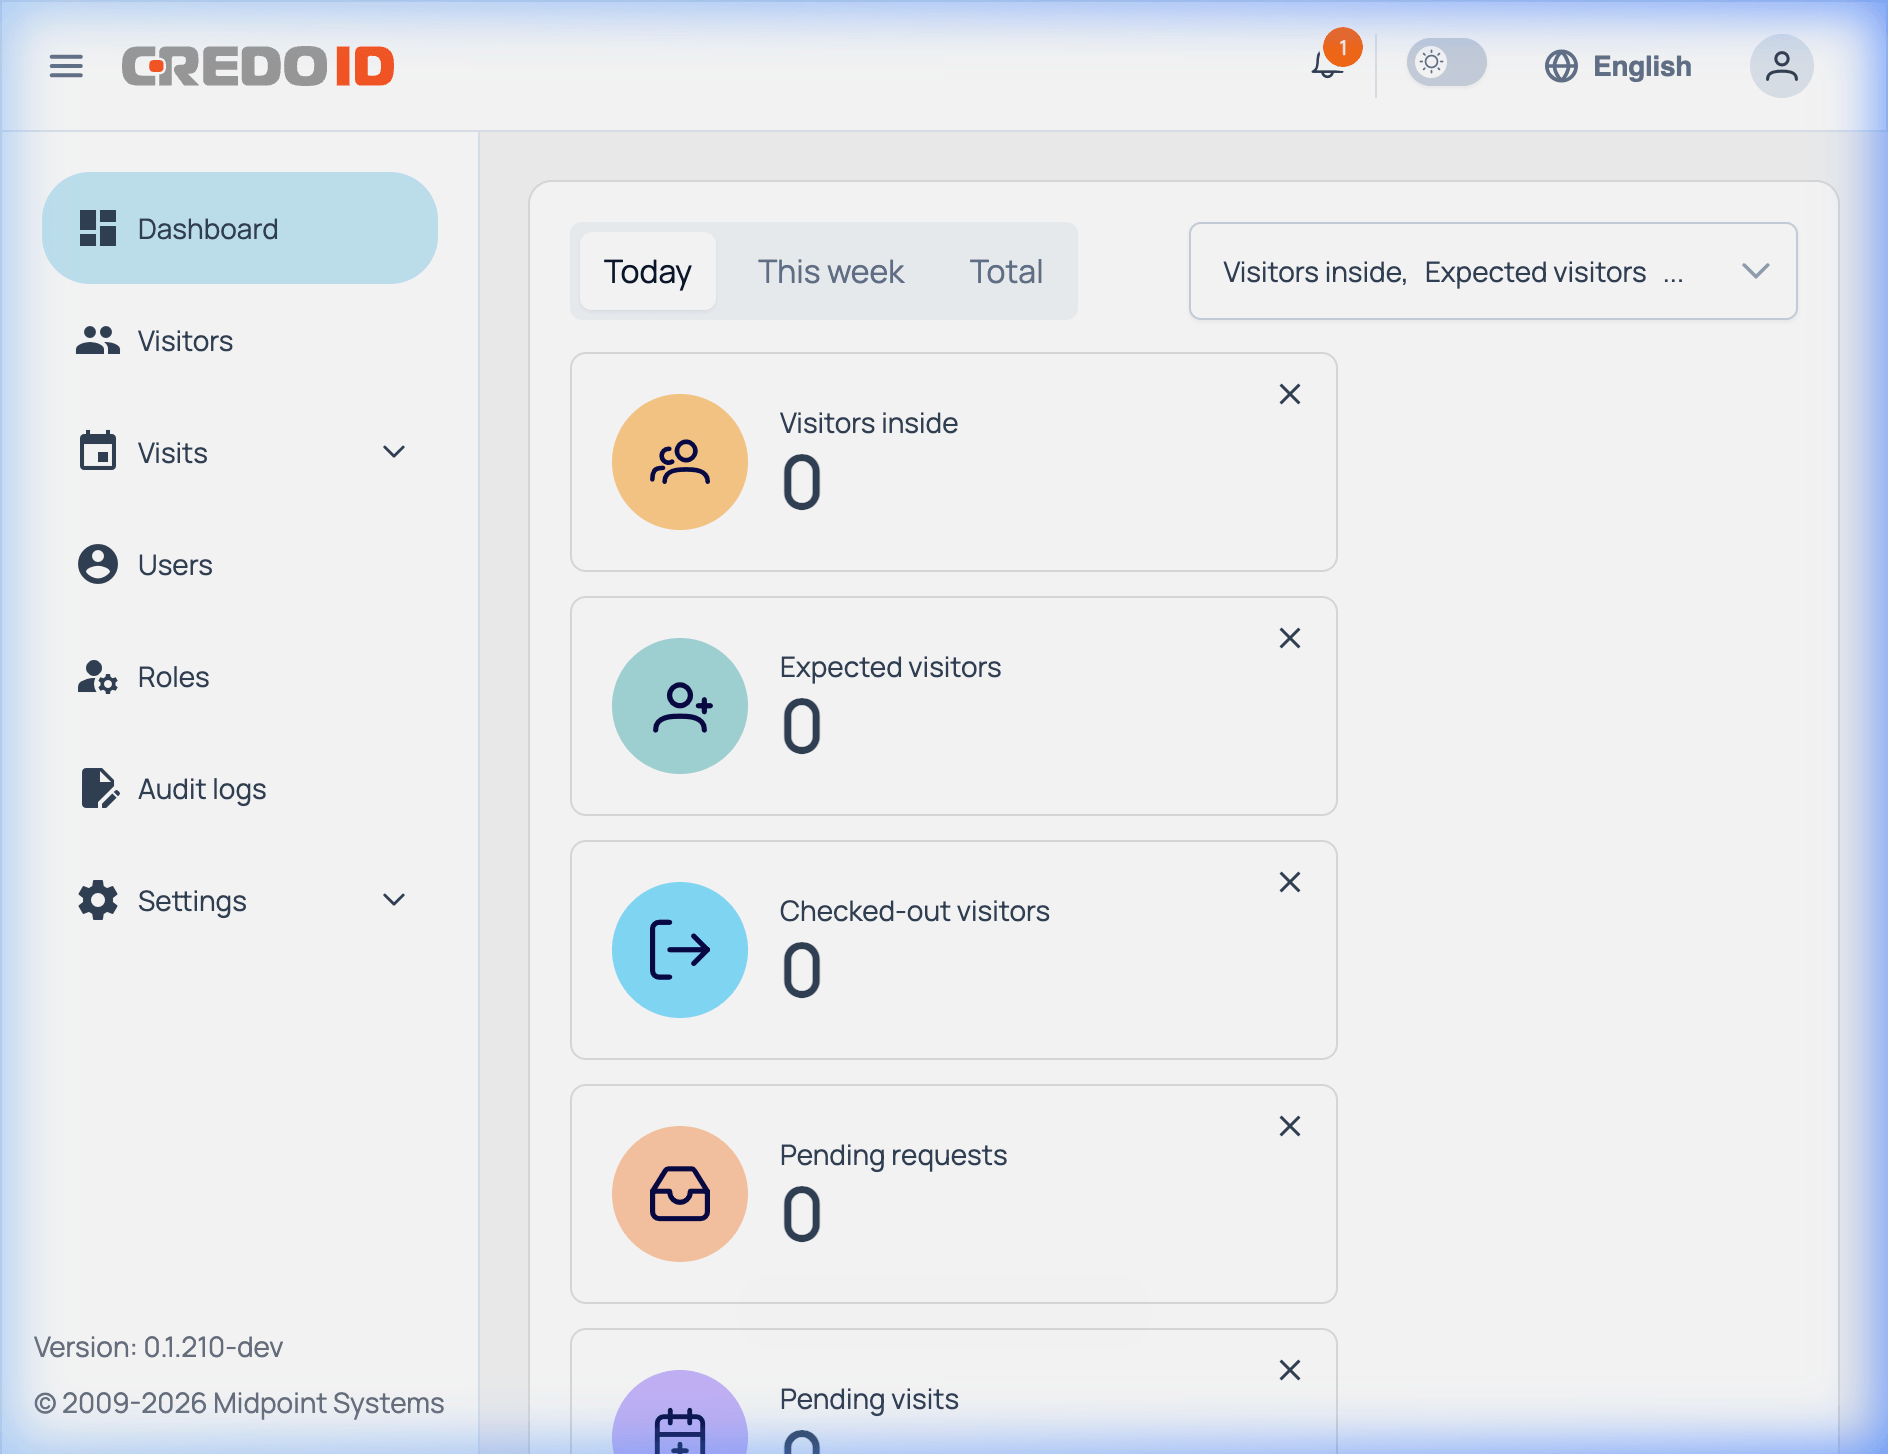
Dashboard tiles
| Tile | What it shows |
|---|---|
| Visitors inside | Currently checked-in visitors on premises |
| Expected visitors | Visitors with upcoming confirmed visits |
| Checked-out visitors | Visitors who completed their visit today |
| Pending requests | Visits awaiting approval |
| Pending visits | Approved visits not yet started |
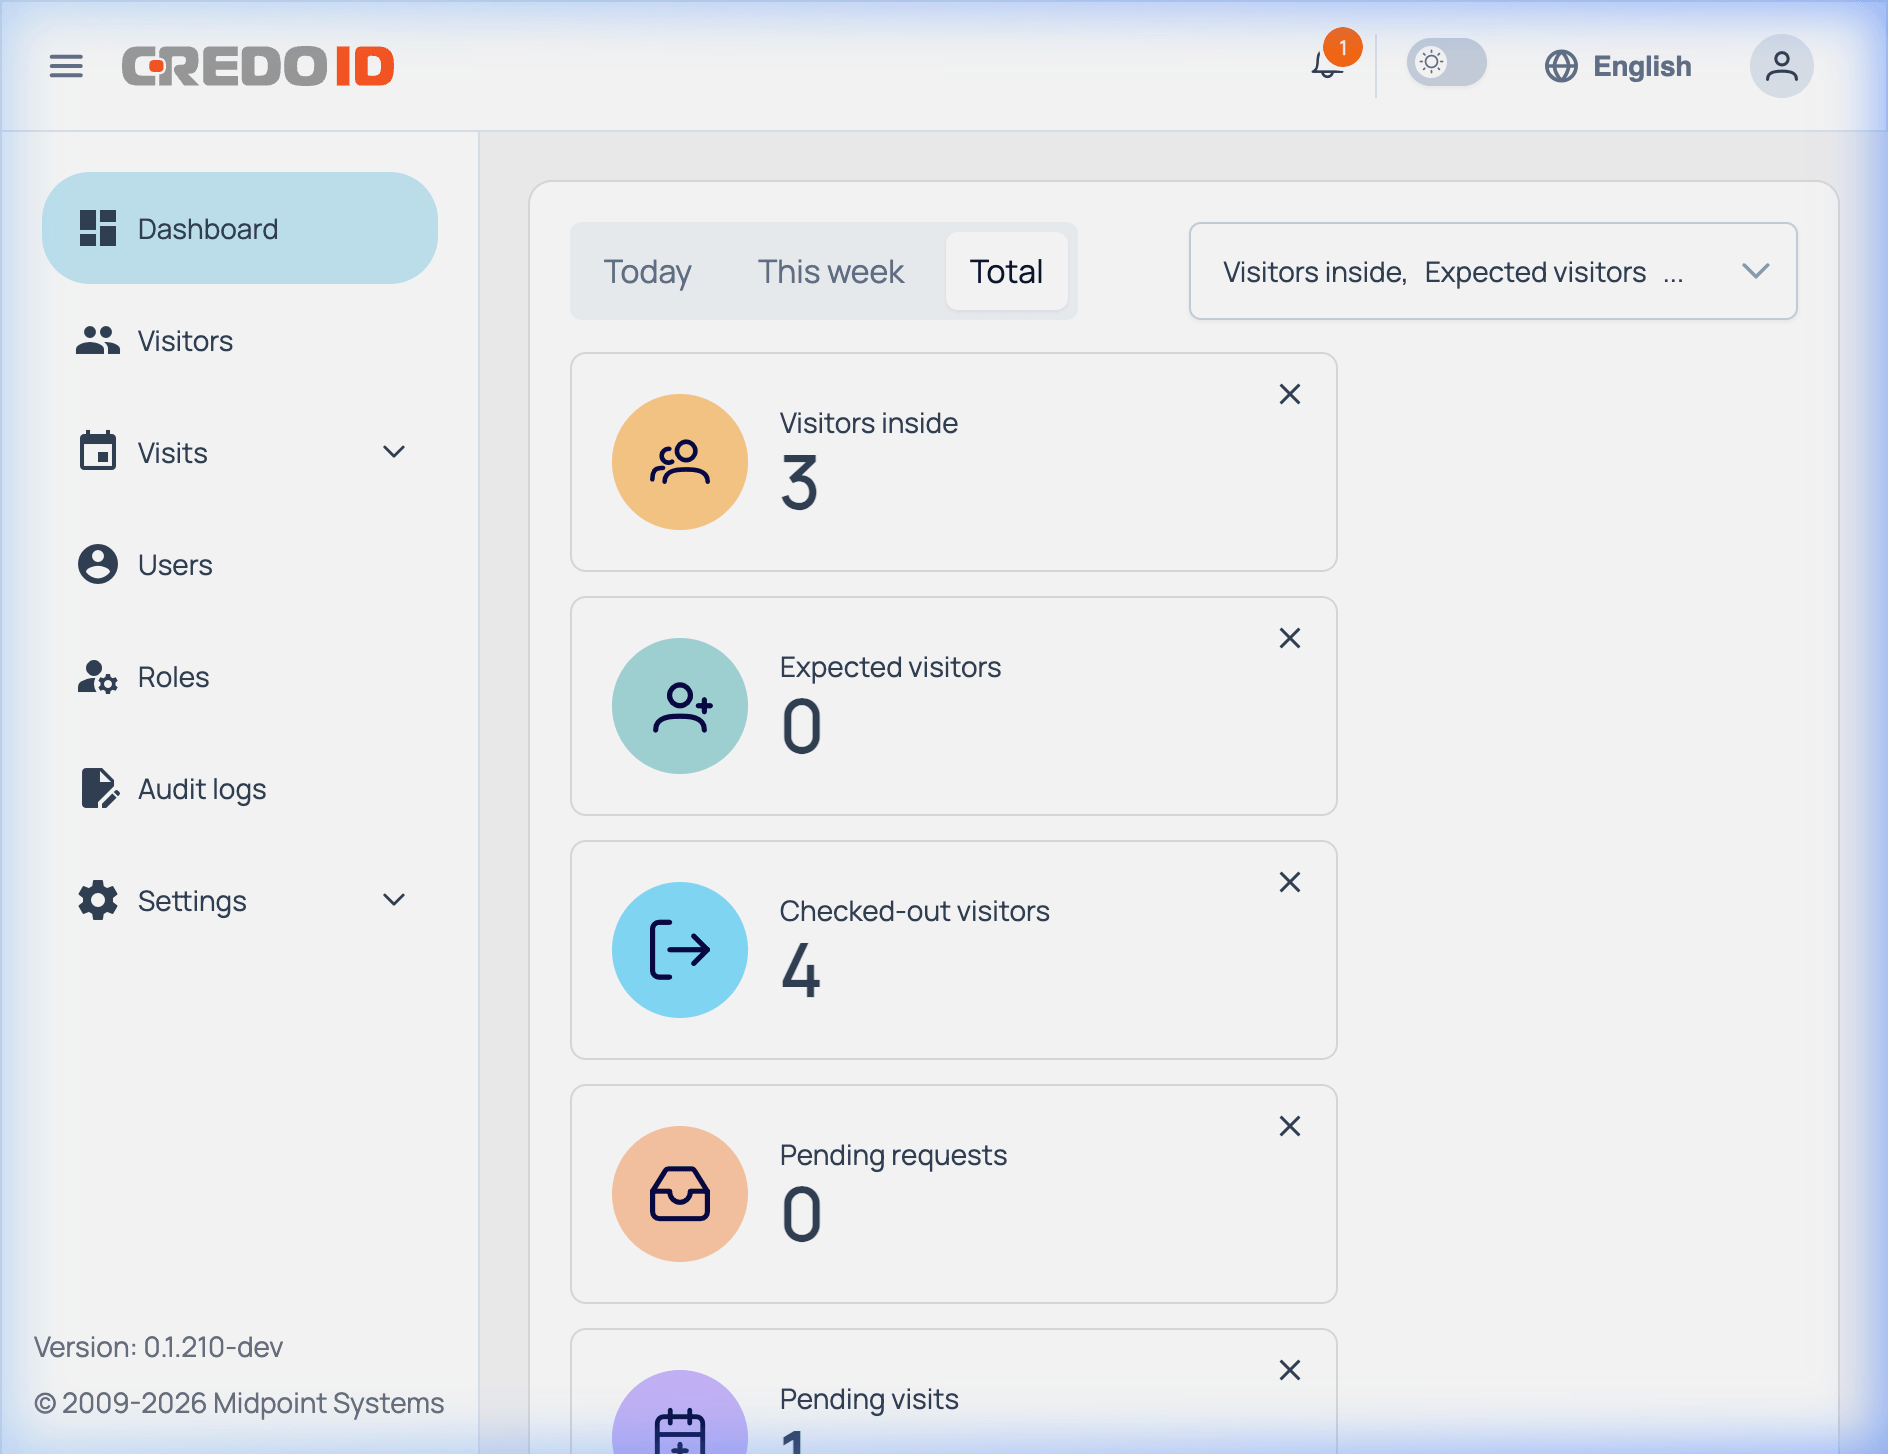
Time range tabs
- Today — Activity for the current day only
- This week — Rolling 7-day view
- Total — All-time cumulative statistics
Step 4: Enable CredoID Integration (Optional)
Navigate to: Settings → Company settings (/company-settings)
This step connects your Visitor Management system to a CredoID access control server.
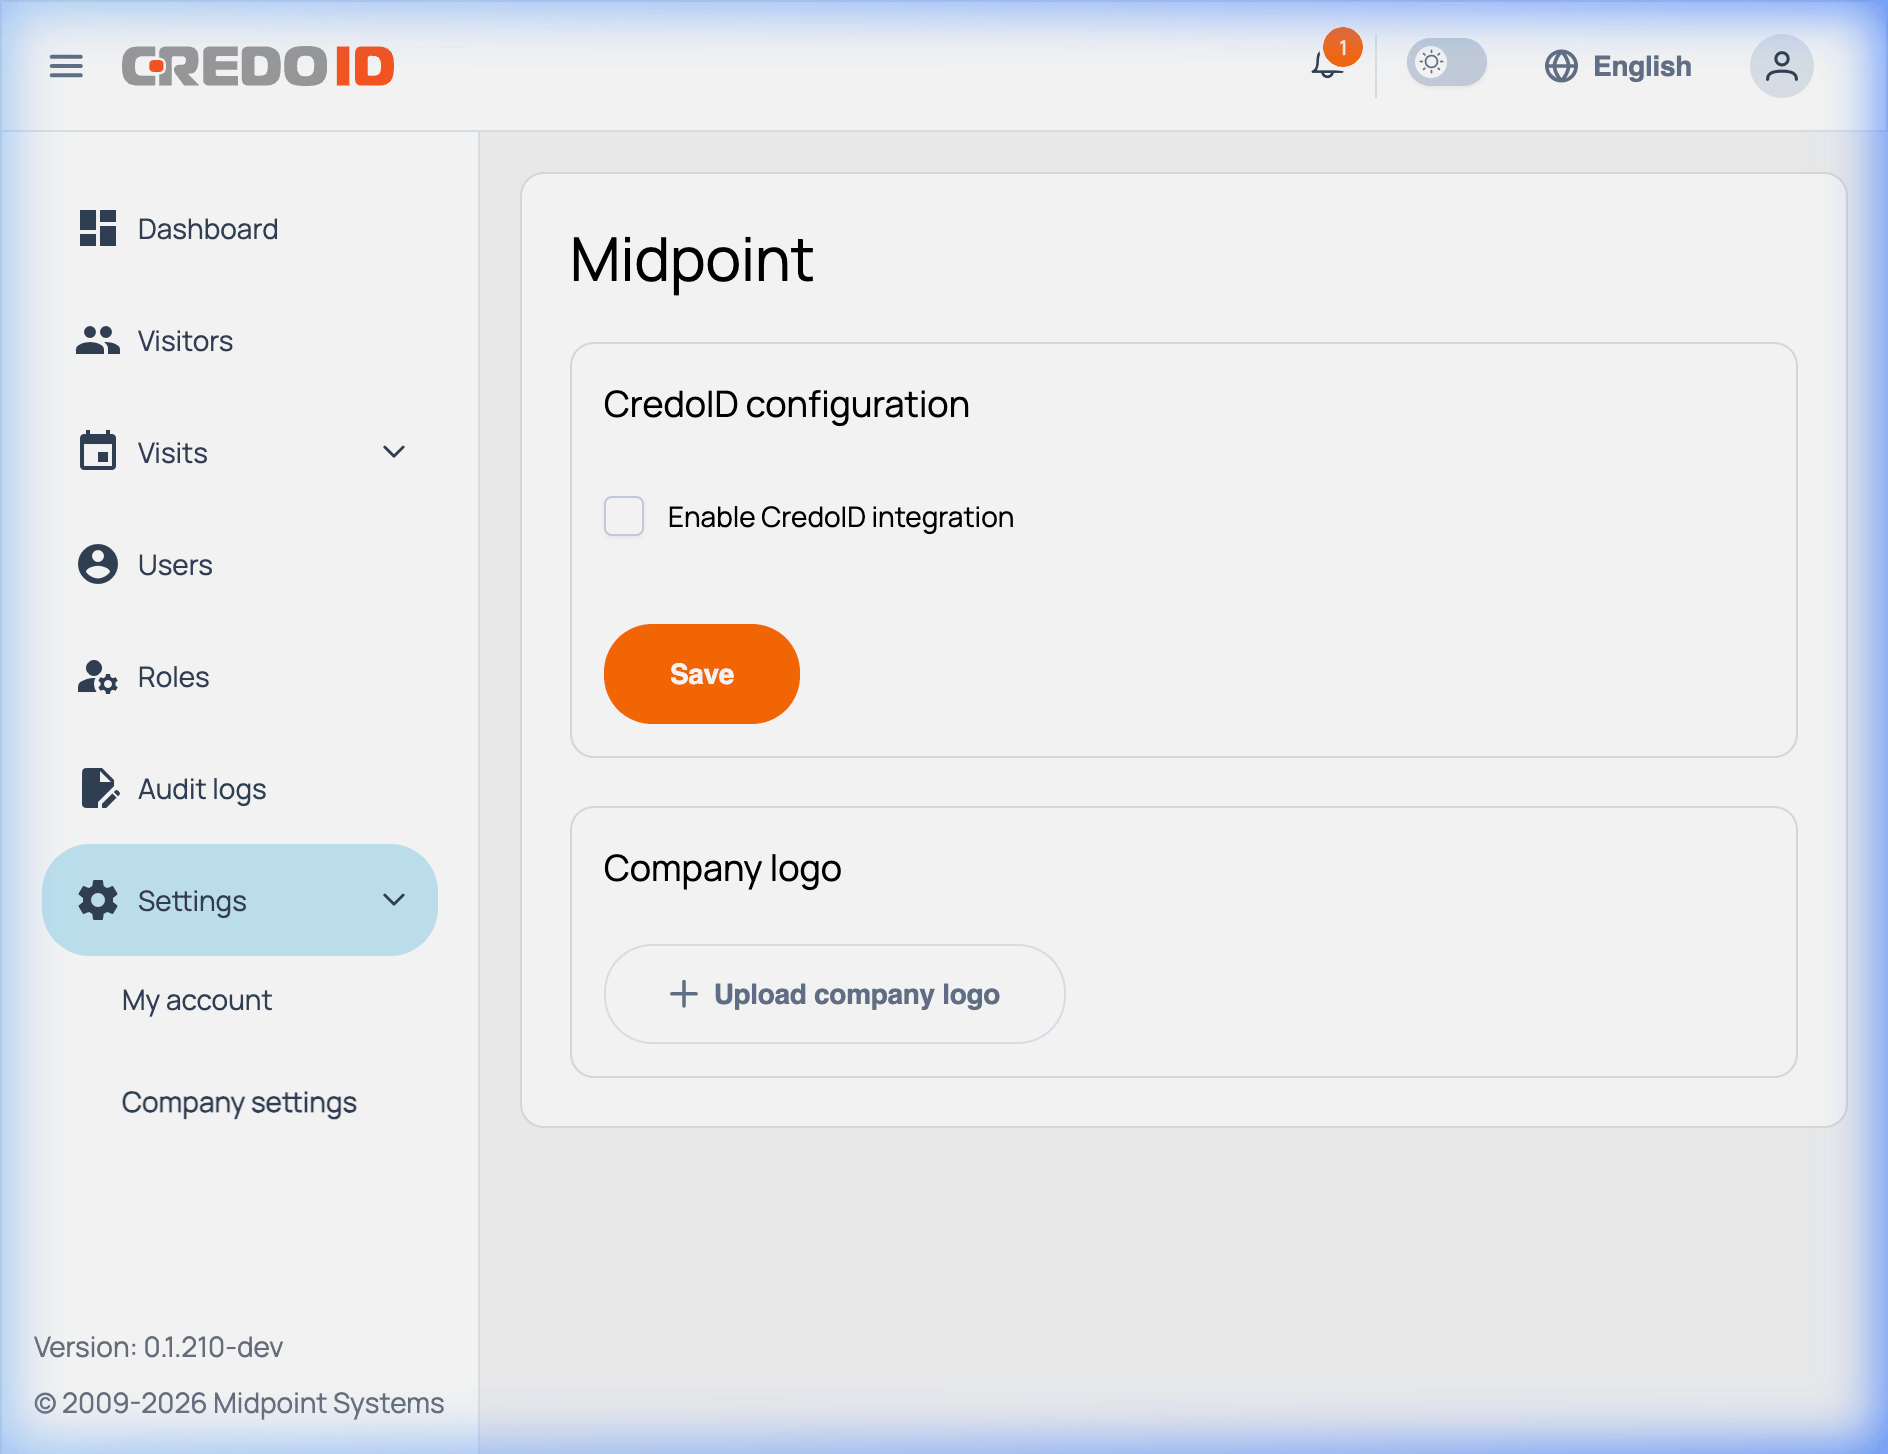
Configuration
- Check "Enable CredoID integration"
- Enter your CredoID connection details:
| Field | Description |
|---|---|
| CredoID base URL | e.g., https://credoid.yourcompany.com |
| CredoID username | Operator account for API integration |
| CredoID password | Operator password |
- Click Save and verify the success message: "CredoID connection successful"
Recommendation: Dedicated CredoID operator
Create a dedicated CredoID operator account with limited permissions:
| Permission | Purpose |
|---|---|
users.read |
Read visitor profiles from CredoID |
users.write |
Create/update visitor access cards |
locations.read |
Retrieve available locations |
accesslevel.read |
List access levels for template setup |
events.read |
Retrieve events |
Security: Never use your main CredoID admin account for integration. A scoped operator limits blast radius if credentials are compromised.
Step 5: Create a Visitor Access Template
Navigate to: Settings → Company Settings → Add template (/company-settings)
Templates define which access levels are applied to visitors when they check in.
Required fields
| Field | Description |
|---|---|
| Template name | Descriptive name (e.g., "Standard Visitor", "VIP Executive") |
| Roles | Which user roles can use this template |
| Location | Physical site (synced from CredoID) |
| Access levels | Doors/zones the visitor can access (depends on selected location) |
Recommendations
- Create a dedicated access level in CredoID for visitors (e.g., "Lobby & Meeting Rooms")
- Keep visitor access levels minimal — grant only what's needed for the visit
- Create separate templates for different visit types (e.g., standard vs. VIP)
Step 6: Add Visitors to the Directory
Navigate to: Visitors (sidebar)
The visitor directory is your central registry of all people who visit your premises.
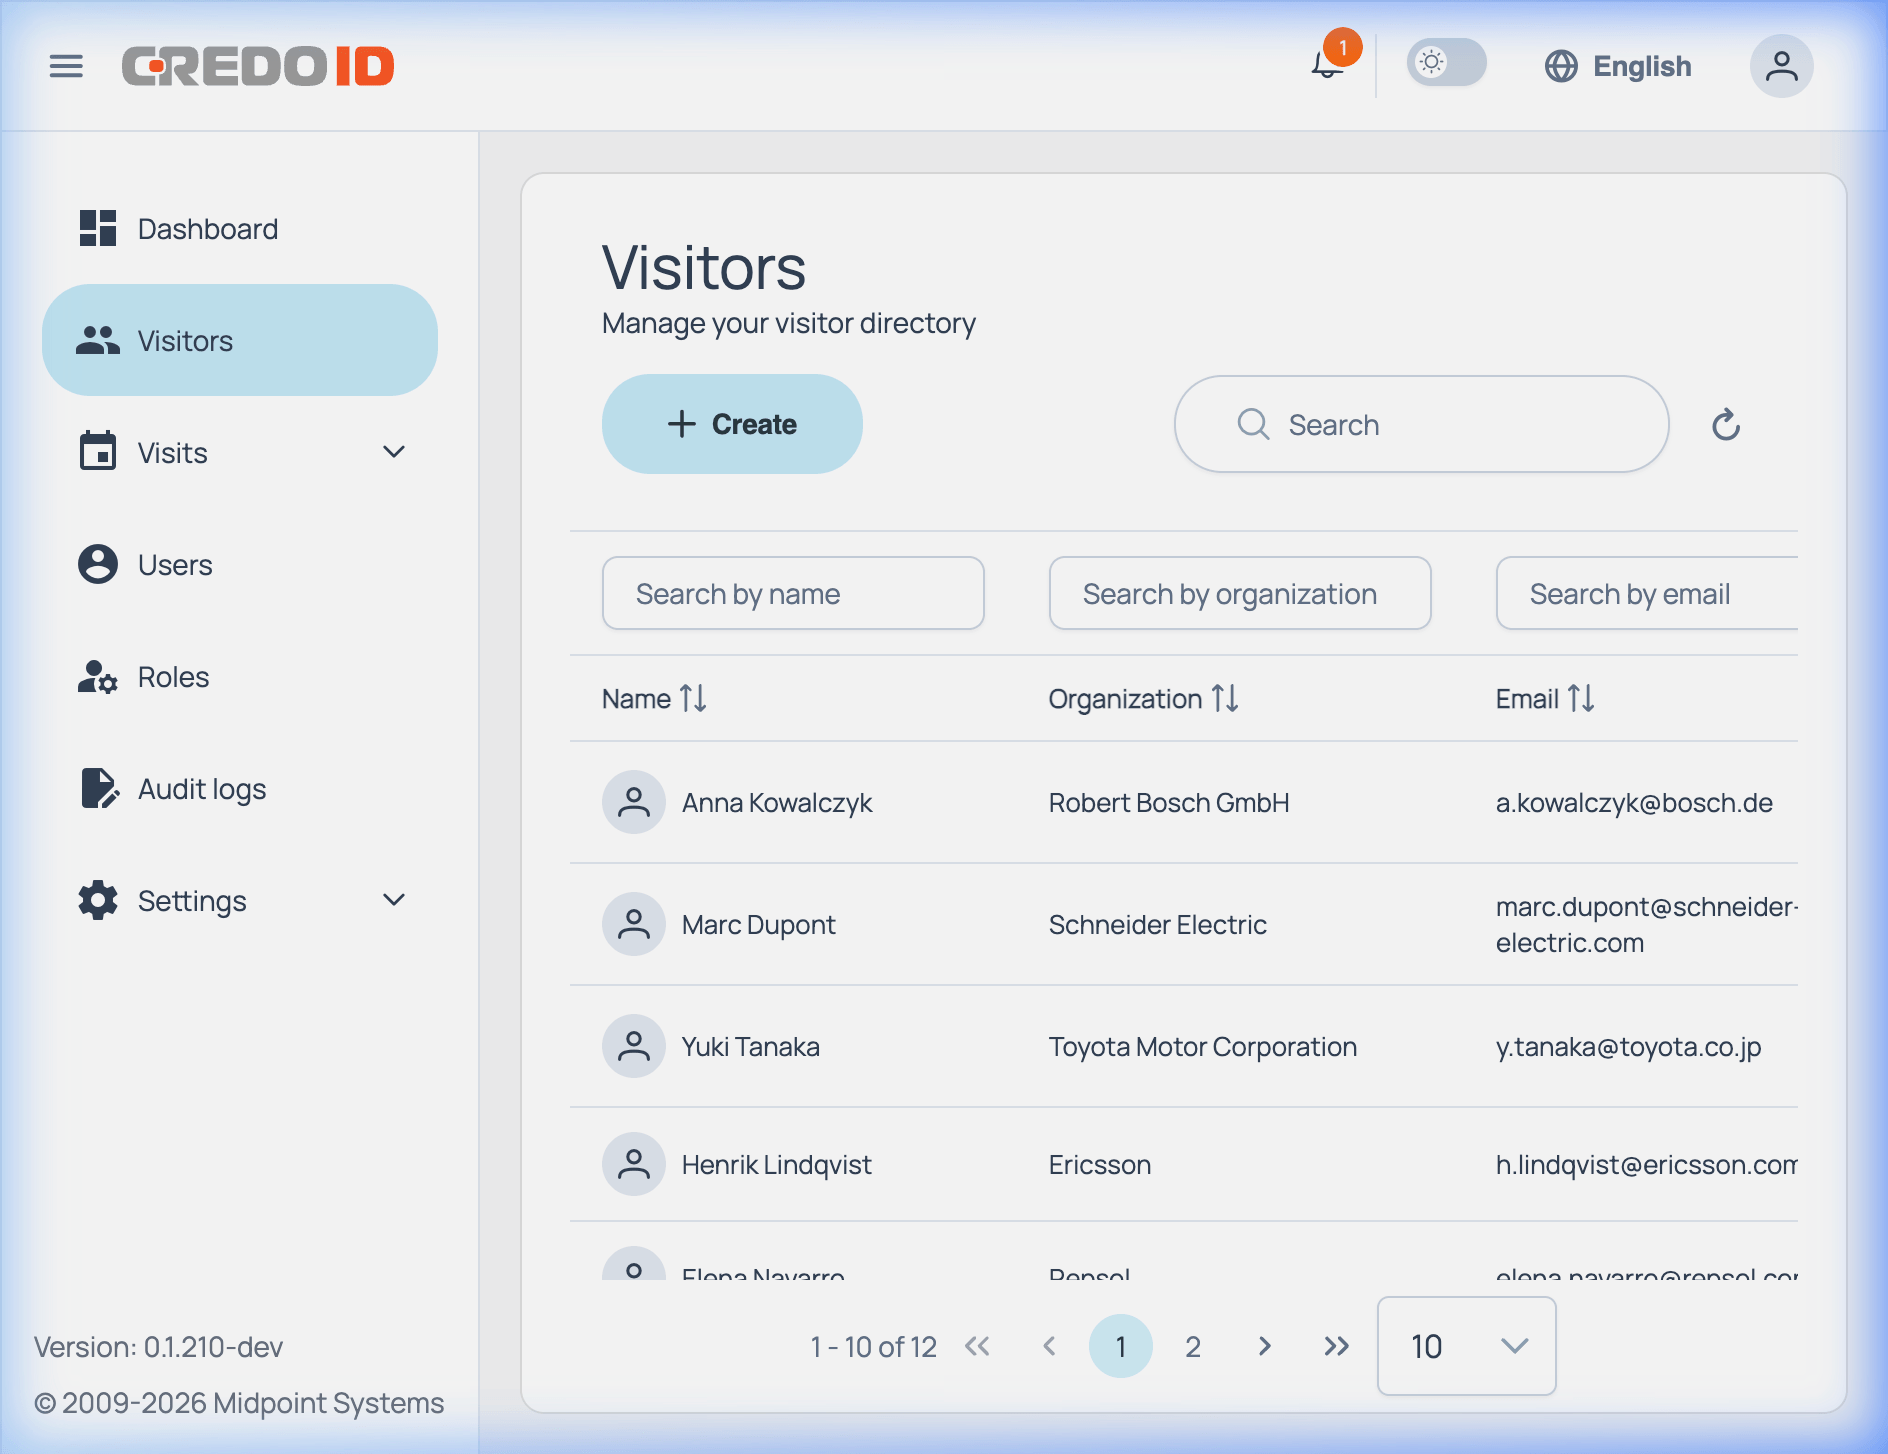
Adding visitors
- Click "+ Create" to manually add a visitor
- Or, visitors are automatically added when invited to a visit (Step 7)
Visitor fields
| Field | Description |
|---|---|
| First / Last name | Visitor's full name |
| Used for invitations and QR delivery | |
| Phone | Optional contact number |
| Organization | Company the visitor represents |
| ID type + number | Optional identification document |
Step 7: Create a Visit
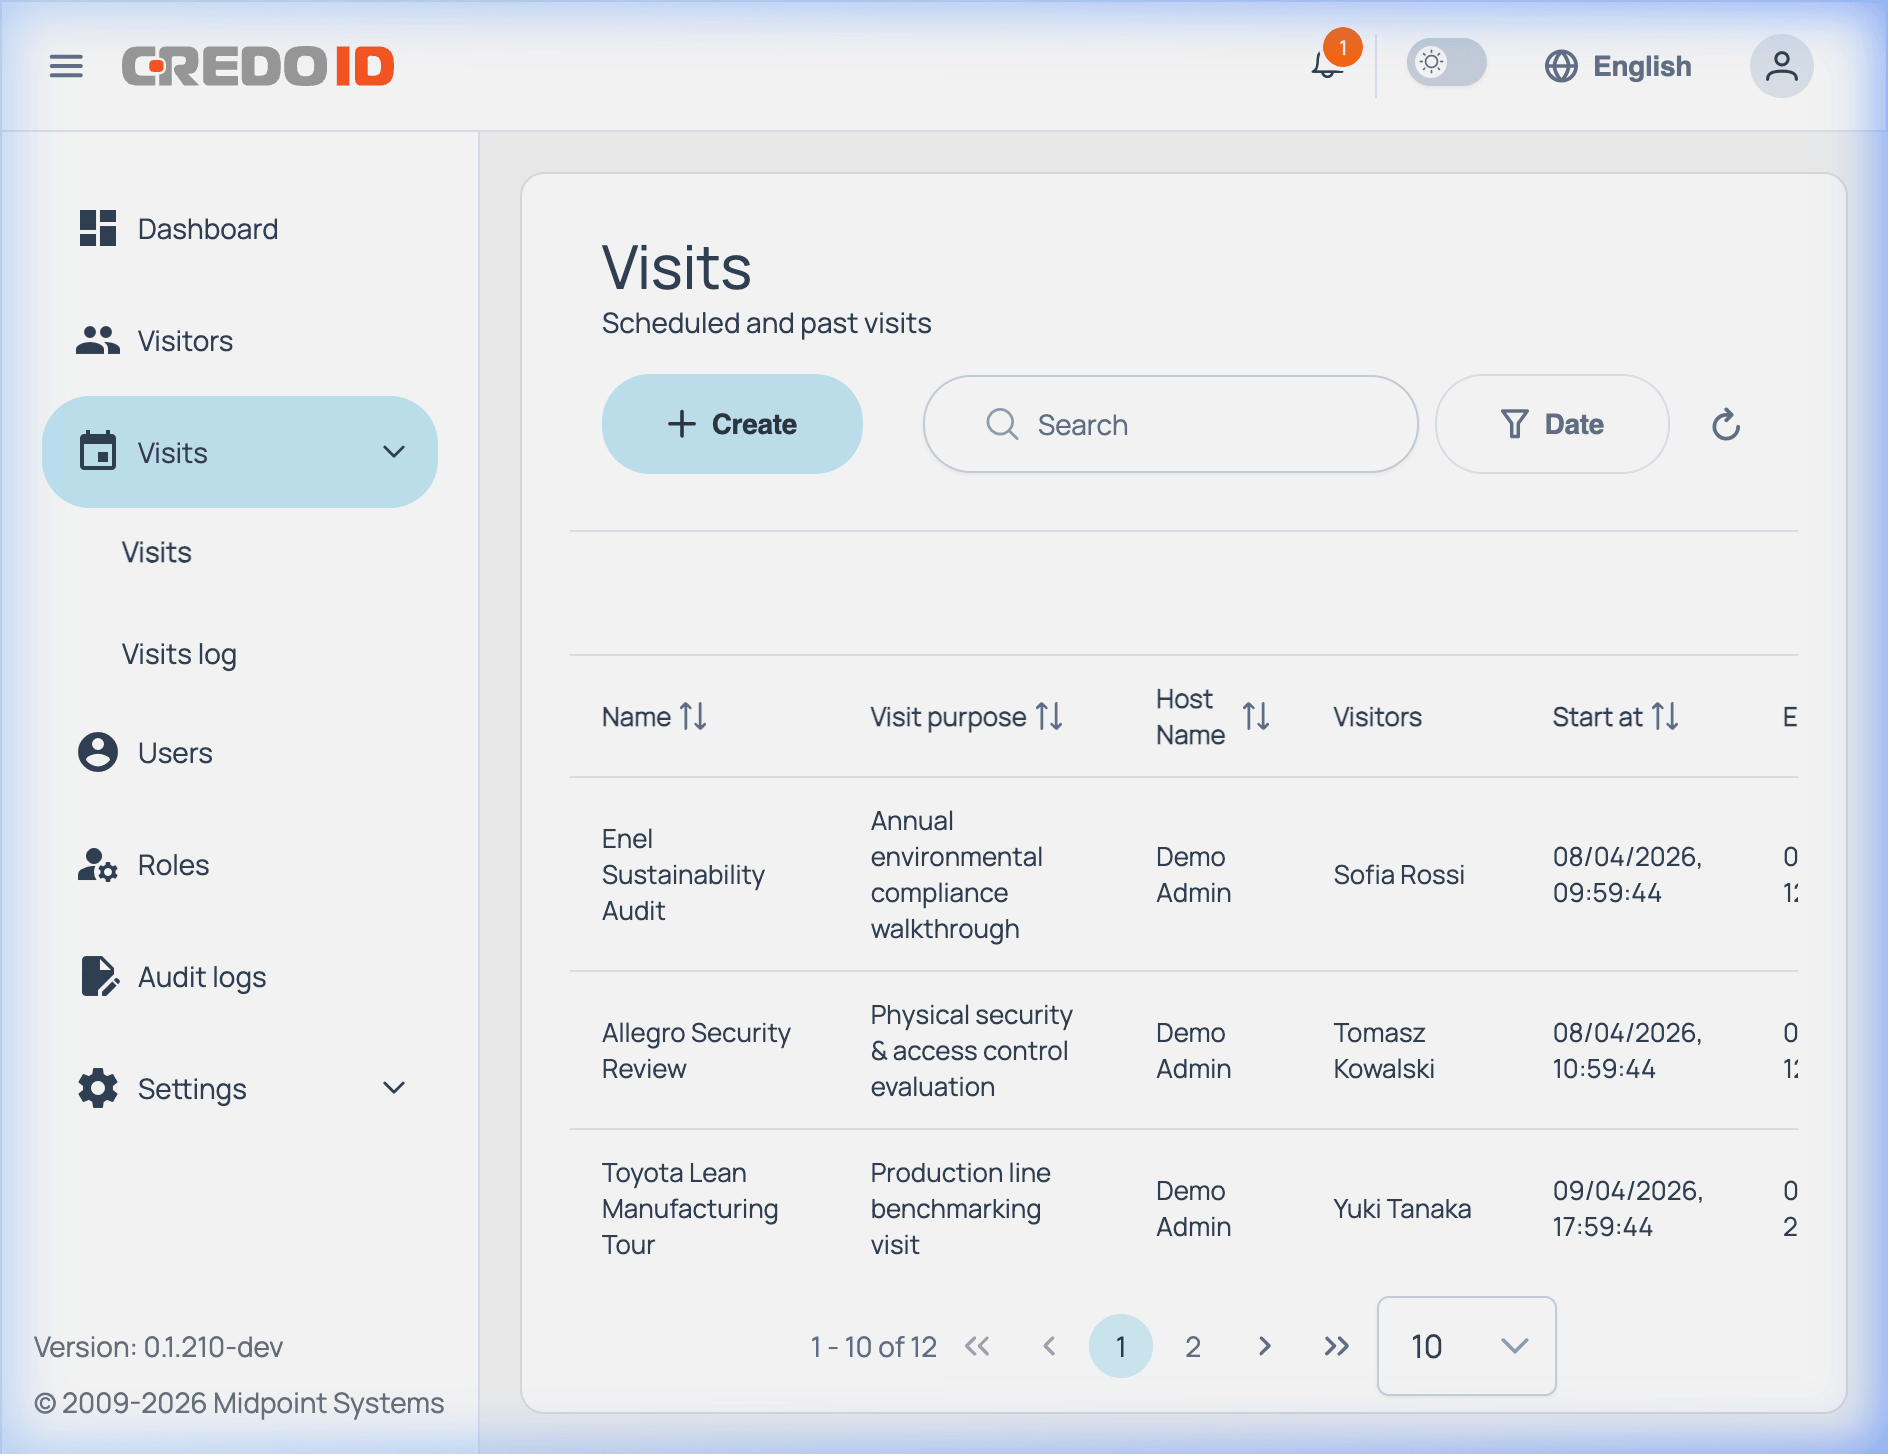
Navigate to: Visits → Visits → + Create
This is the core workflow — scheduling a visit and inviting visitors.
Required fields
| Field | Description |
|---|---|
| Visit name | Short descriptive label |
| Visit purpose | Reason for the visit |
| Host | Any user in the system (person receiving the visitor) |
| Start / End date+time | Visit window — QR access is valid within this range |
| Access template | Template created in Step 5 |
| Visitors | Select existing visitors or send email invitations |
Optional fields (via "More options")
| Field | Description |
|---|---|
| Address | Meeting location details |
| Required document | ID type required at check-in |
| Notes | Internal notes for reception staff |
Step 8: Visitor Accepts Invitation
After a visit is created, each visitor receives an invitation email.
Visitor flow
- Visitor opens the invitation link
- Reviews visit details (date, time, location, host)
- Can edit their personal details if needed
- Accepts the invitation and submits
What happens after acceptance
| Event | Notification |
|---|---|
| Visitor accepts | Host receives acceptance notification |
| Confirmation email with QR code sent | Visitor receives QR for check-in |
QR code access window
| Timing | Rule |
|---|---|
| Starts | 10 minutes before visit start time |
| Expires | At the configured visit end time |
Note: The QR code grants physical access through CredoID-controlled doors only during this window.
Managing Your System
Users
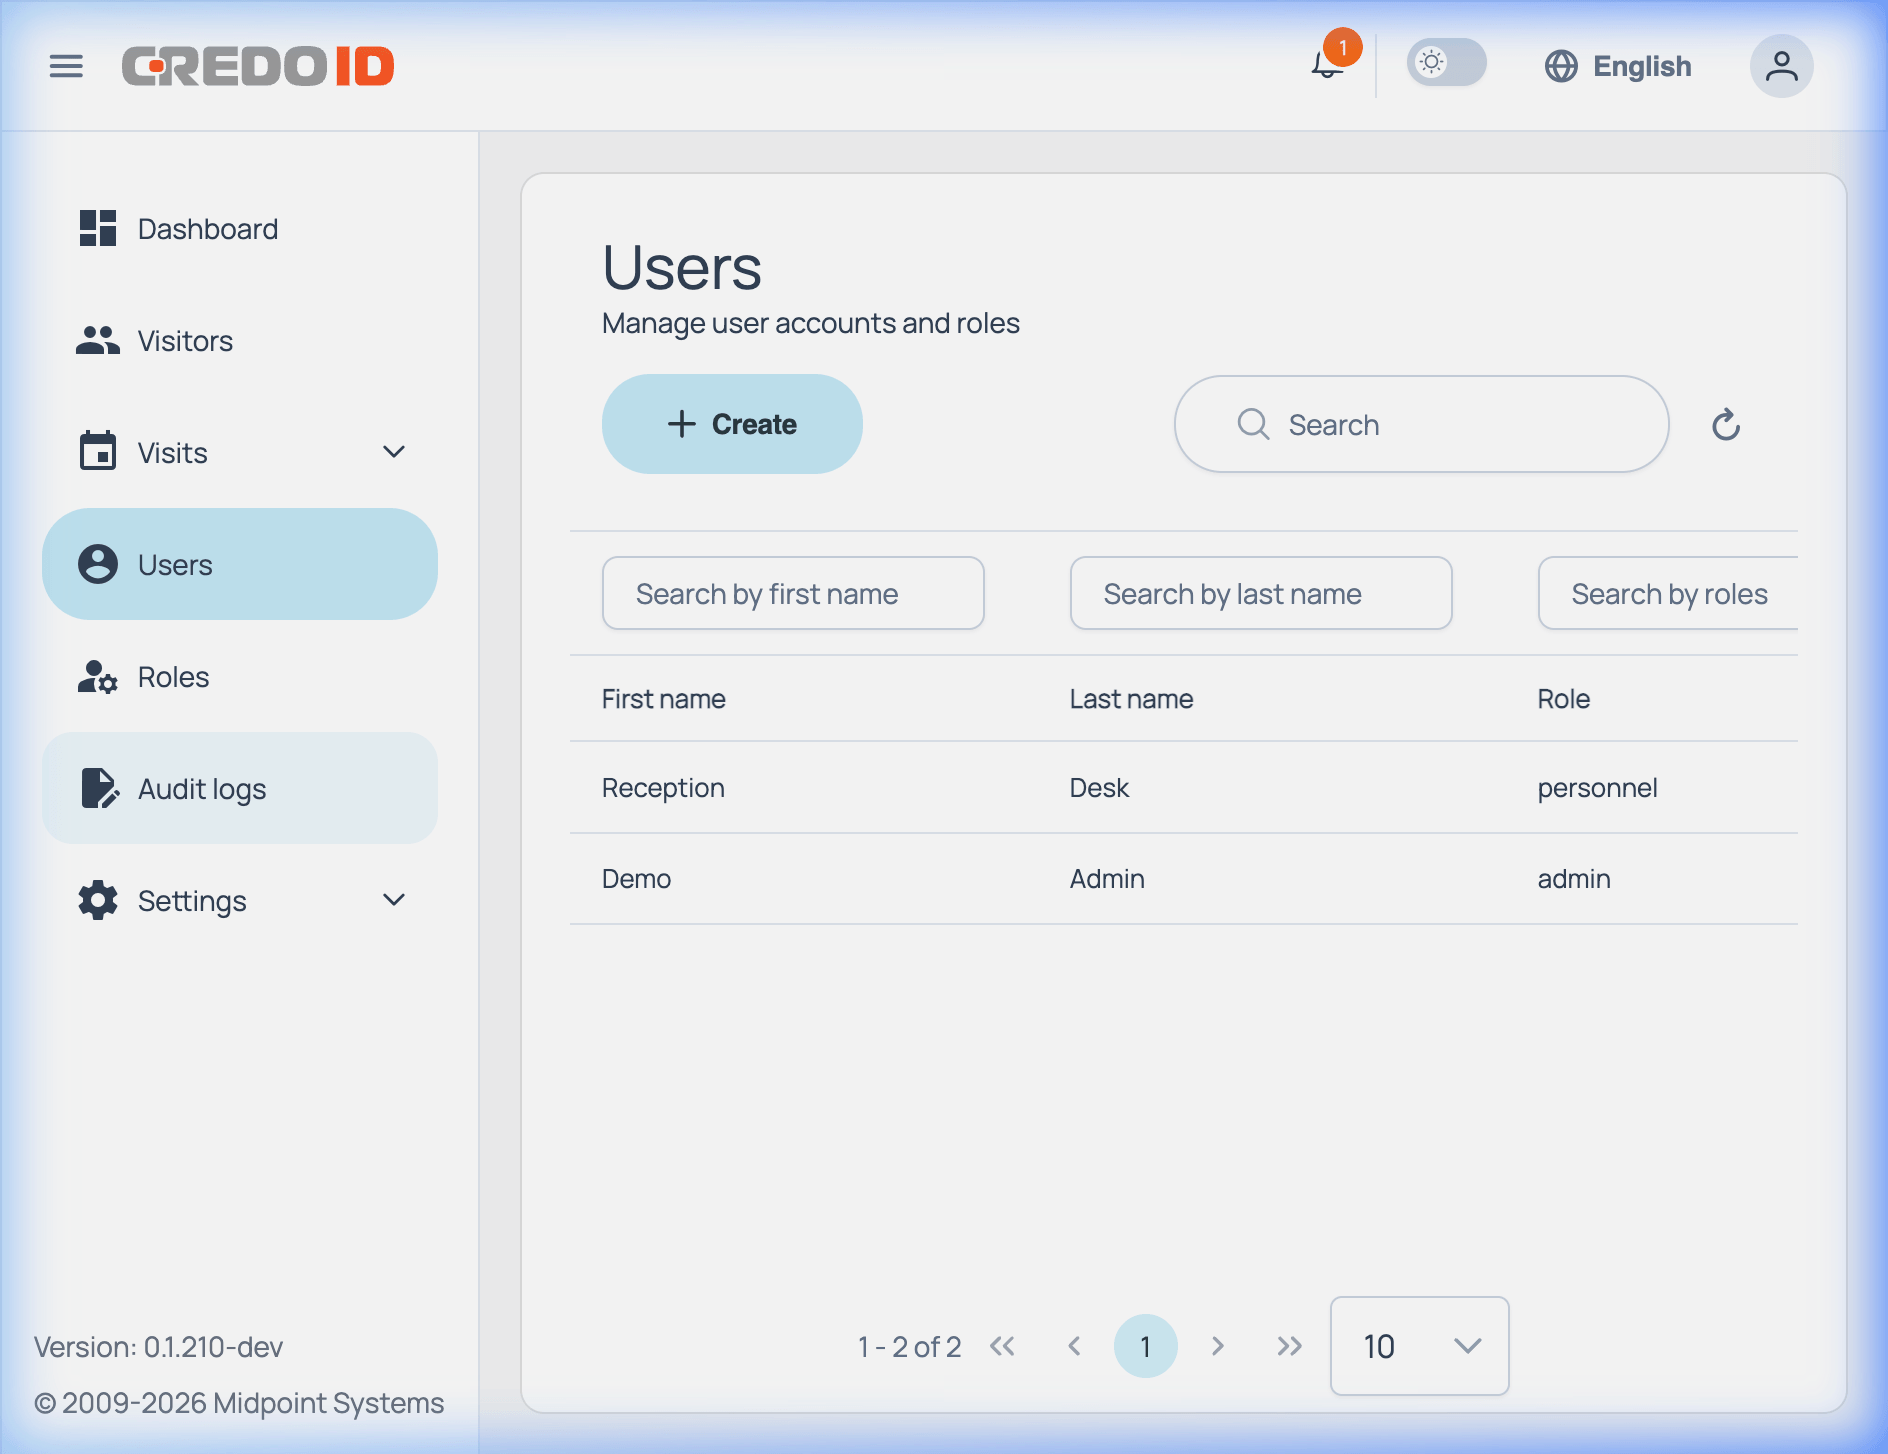
Navigate to: Users (sidebar)
Manage user accounts for your team. Each user gets login credentials and is assigned a role.
Roles
Navigate to: Roles (sidebar)
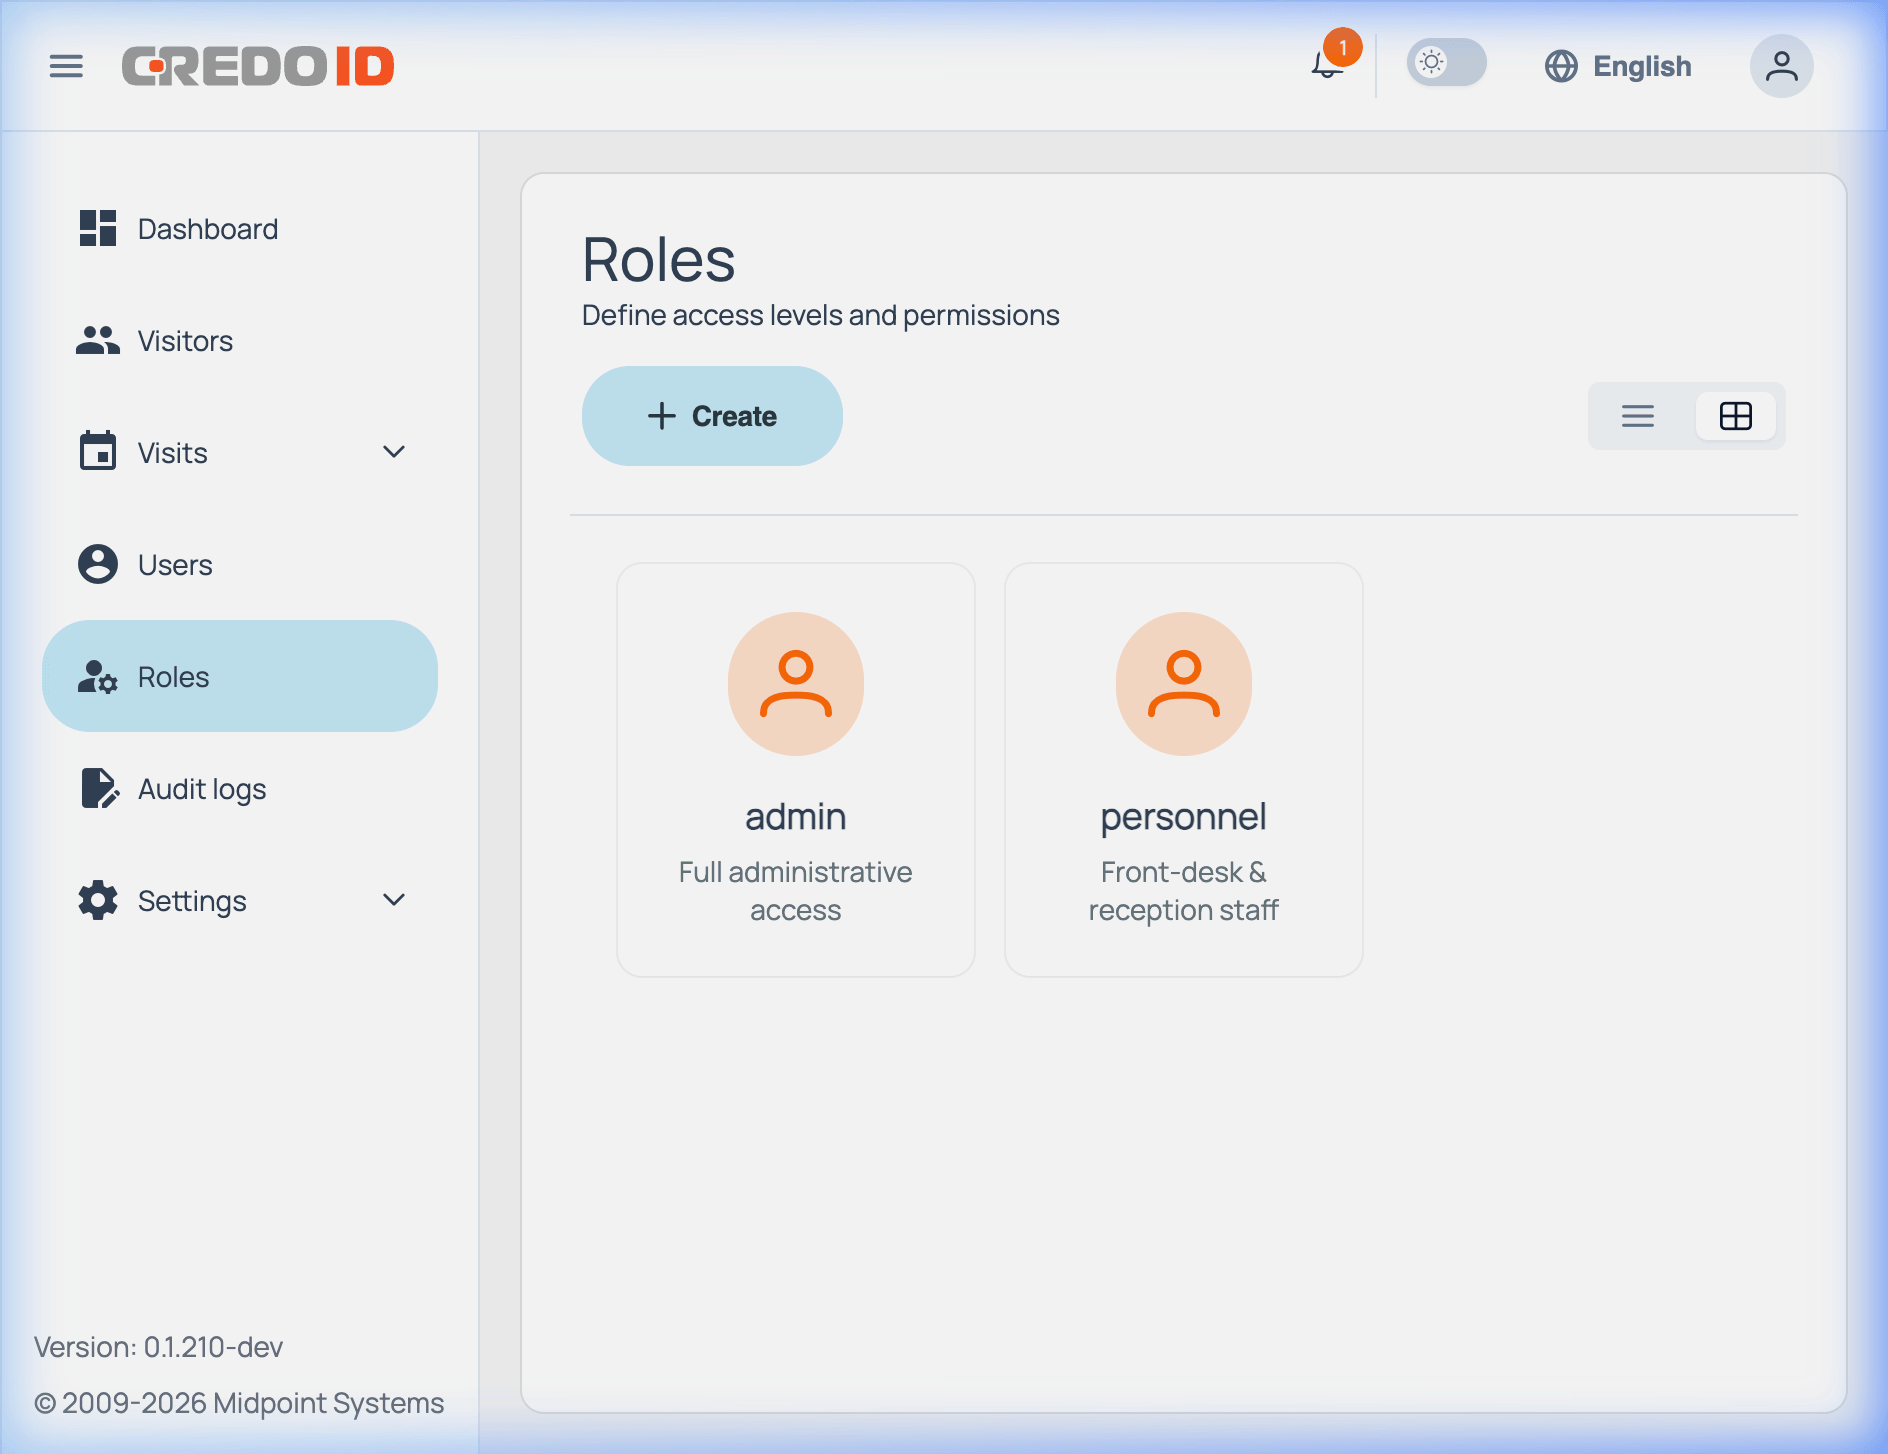
Roles define what each user can access. The system includes two built-in roles:
| Role | Access level |
|---|---|
| admin | Full system access — settings, users, all visits |
| personnel | Front-desk — manage visitors, check-in/out, views |
You can create custom roles with specific permissions via Roles → + Create.
Audit Logs
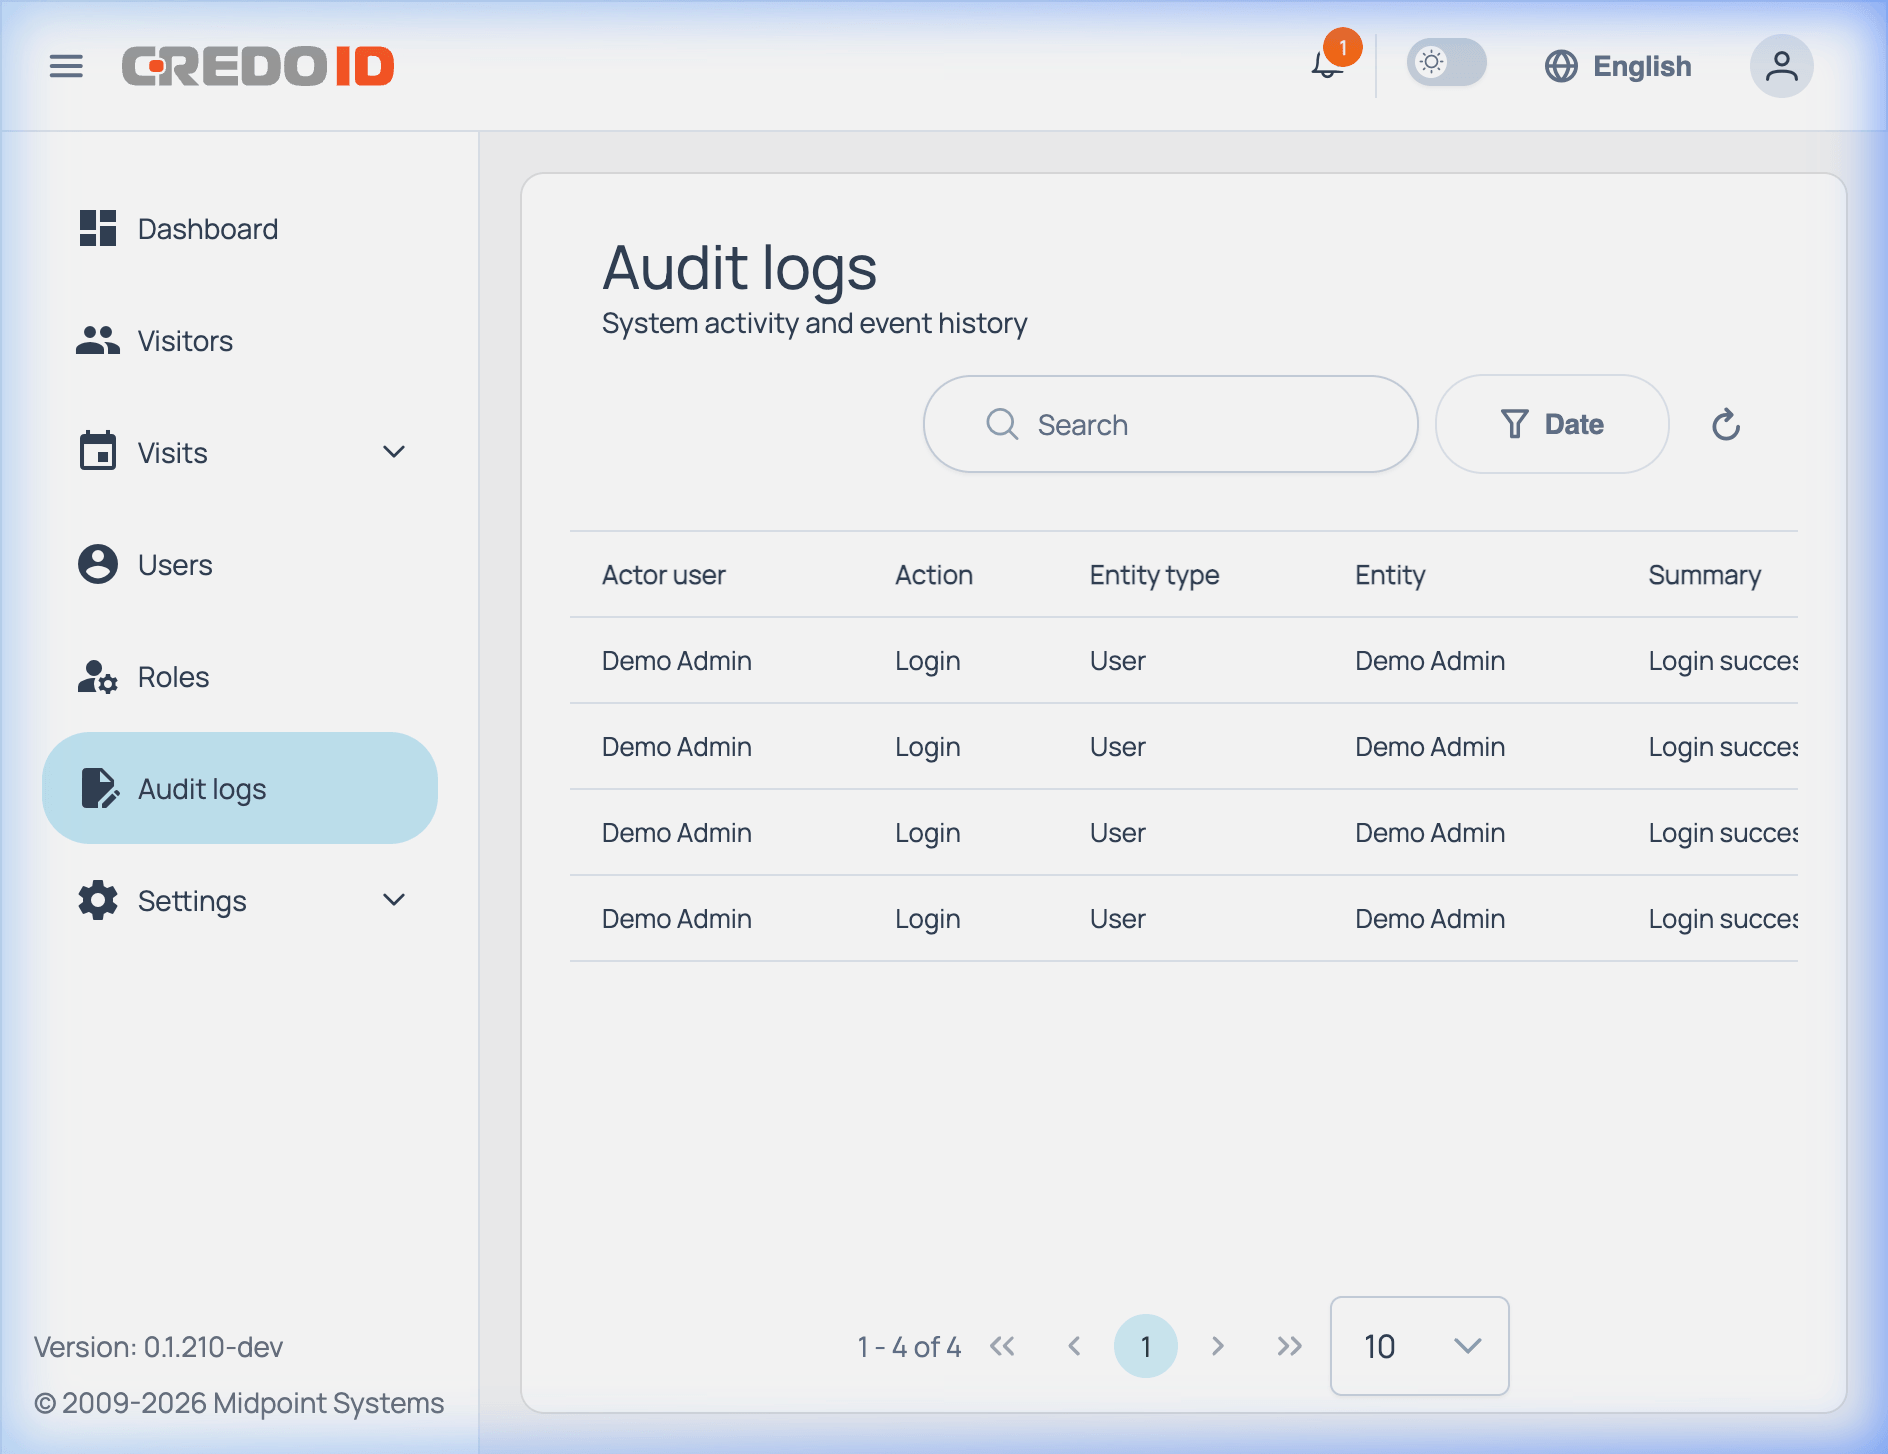
Navigate to: Audit logs (sidebar)
Track all system activity — logins, visit changes, check-ins, and administrative actions.
Quick Reference: Navigation Map
| Menu item | Location | Description |
|---|---|---|
| Dashboard | Sidebar | Real-time visitor statistics |
| Visitors | Sidebar | Visitor directory (add, edit, delete) |
| Visits | Sidebar → Visits | Schedule and manage visits |
| Visits log | Sidebar → Visits | Historical visit execution log |
| Users | Sidebar | Manage user accounts |
| Roles | Sidebar | Define access permissions |
| Audit logs | Sidebar | System event history |
| My account | Sidebar → Settings | Personal profile settings |
| Company settings | Sidebar → Settings | CredoID integration, logo, templates |
Troubleshooting
| Problem | Solution |
|---|---|
| Can't log in after registration | Check email + password. Try "Forgot password?" |
| Dashboard shows 0 for all stats | Switch to Total tab; "Today" is time-scoped |
| CredoID connection failed | Verify URL, credentials, and network connectivity |
| Visitor didn't receive invitation | Check email settings and spam folder |
| QR code not working at door | Verify visit time window and CredoID access level |
Quick Setup Checklist
Print this section and check off each step as you complete it.
Initial Setup
- Register company at
/company-registration- Company name entered
- Admin user details filled (name, email, phone, department, title)
- Password set and confirmed
- Registration submitted successfully
- Log in at
/loginwith admin credentials- Dashboard loads and shows visitor stats
CredoID Integration (if using access control)
- Navigate to Settings → Company settings
- Enable CredoID integration checkbox
- Enter connection details
- CredoID base URL
- CredoID username (dedicated operator recommended)
- CredoID password
- Verify success message: "CredoID connection successful"
- CredoID operator permissions confirmed:
-
users.read -
users.write -
locations.read -
accesslevel.read
-
Access Templates
- Create at least one template at Company Settings → Add template
- Template name set (e.g., "Standard Visitor")
- Roles assigned
- Location selected (synced from CredoID)
- Access levels selected for that location
- Optional: Create additional templates for VIP / restricted areas
First Visit
- Create a visit at Visits → Visits → + Create
- Visit name and purpose filled
- Host selected
- Start and end date/time set
- Access template selected
- Visitors added (existing or new invitation by email)
- Optional: Address, document requirements, notes
Visitor Confirmation
- Visitor received invitation email
- Visitor accepted and submitted the form
- Visitor received confirmation email with QR code
- Host received acceptance notification (check bell icon in top bar)
QR Access Verification
- QR code activates 10 minutes before visit start
- QR code expires at visit end time
- Visitor can check in using QR at CredoID-controlled doors
System Verification
- Dashboard shows correct stats (use "Total" tab for all-time)
- Visitors page shows registered visitors
- Visits page shows scheduled visits
- Users page shows admin + personnel accounts
- Roles page shows admin and personnel roles
- Audit logs records login and system events
- Company logo uploaded (Settings → Company settings)
Post-Setup Recommendations
- Create personnel user accounts for front-desk staff
- Assign appropriate roles to each user
- Create a dedicated CredoID access level for visitors
- Test the full flow: create visit → invite → accept → check-in → check-out
- Verify QR access at a physical door (if CredoID is connected)