¶ Maps
¶ The Interface
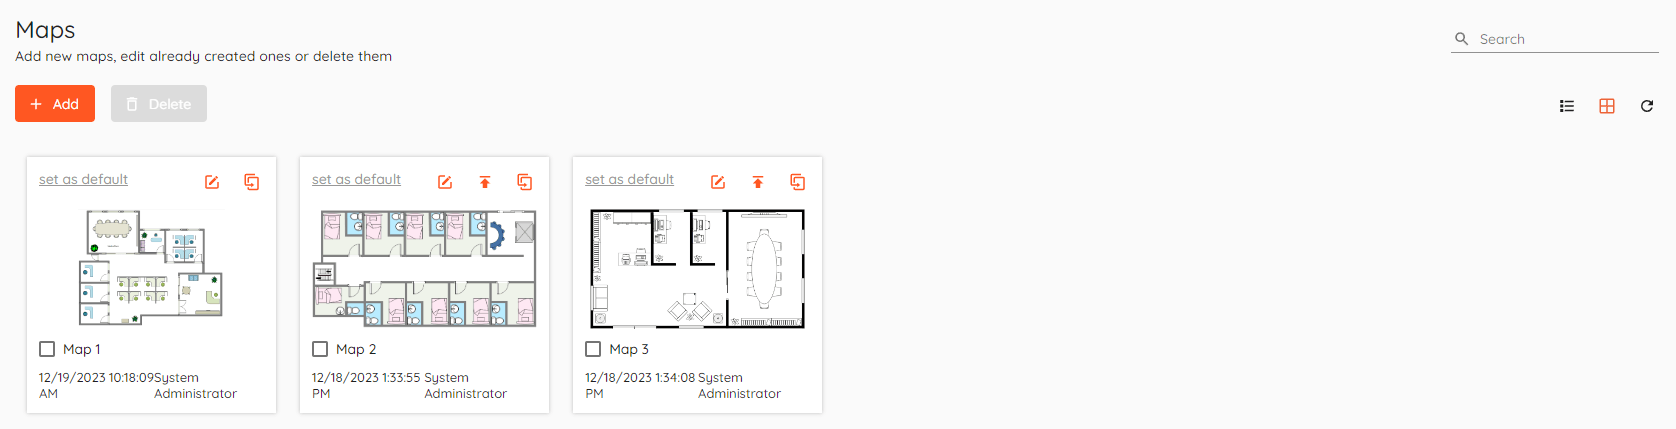
¶ Grid View
¶ Table view

¶ Basics
Maps are used to ease visual monitoring of area.
Each object added to map has automatic state tracking, i.e. as soon as doors are open you will see object icon change to corresponding state and color.
In Maps you can upload background image, for example a floor plan and then add Objects from CredoID like doors, inputs, outputs, cameras, security areas(groups) and custom objects(links).
Furthermore - doors, inputs, outputs and areas can be controlled directly from Maps.
¶ Creating a new map
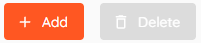
Click "Add" button to create a new map.
Enter name of the map and layers, add additional layers if needed.
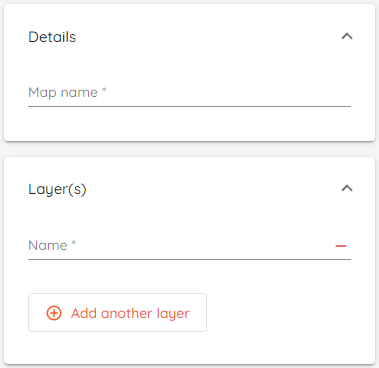
Click "Save".

Newly created map is "Unpublished" - that means only the operator who created the map can view and edit it.
To "Publish" a map - click publish button  .
.
¶ Editing a map
All saved maps can be accessed in the main page of maps.
To edit map/layers name - click edit icon  .
.
To make a copy of a map with all its layers - click duplicate button  .
.
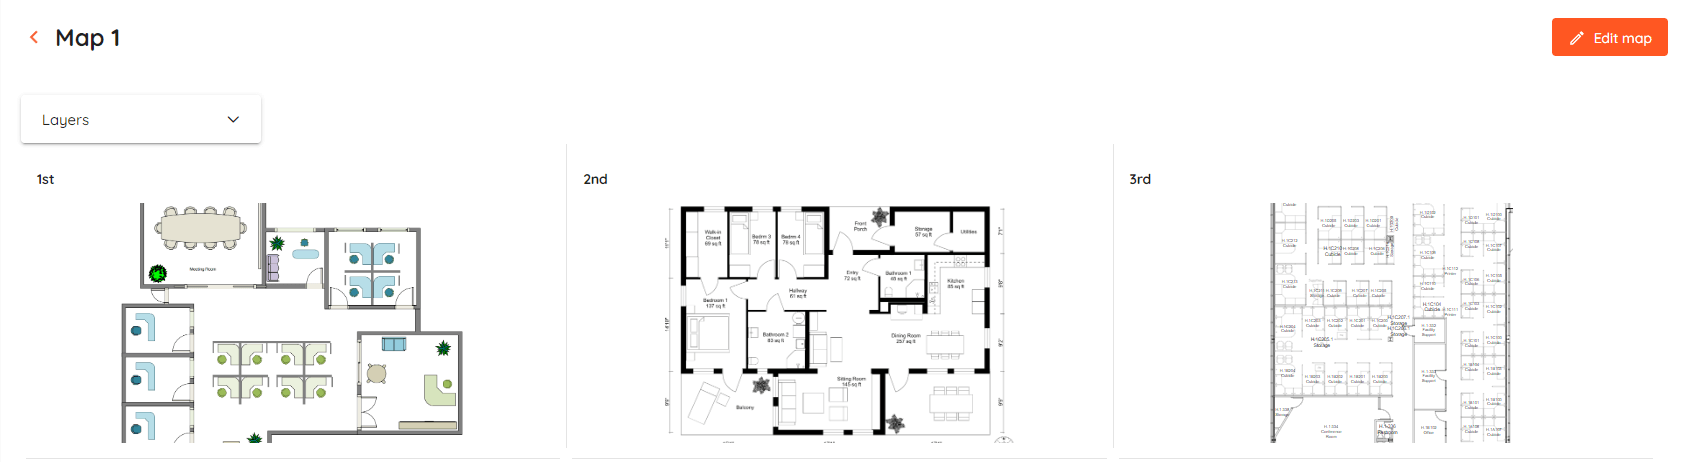
To open a map in grid view - click on the map thumbnail.
To open a map in table view - click on corresponding row.
If a map has more than one layer - layer selection will open.
¶ Adding a background
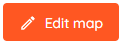
Open a map, select a layer if needed and then click "Edit map".
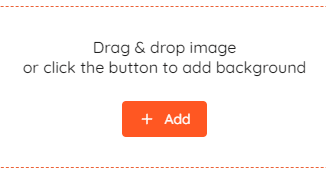
On the bottom of the screen you will see an option to add a background.
You can click "Add" button and select desired image or just drag & drop it in the marked area.
Supported file types: JPEG, PNG, TIFF, GIF, SVG.
After background is added - properties menu is opened.
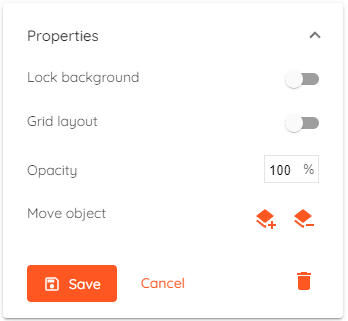
- Lock background allows you to lock image in place.
- Grid layout can be turned on for easier object alignment.
- Opacity can be changed to make the background transparent.
¶ Adding objects
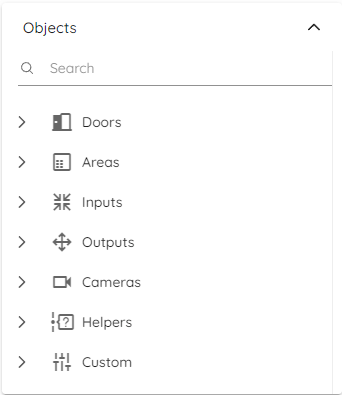
Objects such as inputs, outputs, doors, areas and cameras can be added to a map.
To add an object - open a map, select a layer if needed and then click "Edit map".
Once you are in "Edit" mode - Objects section will open.
Expand needed field and click on an objects name - it will be added to the map.
Added object can be moved around, resized, rotated. In addition to that if object is selected - Properties section will open.
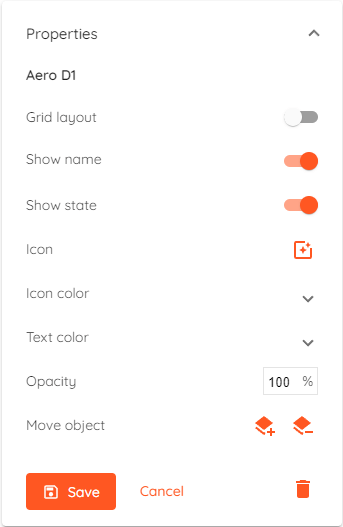
- Grid layout can be turned on for easier object alignment.
- Name and state can be shown or hidden. If it's hidden - objects name and state will be shown when moving your pointer onto an object.
- Icon can be changed to any given icon from our provided asset library.
- Icon color (and opacity) can be changed for every available state of the object.
- Text color can be changed for light and dark themes separately.
- Opacity can be changed to make the object transparent.
¶ Adding areas (ASB Musdo security panels)
To add a security area expand "Areas" field in Objects section.
Move mouse pointer over desired area name and then click on one of the options that appears on the right side of selected area name:
 Free shape drawing - Click on the map to start drawing, each click marks a point. Double click to finish drawing. Finished drawing can be moved around, resized and rotated.
 Rectangular shape drawing - Inserts rectangle shaped area to a map. Width and length of the area can be modified, also the shape can be changed to a triangle, circle or a star. Area can be moved around, resized and rotated.
¶ Custom Link
Custom Link object can be used as a shortcut to switch between different layers on same or different maps.
Custom link can be a free-shape drawing or it can have any selected icon from our provided asset library.
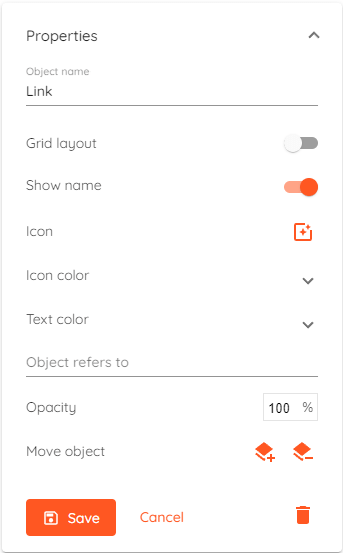
- Clicking "Object refers to" opens current map layer list - select a layer that will open when clicking on "Custom link object".
Don't forget to click "Save" after you're done editing.
¶ Links in events and alarms pages
Every event displaying this icon "![]() " in type column is linked to a map and includes a link to the maps page. Clicking on event type opens a list of created maps containing the object.
" in type column is linked to a map and includes a link to the maps page. Clicking on event type opens a list of created maps containing the object.
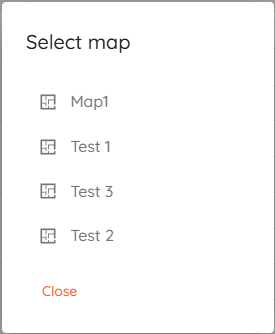
Selecting a map will open it with the linked object centered and zoomed in for better visibility.
If the object exists in only one map, the selection step will be skipped, and you will be taken directly to the map.
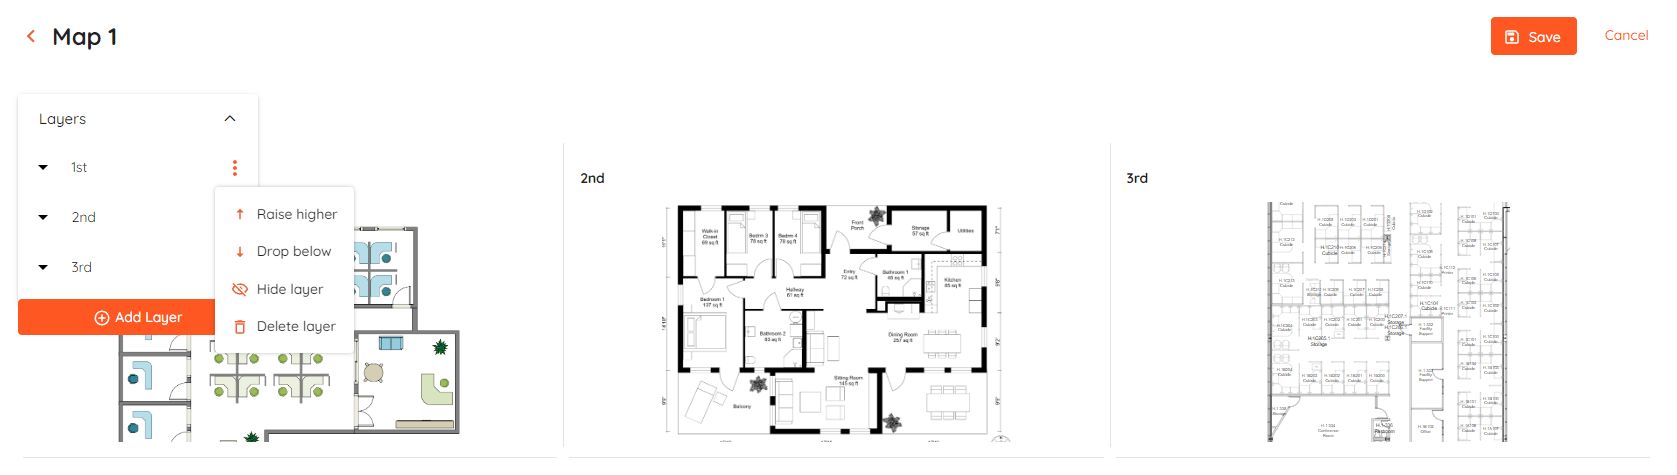
¶ Layers
When selecting a map that has multiple layers - layer selection will be opened.
Layers can be hidden and/or rearranged in any order in edit mode.
¶ Monitoring
In view mode all the objects can be monitored and their state is automatically tracked and updated live.
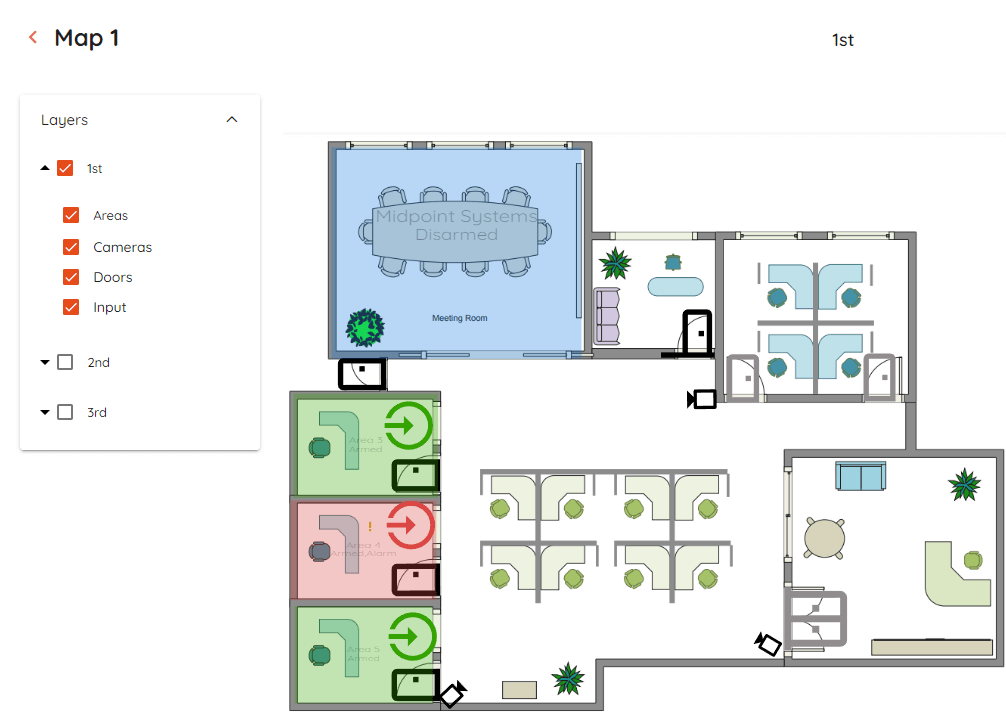
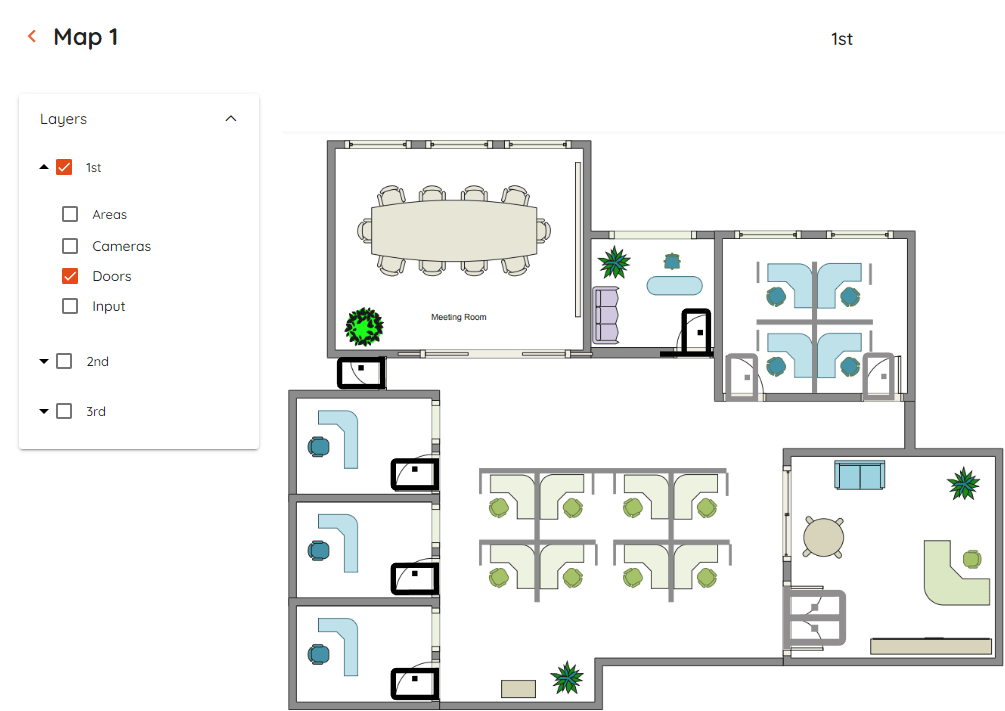
To focus on certain type of objects - unnecessary objects can be unchecked and only needed objects will be shown on the map.
Objects added to the map can be controlled, clicking on them will open available actions menu.
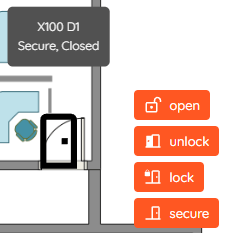
Available actions:
- Doors - Open, Lock, Unlock, Secure.
- Inputs(Musdo) - Bypass, Unbypass.
- Outputs - Turn On, Turn Off.
- Areas - Arm, Disarm.
¶ Zoom toggle
This menu is available in "Edit" mode when no object is selected.
Click "Edit" and then expand "Settings".
At the very bottom there will be zoom toggle option.
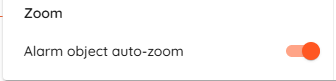
If "Alarm object auto-zoom" is enabled - alarmed objects, such as doors when they are forced open or an area when it is alarmed, will be automatically zoomed in in an opened map layer.
¶ Old version
Old version docs can be found here