NXP DESfire EV3
Instructions on how to configure tanlock device for use with ev3 cards
Preparing TAM
-
Open Tanlock Web UI
-
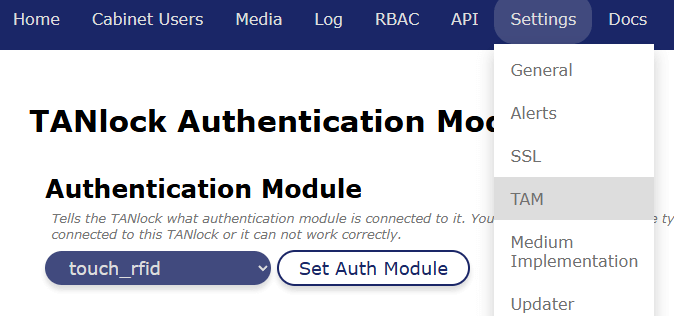
Navigate to Settings → TAM
-
Select touch_rfid (if you have a touchscreen Tanlock), otherwise legic_rfid.
-
Click Set Auth Module.
-
Navigate to Settings → Medium Implementation
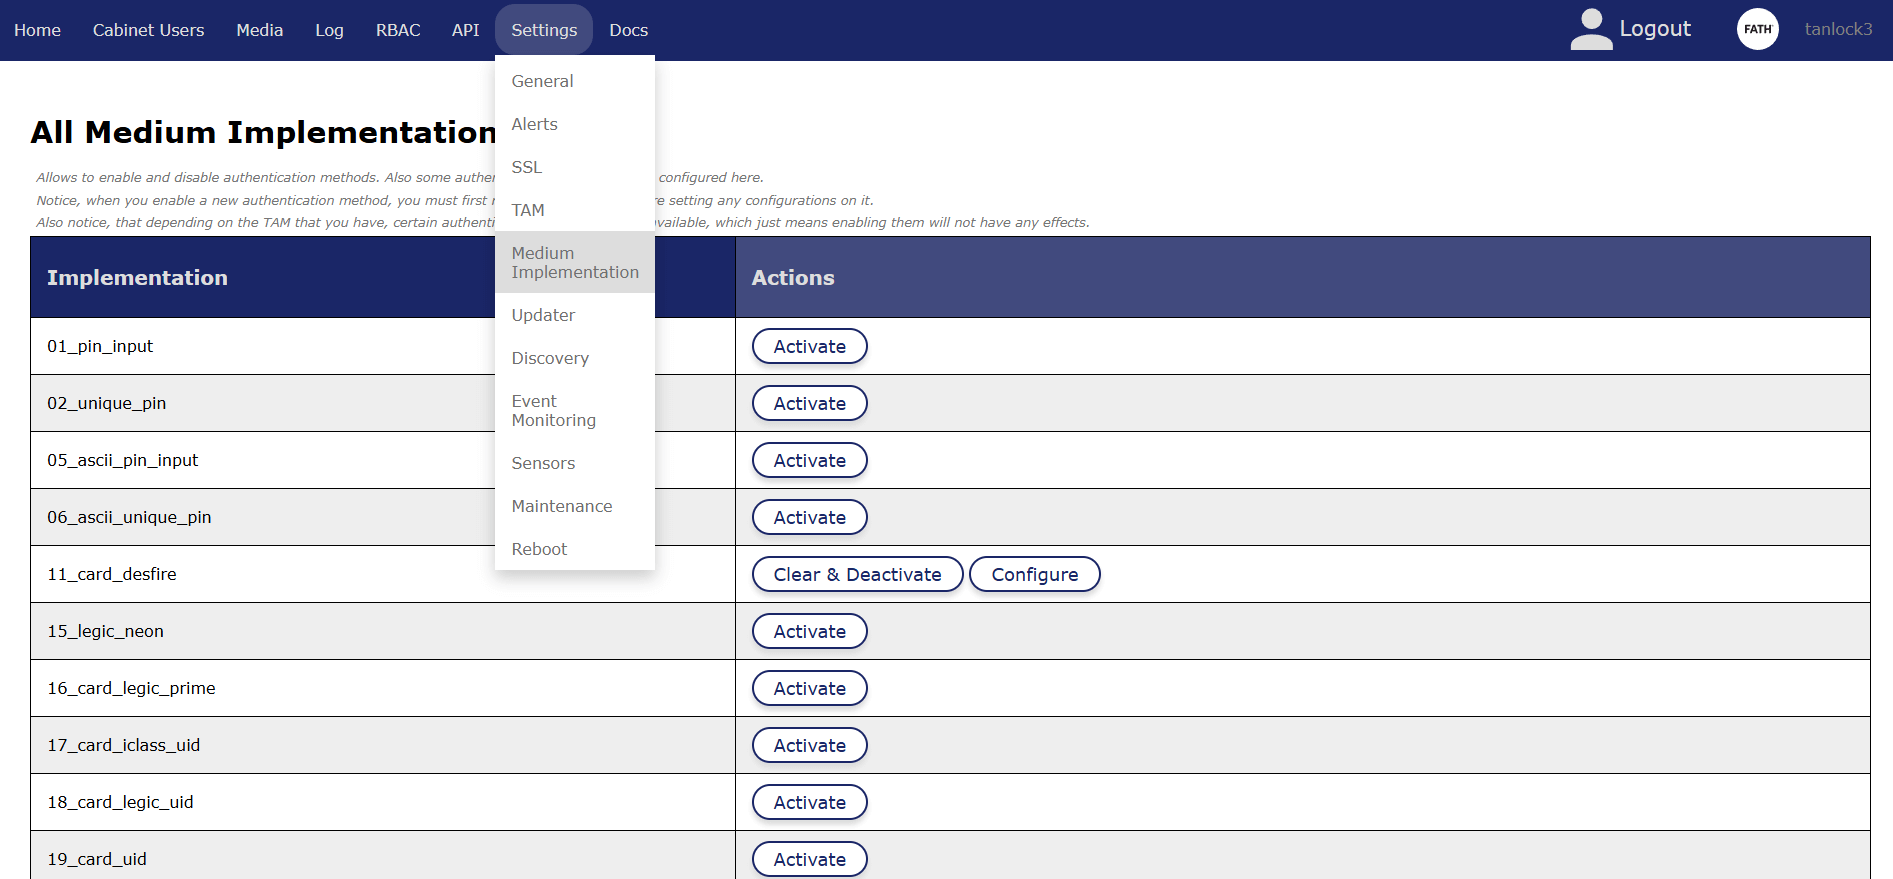
- Activate 11_card_desfire only.
- Clear and deactivate all other options.
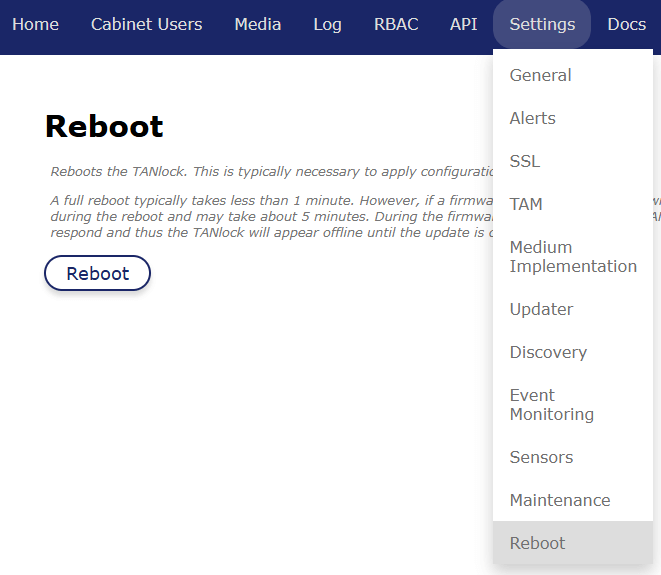
For changes to take effect - Reboot Tanlock.
Medium Config
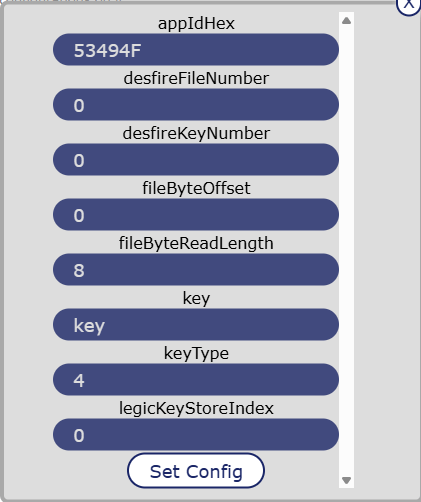
In Medium Implementation, click Configure in the 11_card_desfire row.
-
appIdHex – application ID (AID) in hexadecimal, stored in big-endian order (most significant byte first).
-
desfireFileNumber – file ID number within the given application.
-
desfireKeyNumber – the ID of the key to use for authentication.
-
fileByteOffset – starting byte position in the file from which the identifier will be read.
-
fileByteReadLength – number of bytes to be read as identifier (typically up to 8, max 16 bytes).
-
key – hexadecimal authentication key to be stored securely in the Legic Reader. Enter without spaces and ensure an even number of digits. This is a write-only field and only works in conjunction with
keyType. -
keyType – number that specifies the type of encryption used for
key. This is a write-only field and only works in conjunction withkey:
1 - DES
2 - 2K3DES
3 - 3K3DES
4 - AES-128 -
legicKeyStoreIndex – the index within the Legic Reader used to store and read the key.
Click Set Config and Reboot Tanlock.
Once Tanlock has fully booted, present the card to the reader.
Ensure that all the above parameters are accurately known and provided by the user/customer. Incorrect or missing information may prevent successful configuration.
DESFire file should be created with “communication settings” set to “Fully enciphered communication”, plain-text files are not supported as of now.
If something fails -> “log”->“systemlog” on the TANlock web UI may contain some hints at which step it failed, look for lines containing “11-card_desfire”.
Note: systemlog updates after tanlock is rebooted.