¶ Setting up NX Witness Server
Currently only server version 6.0.x is supported.
¶ NX Witness
- Install NX Witness and set up a new system, follow instructions on screen.
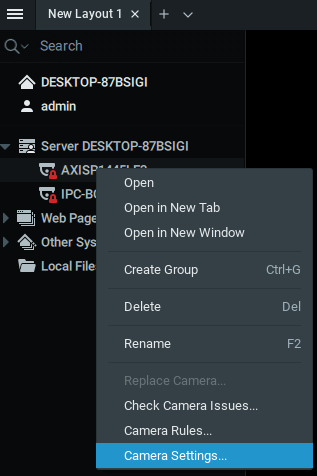
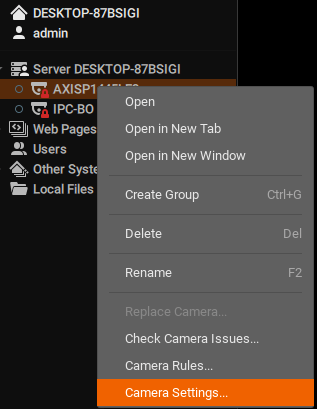
- Once connected - NX Witness will automatically detect cameras in your network - right click on camera and click "Camera Settings..."
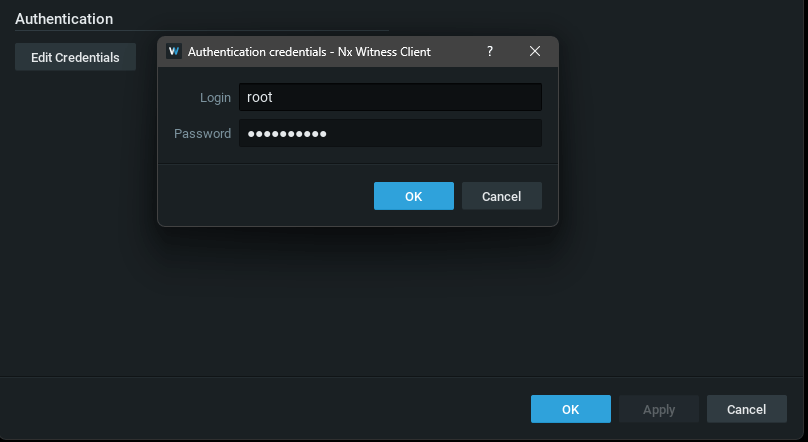
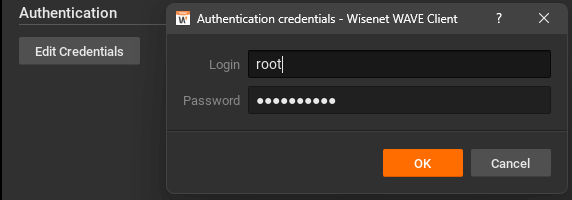
- Click on "Edit Credentials" and enter credentials for your camera, click "Ok" and "Apply".
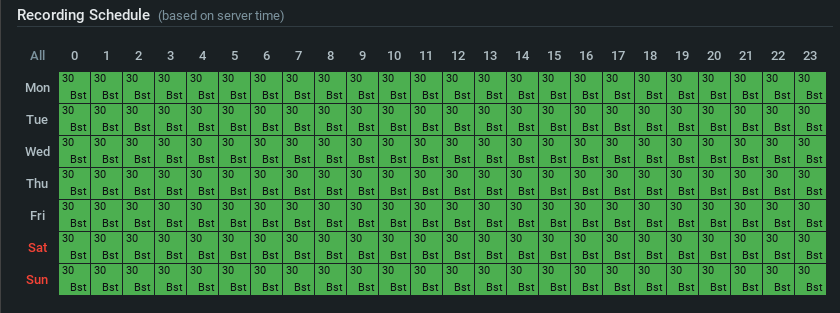
- Go to "Recording" tab and turn it on, it is required if you want to attach camera pictures to an event.

- If you want to attach videos to an event - you have to set recording schedule.
Perform steps 2 and 3 for each camera in the list.
Perform step 4 for cameras intended for attaching images to events in CredoID.
Perform steps 4 and 5 for cameras intended for attaching videos to events in CredoID.
¶ Wisenet Wave & DW Spectrum
- Install Wisenet Wave or DW Spectrum and set up a new system, follow instructions on screen.
- Once connected - Wisenet Wave and DW Spectrum will automatically detect cameras in your network - right click on camera and click "Camera Settings..."
- Click on "Edit Credentials" and enter credentials for your camera, click "Ok" and "Apply".
- Wisenet Wave and DW Spectrum uses older API version so we need to enable "Digest" authentication.
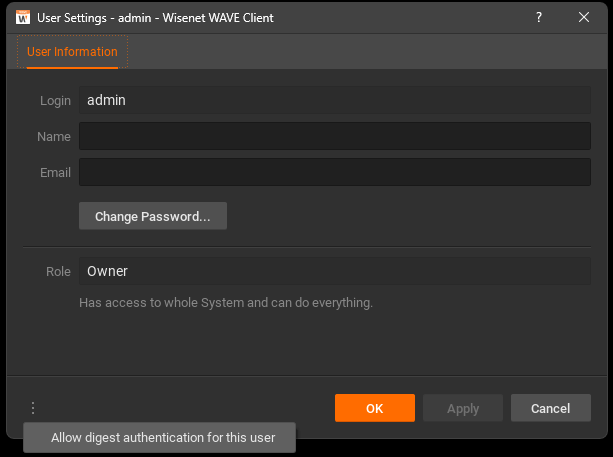
Right click on "admin" and click "User Settings..."
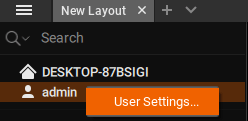
Click three dots in the lower left corner in the user settings window and then click "Allow digest authentication for this user". Enter required details, click "Ok" and "Apply".
Repeat step 2 and step 3 for all cameras in the list.
¶ Adding NX Witness server to CredoID
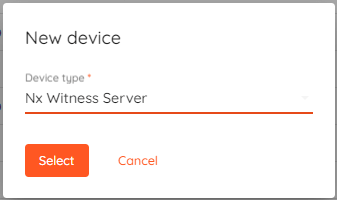
Wisenet WAVE and DW Spectrum works with CredoID as "NX Witness Server".
- Open "CredoID" and go to "Hardware -> Devices", click "Add" and select "NX Witness Server".
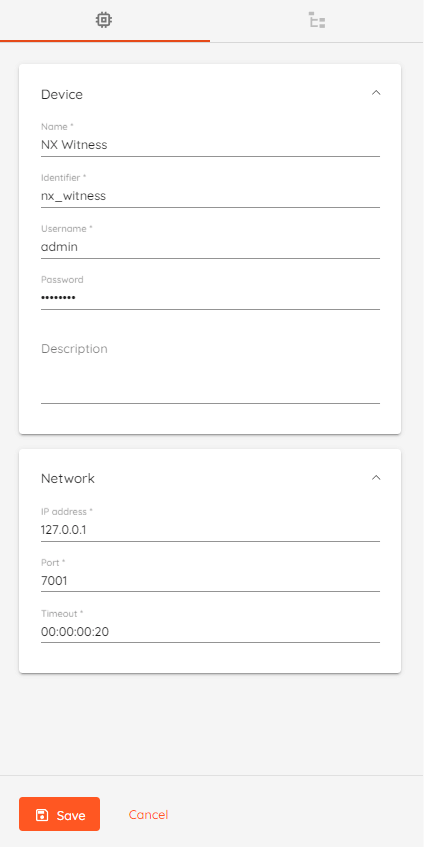
- Fill in required details and click save.
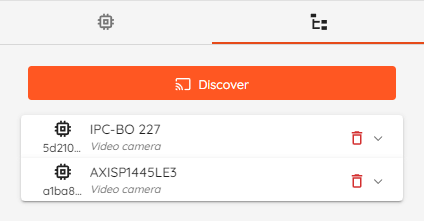
- When NX Witness server comes online - go to "Modules" tab and click "Discover to get a list of available cameras and then click "Save".
¶ Adding cameras
Go to "Devices" -> "NX Witness" server -> "Modules" and click "Create camera"
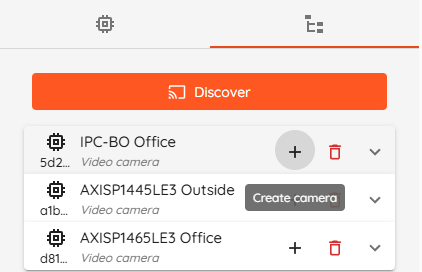
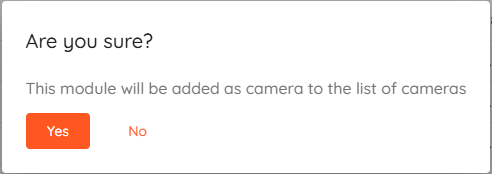
Confirmation dialog will pop-up, click "Yes" to add selected module to the list of cameras.
¶ Older method
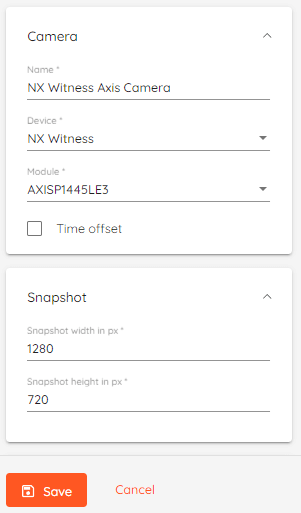
Open "CredoID" and go to "Hardware -> Cameras", click "Add", fill in required details and click "Save".
- Name - Enter name for your camera.
- Device - Select your VMS device.
- Module - Select camera from the list.
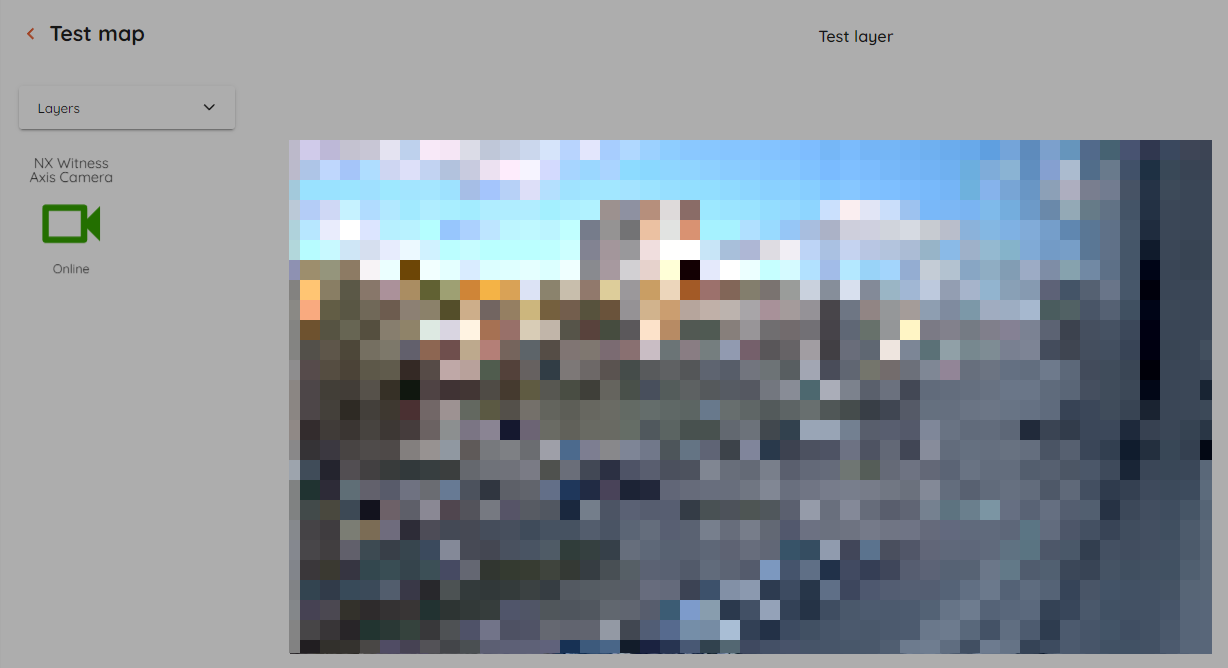
¶ Cameras livestream
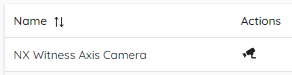
Cameras livestream can be accessed in camera list by clicking camera button in actions column.
Livestream can also be accessed in maps, just add camera to your map - click on it and stream will open.