¶ Introduction
The CoreStation Setup Manager is a web server that allows users to view or manage the network settings of CoreStation and monitor the status of slave devices, input and output ports, and Wiegand ports. The CoreStation Setup Manager allows users to check the status of the network and wiring in the field.
CoreStation Setup Manager is supported with CoreStation firmware version 1.3.1 or later. If you are using a firmware version lower than 1.3.1, upgrade the CoreStation firmware on the BioStar 2.
For any inquires or technical support concerning CoreStation and CoreStation Setup Manager, please contact the Suprema Technical Support Team (http://support.supremainc.com)
¶ Initial Setup
The CoreStation Setup Manager provides web-based services. Therefore, when configuring the centralized access control system using the CoreStation, you can access the CoreStation Setup Manager through a web browser and check the connection status of the CoreStation from anywhere after the wiring is completed.
If you are using the CoreStation Setup Manager for the first time, connect the CoreStation and proceed with the initial setup.
- Complete the CoreStation wiring.
- Run your web browser.
We recommend that you use Google Chrome 75 or later.
- Enter the default IP address (https://169.254.0.1:3001) in the address input field of the web browser.
- Click Download https certification on the login screen. The first time you log in to the CoreStation Setup Manager, you must install the certificate to use HTTPS properly.
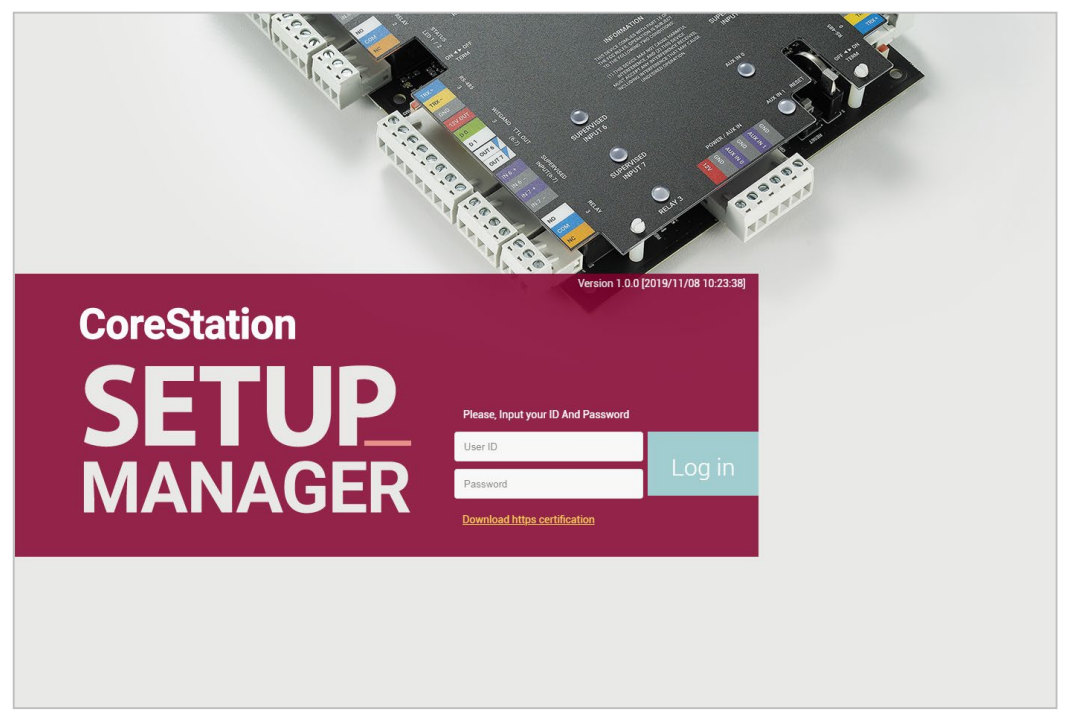
- Run cs40_client.crt file.
- When the Open File-Security Warning window appears, click Open.
- Click Install Certificate… in the Certificate details window. The Certificate Import Wizard will appear.
- Click Next to continue.
- Select the certificate store and click Next > Finish > OK.
- Enter your User ID and Password. The user ID and password are both ‘admin’ when first connected.
- Set the Level 1 administrator and click Add.
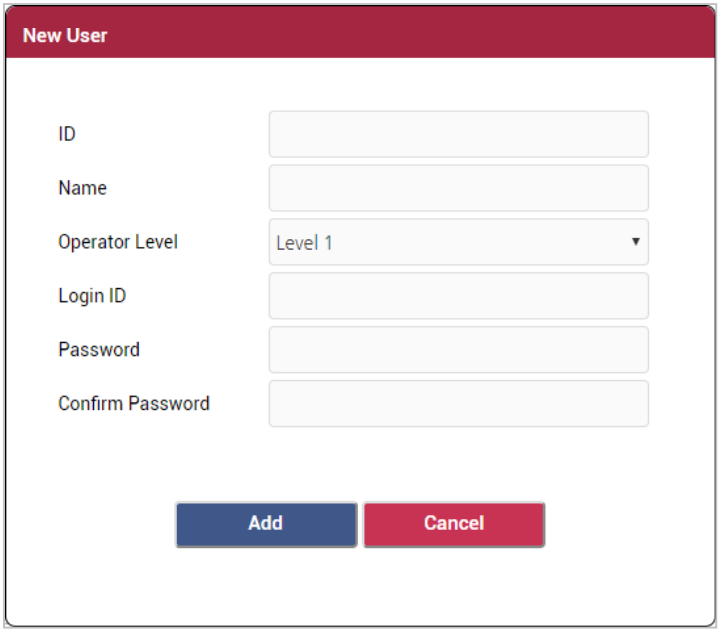
After adding the Level 1 administrator, you cannot use the default User ID and Password that used
when you first connected.
¶ Network
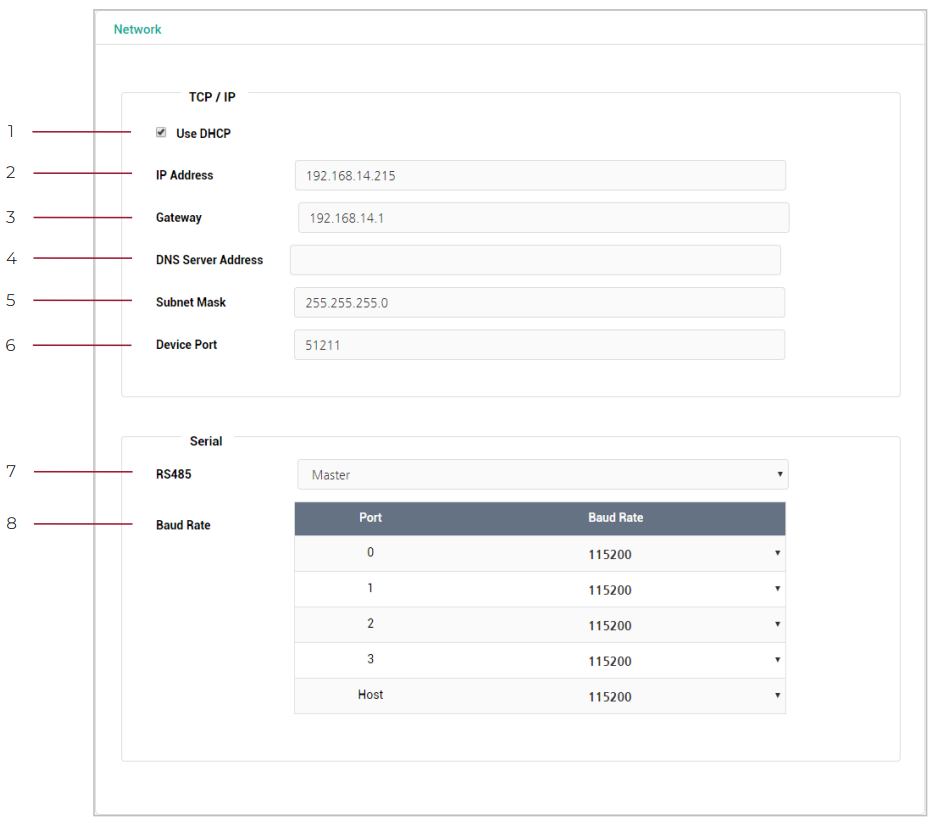
| No. | Item | Description |
|---|---|---|
| 1 | Use DHCP | Select this option to allow the device to use a dynamic IP address. If this option is selected, network settings cannot be entered. |
| 2 | IP Address | View the IP address of the device |
| 3 | Gateway | View the gateway of the device. |
| 4 | DNS Server Address | Set the DSN server address. |
| 5 | Subnet Mask | View the subnet mask of the device. |
| 6 | Device Port | Enter a port to be used by the device. |
| 7 | RS485 | You can only use Master. |
| 8 | Baud Rate | Set a baud rate of the RS-485 connection. |
¶ Device to Server (CredoID)
To connect Suprema CoreStation to CredoID you need to enable Device to Server Connection first.

| Item | Description |
|---|---|
| Server Address | Enter IP address of your CredoID server. |
| Server Port | Leave this to default 51212. |
Click Apply in the top right corner.
After a few seconds you will see new device discovered in CredoID.

¶ Advanced
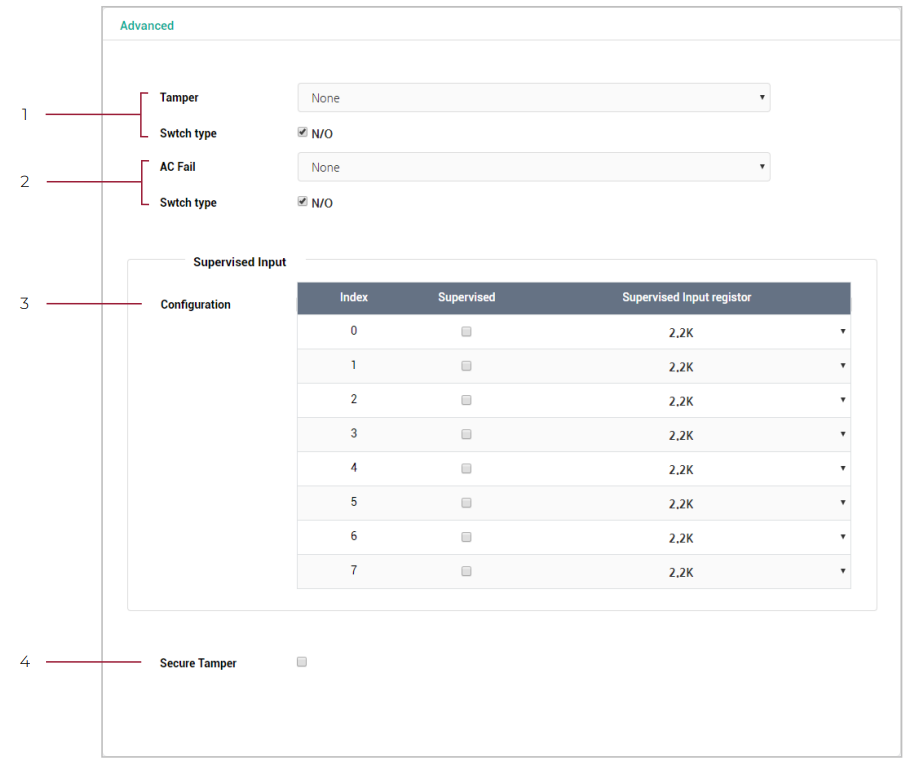
| No. | Item | Description |
|---|---|---|
| 1 | Tamper | You can set the AUX port where the tamper is connected. |
| 2 | AC Fail | You can set the AUX port that monitors the power input signal. |
| 3 | Configuration | You can set the supervised input port of CoreStation to be used as TTL input port and set a resistance value to be used for supervised input. 1㏀, 2.2㏀, 4.7㏀ and 10㏀ can be set for the resistance value. |
| 4 | Secure Tamper | You can set the secure tamper to delete the entire user information, the entire log, and the security key stored on the device when a tamper event occurs on the device. |
Click Apply to save the settings.
¶ Monitoring
After completing the wiring, you can check the status of the Input and Output in the CoreStation in real time. You can also view the card ID read by the connected Wiegand reader.
¶ Input Port Status
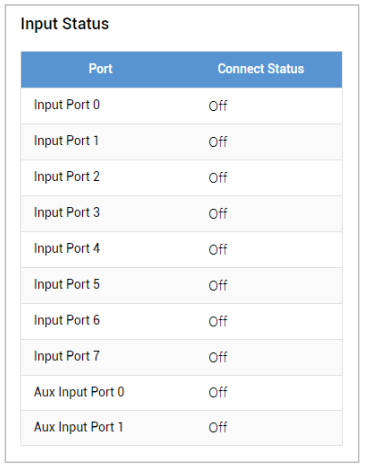
The connection status of the Input 0~7, Aux Input 0~1 ports is displayed. After completing the wiring, you can check the connection status of the Input port directly in the field.
¶ Output Port Status
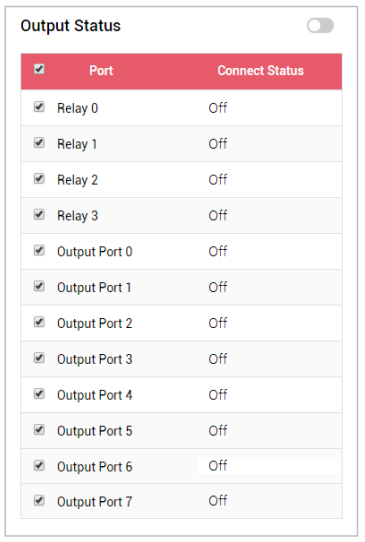
The connection status of the Relay 0~3, Output 0~7 ports is displayed. You can also select the item and click the switch to control the relay and output ports.
¶ Wiegand Port Status
When you scan a card on the Wiegand reader connected to a Wiegand 0~3 port, the card ID is displayed in the Status column.

Prepared using CoreStation Setup Manager User Guide v.1.00 by Suprema Inc.