¶ HID Amico configuration
This guide explains how to set up an HID Amico device and connect it to CredoID.
Amico devices do not support more than one PIN per user. Assigning a second identification that includes a PIN may cause synchronization errors.
¶ Initial Amico Device Setup
- Turn on the Amico device.
- Complete initial setup:
- Select language and region
- Create an admin user (used for Web UI login)
¶ Open the Amico Web UI
- Open your browser.
- Navigate to:
http://192.168.0.129- Or your custom Amico IP if changed
¶ Log In to Amico
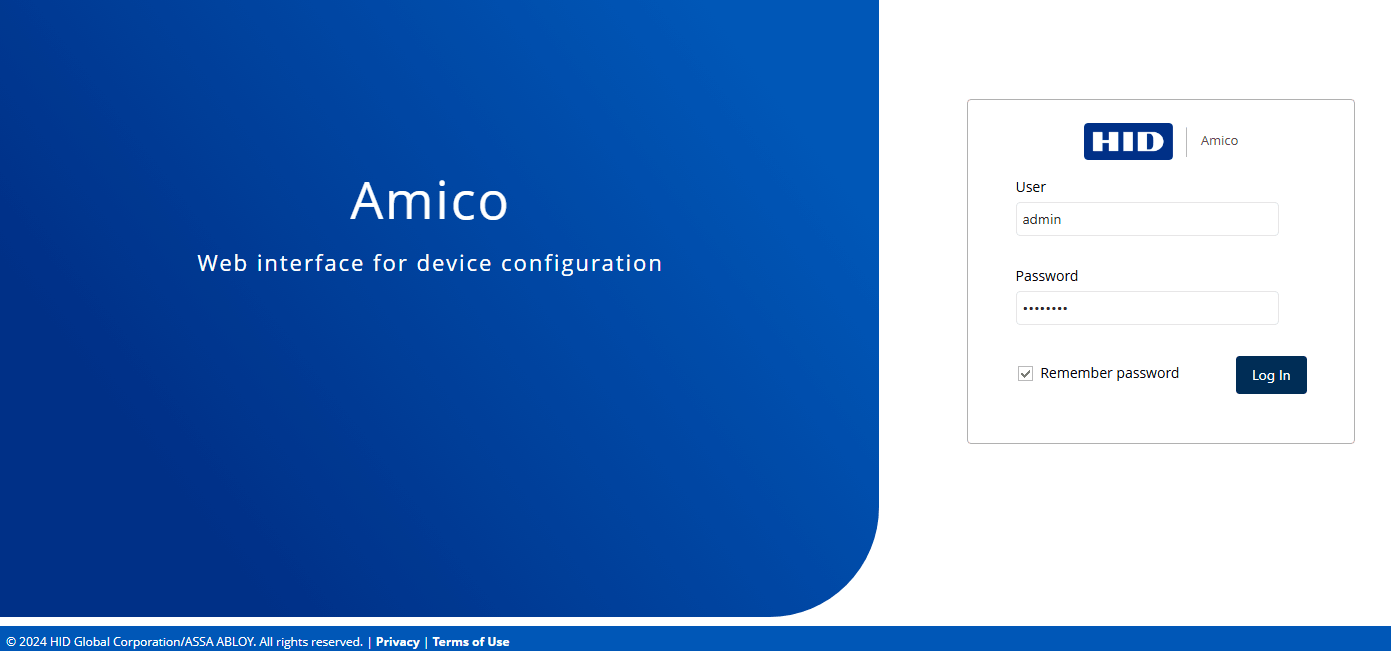
- At the login page, sign in with the admin credentials created during setup.
¶ Open Settings and Update Firmware
- Go to
Settings. - Update firmware.
- Tested version:
1.8.1
- Tested version:
¶ Configure Operation Mode
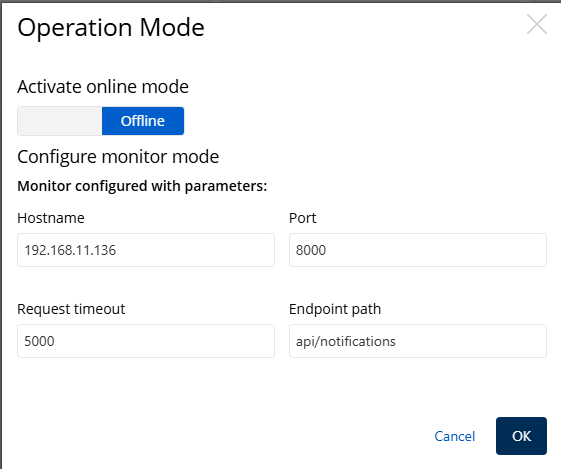
- In
Operation mode, set:Hostname: your PC IP addressPort:8000
¶ Configure HID Card Reading
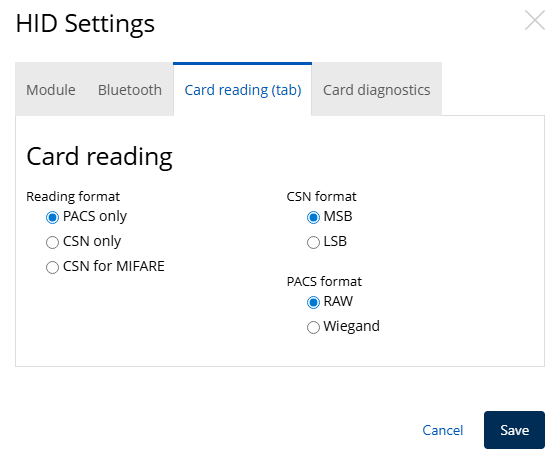
- Go to
HID Settings->Card readingtab. - Configure card reading settings as required for your environment.
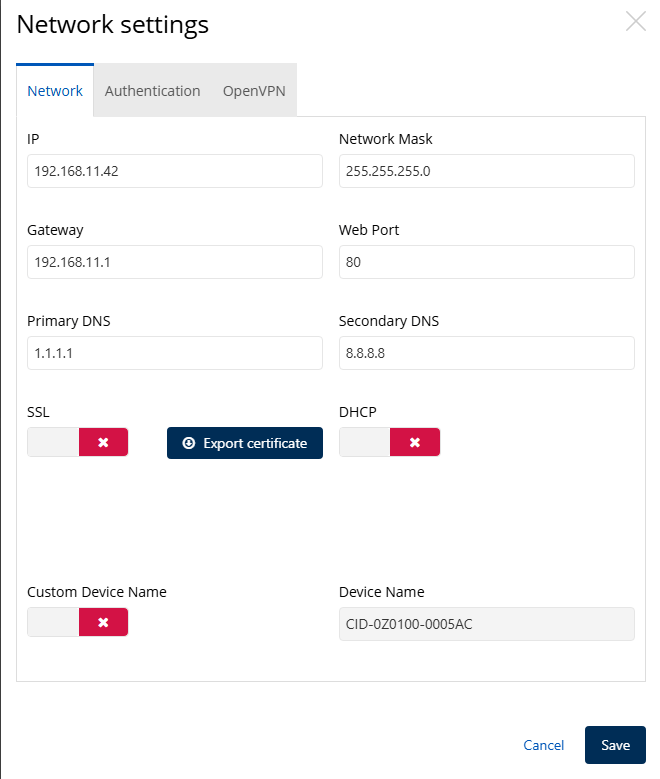
¶ Verify Network Settings
- Open
Network settings. - Change device IP if needed.
¶ Copy Device ID
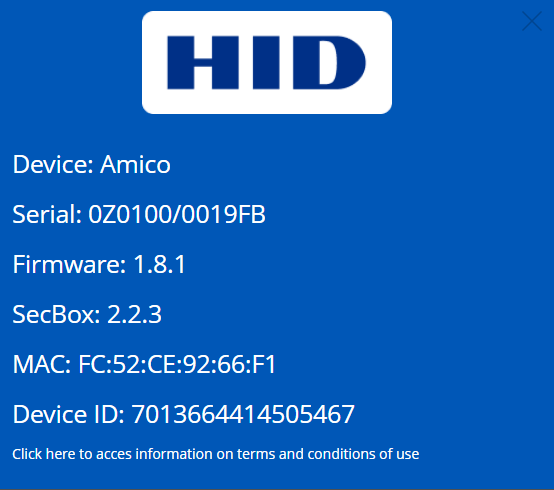
- Open
Settings->About. - Copy the
Device IDvalue (needed in CredoID).
¶ Add Amico Device in CredoID
- Open CredoID.
- Navigate to
Hardware->Devices. - Click
Add. - Find
AmicounderHID.
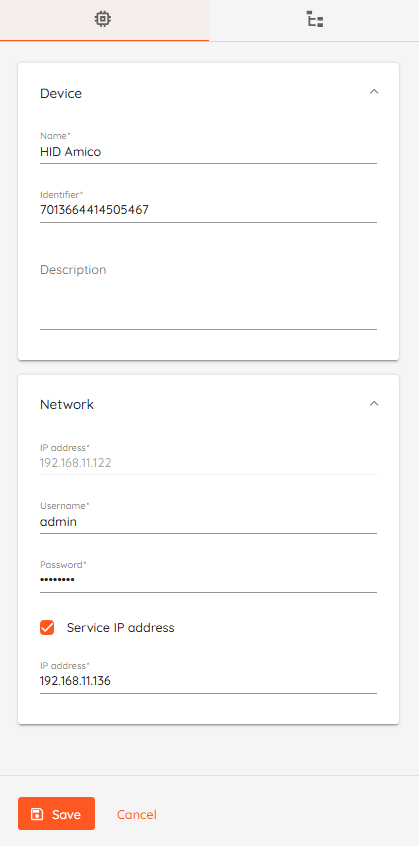
¶ Fill Device Connection Details
- Fill all required fields.
- Set
Identifierin CredoID to the AmicoDevice ID. - Enter:
- Amico IP address
- Amico login credentials
¶ Create Doors and Select Authentication Mode
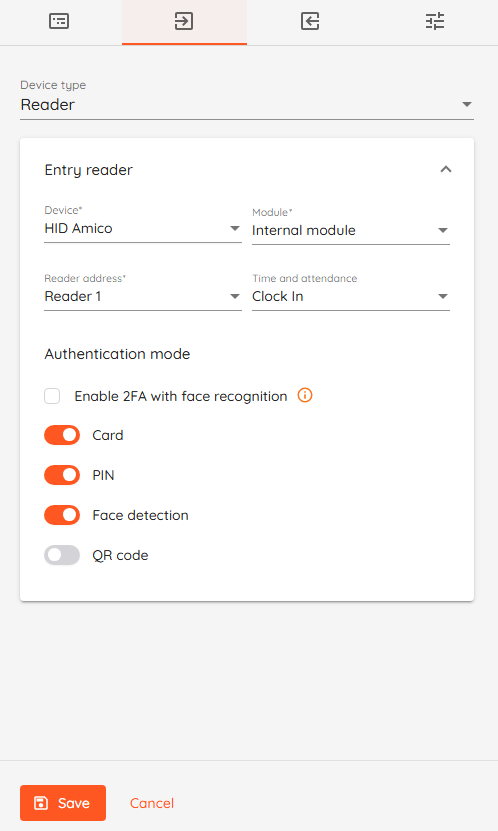
- Create doors in CredoID.
- Select required authentication modes.