CredoID Installation with PostgresSQL server
How to install CredoID version 4.9 or higher
Before installation, make sure your system meets all the requirements.
Install
- Download latest version of installer from official download repository.
- Extract the package to the folder of your choice.
- Launch
CredoID_4.x.x_setup.exe
CredoID installer might not start if there are "pending" Windows updates. Make sure you have latest Windows updates installed.
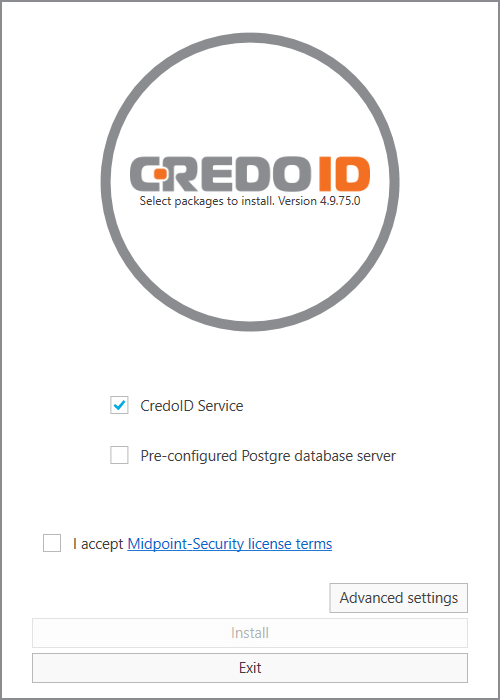
- Select installation options:
- CredoID Service
Required option to install main CredoID component as a Windows service.
- Pre-configured Postgre database server
Check this option if you want PostgreSQL database server installed.
Do not select this option if you are going to use your own PostgreSQL server.
- I accept Midpoint-Security license terms
Please read license terms before proceeding next.
- Advanced settings
Change installation location. By default it will be installed in C:\Program Files\Midpoint-Security\CredoID.
- Click "Install" to begin installation. Postgres superuser password will be randomly generated if you chose to install "Pre-configured Postgre database server".
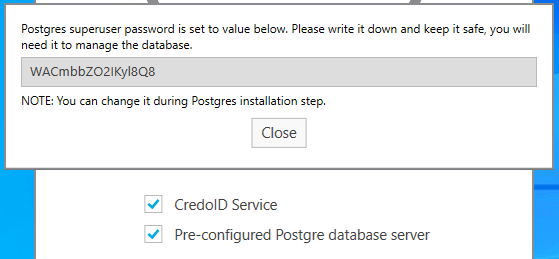
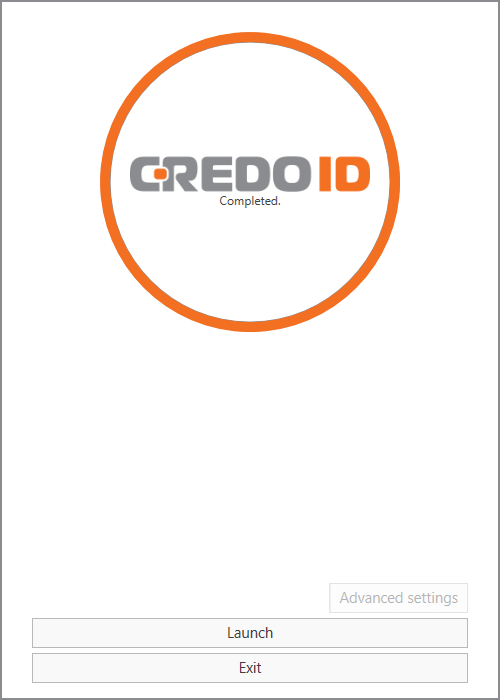
- After successful installation you can click "Launch" to start CredoID in your default browser or "Exit" to close the installation window.
PostgreSQL setup
CredoID v4.8.x and earlier versions use Microsoft SQL Server as main database. Versions 4.9.x and above use PostgreSQL.
If you're updating from an older version, you can still use Microsoft SQL Server until July 31, 2023. At this date support for MS SQL will be discontinued. Read more.
- Pre-configured Postgre database server
- If "Pre-configured Postgre database server" is checked - PostgreSQL setup will take place before installing CredoID.
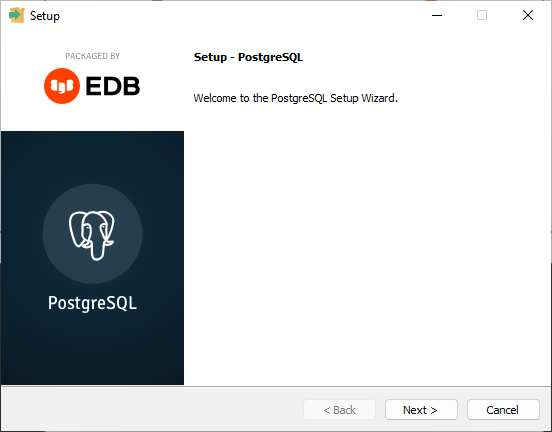
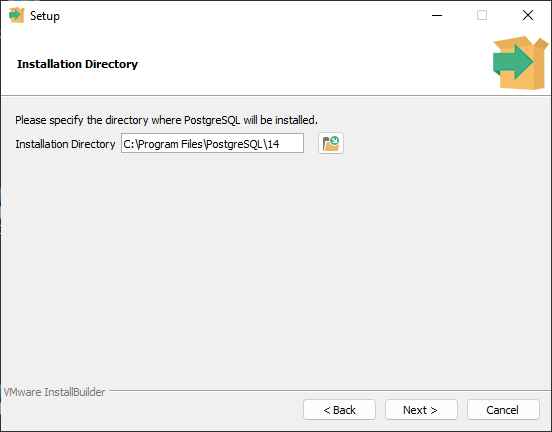
- Specify the directory where PostgreSQL will be installed.
C:\Program Files\PostgreSQL\14is selected by default.
- Select the components you want to install.
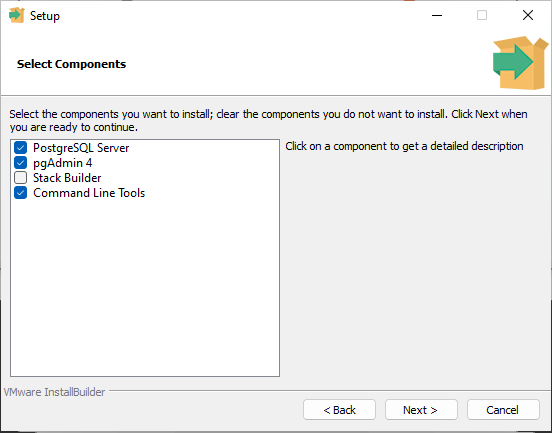
- PostgreSQL Server - Required. PostgreSQL database server. This is required.
- pgAdmin 4 - Recommended but optional. Graphical interface for managing and working with PostgreSQL databases and servers. This is recommended but optional.
- Stack Builder - Optional. May be used to download and install additional tools, drivers and applications to complement your PostgreSQL installation.
- Command Line Tools - Required. This will install command line tools and client libraries. It is required when installing the PostgreSQL Database Server or pgAdmin 4.
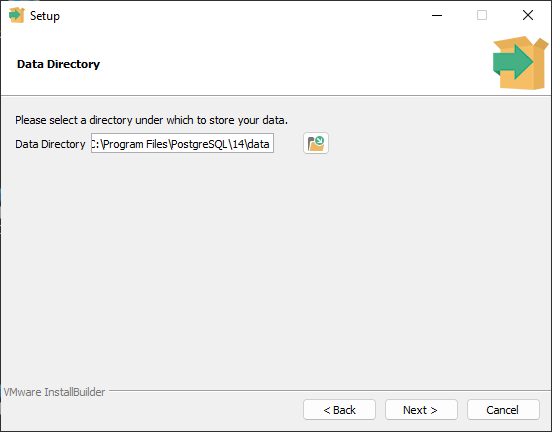
- Select a directory under which to store your data.
C:\Program Files\PostgreSQL\14\datais selected by default.
- Provide a password for the database superuser. You can choose your own password or keep the one that was generated during initial steps of the setup.
CredoIDPassword1 was set as default database password up to version 4.16.164.
New installations generate a random password that you should write down.
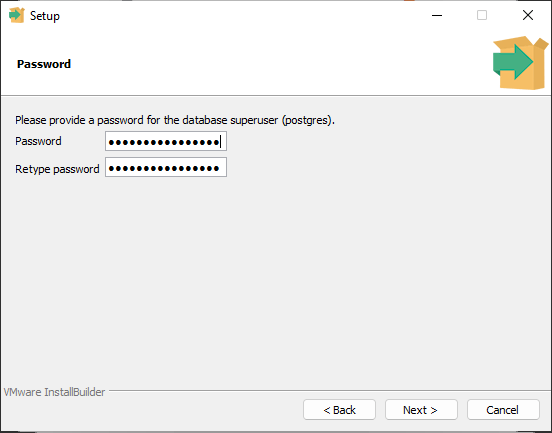
If you decide to change password for your database superuser in this step, you will have to update your password during the first launch of CredoID.
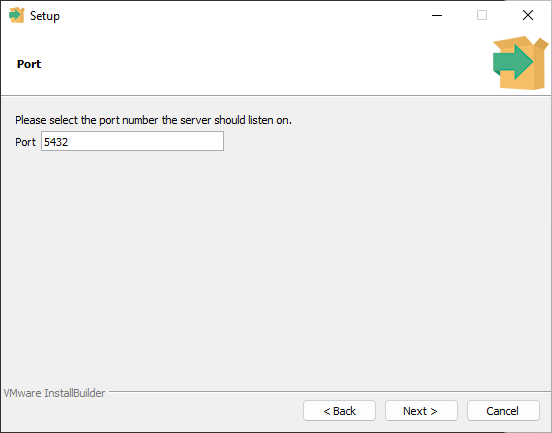
- Select the port number the server should listen on.
5432is selected by default.
- Select the locale to be used by the new database cluster.
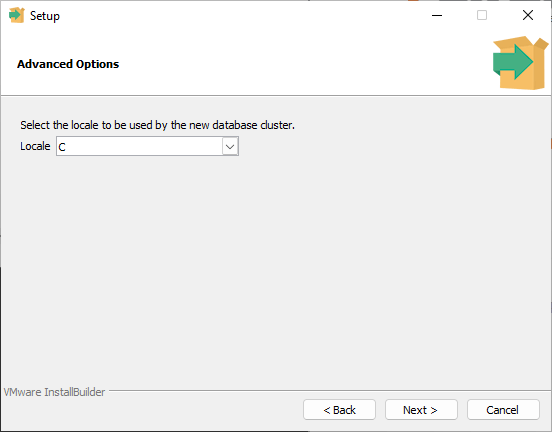
C – the default Locale.
The C locale, also known as the POSIX locale, is the POSIX system default locale for all POSIX-compliant systems. The Oracle Solaris operating system is a POSIX system. The Single UNIX Specification, Version 3, defines the C locale.
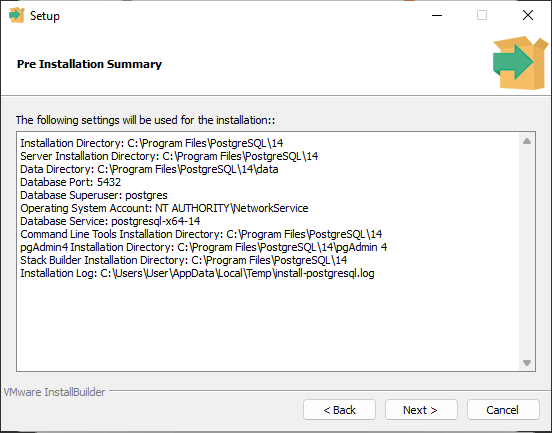
- Pre Installation Summary
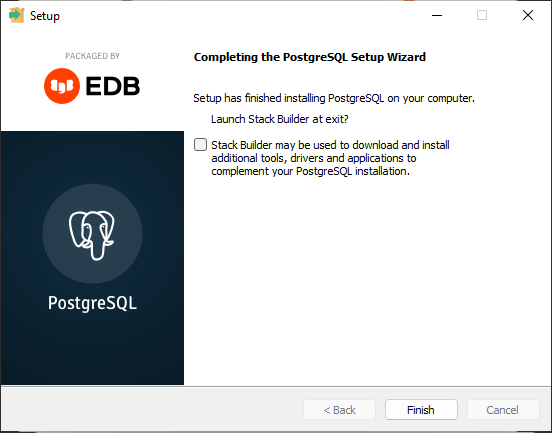
- Completing the PostgreSQL Setup Wizard. Stack Builder is optional, it can be unchecked.
First Launch
With pre-configured database, providing your own password
If you changed your superuser password during step 5 of PostgreSQL setup - password authentication will fail during your first launch. All you have to do is update the password field and click Update settings.
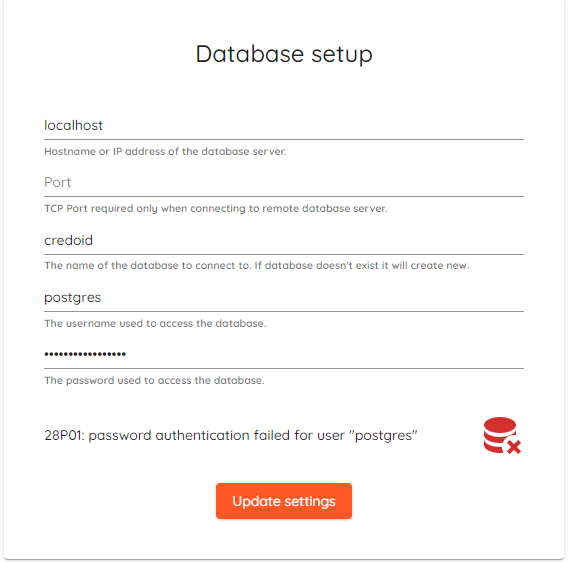
With pre-configured database, using default password
After succesful installation/update you will be greeted with login screen.
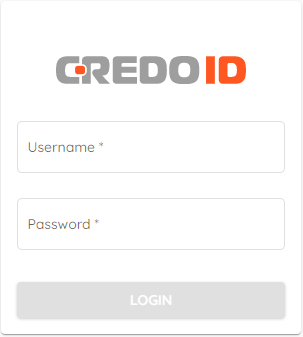
Default credentials are:
- Username: admin
- Password: admin
In versions 4.16.164 and later, the password policy has been updated to require operators to change their default password upon first login
Without pre-configured database
If you have chosen to install only service part and use your own database, then DB setup screen will be shown.
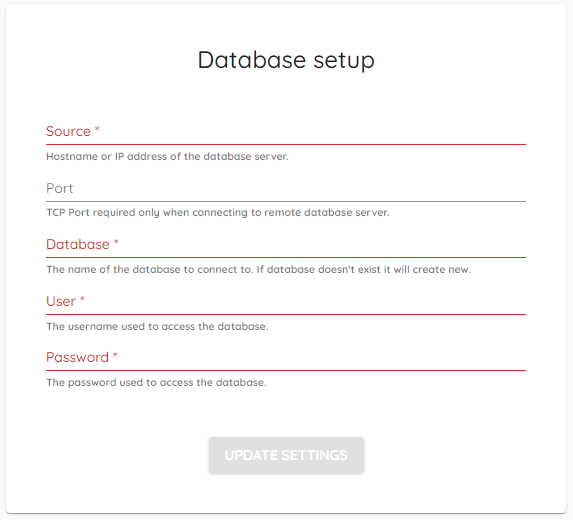
PostgreSQL database setup:
- SOURCE : Hostname or IP address.
- PORT : Port of the database, not required if default port
5432is used. - DATABASE : Database name. If database doesn't exist - it will be created automatically.
- USER : User to connect to the database.
CREATEDBserver role is required when starting fresh. - PASSWORD : User password to connect to the database.
Update
While updates are generally safe and it's very unlikely that it would result in data loss, it's your responsibility to have a proper backup of your database before performing an update. Note that it's not possible to go back to a previous version of CredoID once the database schema has been updated.
CredoID 4.12.0 and newer versions is only compatible with the PostgreSQL database. Users currently running PostgreSQL can update straight away.
Users running Microsoft SQL have to update CredoID up to version 4.11.288. Only then migration tools can be used to migrate databases. To migrate the database please check migration tool manual.
Please contact us if you want to update from version 2.X or 3.X.
The process of update is very straight forward.
- Download latest version of installer from official download repository.
- Extract the package to the folder of your choice.
- Launch
CredoID_4.x.x_setup.exe
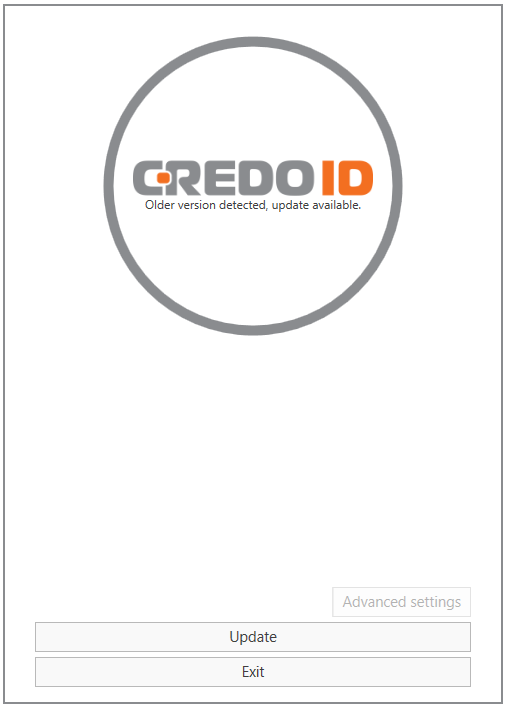
- Continue with "Update" and that's it!
Uninstall
- Launch CredoID installer or use Windows "Add or remove programs".
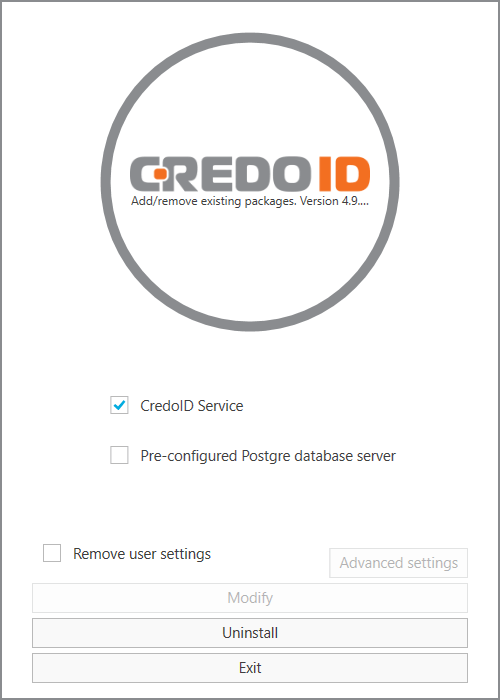
- Check "Remove user settings" if you want to delete all stored settings (clean uninstall).
- Continue with "Uninstall"